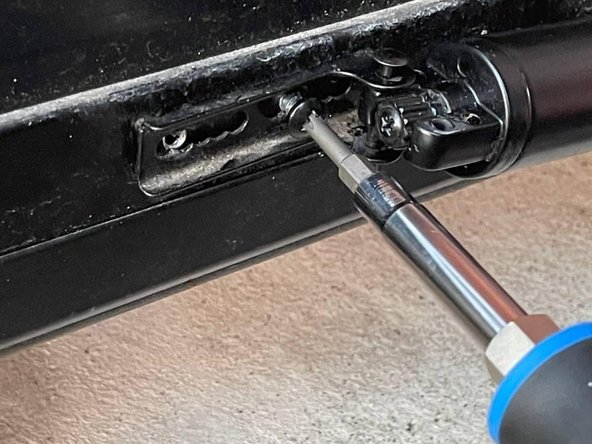
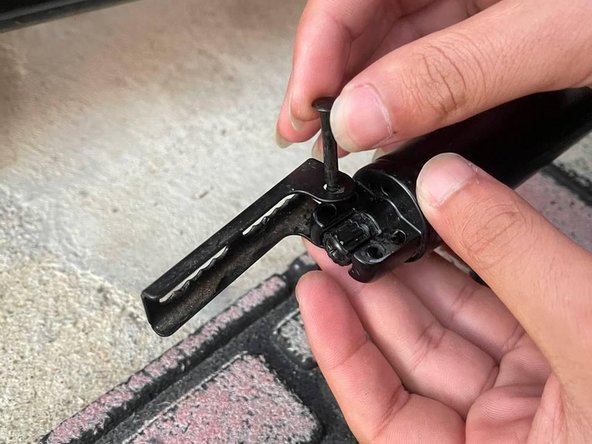
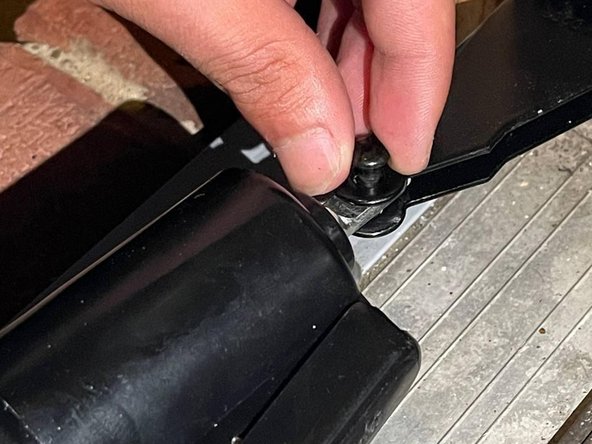
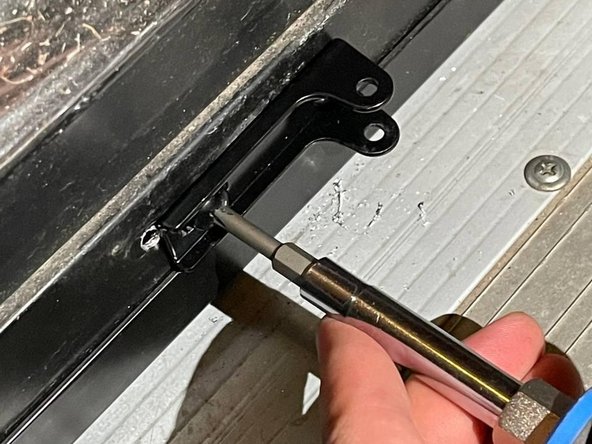
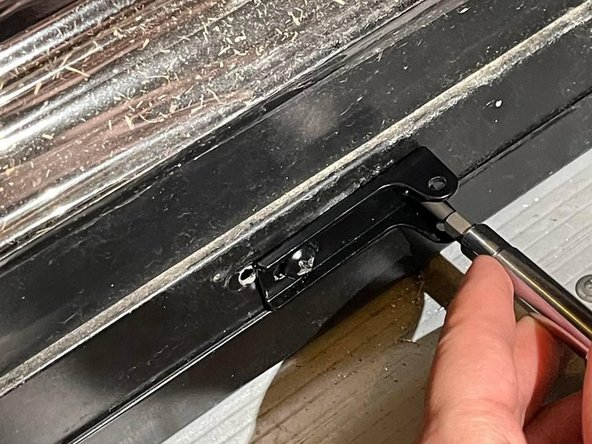
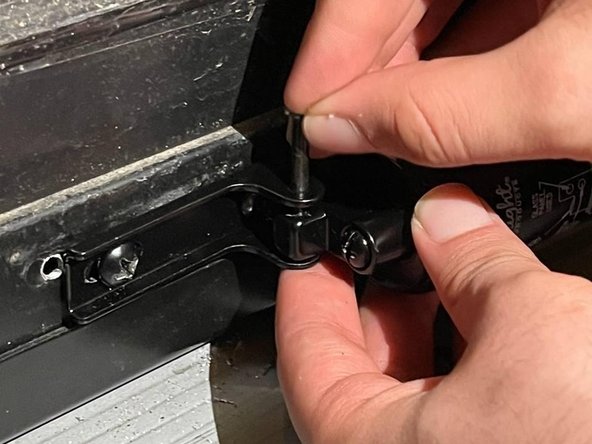
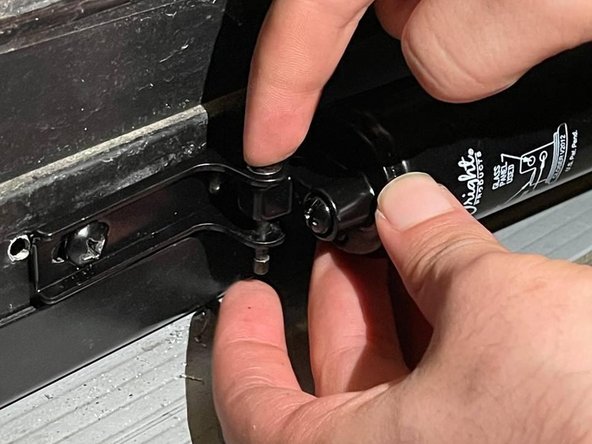
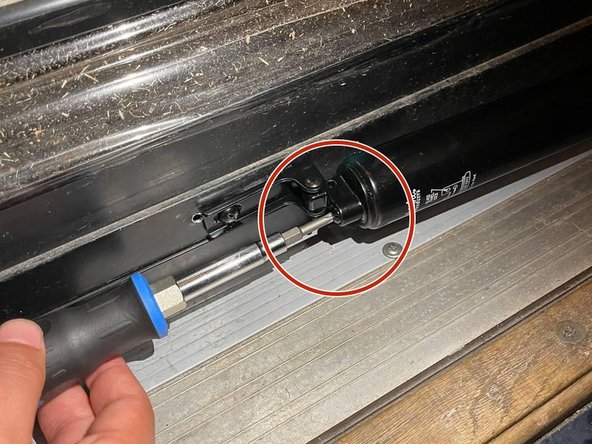
Saltar al contenido principal

Pneumatic Door Closer Replacement

Qué necesitas

  1. Pneumatic Door Closer Replacement, Pneumatic Door Closer: paso 1, imagen 1 de 2 Pneumatic Door Closer Replacement, Pneumatic Door Closer: paso 1, imagen 2 de 2
    • Identify the broken part of the door.

  2. Pneumatic Door Closer Replacement: paso 2, imagen 1 de 2 Pneumatic Door Closer Replacement: paso 2, imagen 2 de 2
    • Remove the screws from the inner brackets that connect to the door closer using a screwdriver.

  3. Pneumatic Door Closer Replacement: paso 3, imagen 1 de 3 Pneumatic Door Closer Replacement: paso 3, imagen 2 de 3 Pneumatic Door Closer Replacement: paso 3, imagen 3 de 3
    • Remove the screws from the outer bracket that connect to the door closer using a screwdriver.

  4. Pneumatic Door Closer Replacement: paso 4, imagen 1 de 2 Pneumatic Door Closer Replacement: paso 4, imagen 2 de 2
    • Install the inner bracket that attaches to the door closer by screwing the inner part into the wall using a screwdriver.

  5. Pneumatic Door Closer Replacement: paso 5, imagen 1 de 3 Pneumatic Door Closer Replacement: paso 5, imagen 2 de 3 Pneumatic Door Closer Replacement: paso 5, imagen 3 de 3
    • Plug the smallest included screw into the inner bracket to attach the door closer.

  6. Pneumatic Door Closer Replacement: paso 6, imagen 1 de 3 Pneumatic Door Closer Replacement: paso 6, imagen 2 de 3 Pneumatic Door Closer Replacement: paso 6, imagen 3 de 3
    • Close the door.

    • Install the outer bracket that attaches to the door closer by screwing it into the door using a screwdriver.

  7. Pneumatic Door Closer Replacement: paso 7, imagen 1 de 3 Pneumatic Door Closer Replacement: paso 7, imagen 2 de 3 Pneumatic Door Closer Replacement: paso 7, imagen 3 de 3
    • Attach the door closer into the installed outer bracket by plugging the larger included screw into the inner part.

  8. Pneumatic Door Closer Replacement: paso 8, imagen 1 de 2 Pneumatic Door Closer Replacement: paso 8, imagen 2 de 2
    • Make sure the door closes and opens properly.

    • Adjust the hydraulics by loosening or tightening the screw on the top of the hydraulic axle to have optimal performance.

Linea de Meta

Abdullah Kaddura

Miembro Desde 02/24/21

157 Reputación

1 Guía escrita

0 comentarios

Agregar Comentario

Ver Estadísticas:

Ultimas 24 horas: 3

Ultimos 7 días: 11

Ultimos 30 días: 33

Todo El Tiempo: 600