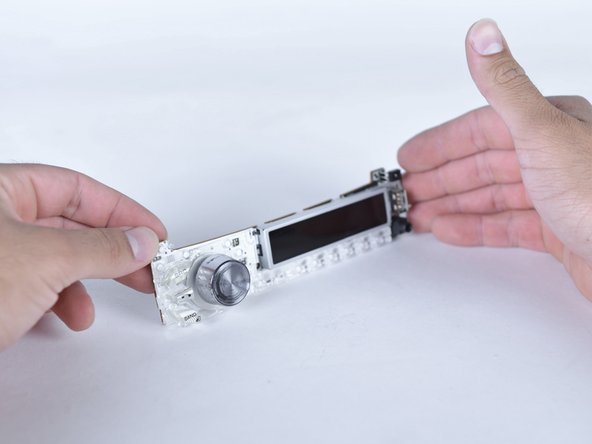
Saltar al contenido principal

Pioneer MXT-X366BT Knob Replacement

Qué necesitas

  1. Pioneer MXT-X366BT Knob Replacement, Volume Knob: paso 1, imagen 1 de 1
    • Push the eject button to release the faceplate.

  2. Pioneer MXT-X366BT Knob Replacement: paso 2, imagen 1 de 2 Pioneer MXT-X366BT Knob Replacement: paso 2, imagen 2 de 2
    • Carefully separate the faceplate from the radio.

  3. Pioneer MXT-X366BT Knob Replacement: paso 3, imagen 1 de 1
    • Remove three 3mm Phillips-head screws with a Phillips #1 screwdriver.

  4. Pioneer MXT-X366BT Knob Replacement: paso 4, imagen 1 de 3 Pioneer MXT-X366BT Knob Replacement: paso 4, imagen 2 de 3 Pioneer MXT-X366BT Knob Replacement: paso 4, imagen 3 de 3
    • Remove the back of the face plate.

    • Separate the motherboard from the casing.

    • Handle the motherboard with care.

  5. Pioneer MXT-X366BT Knob Replacement: paso 5, imagen 1 de 2 Pioneer MXT-X366BT Knob Replacement: paso 5, imagen 2 de 2
    • Firmly pull the volume knob.

    • Carefully handle the motherboard to not break it.

    • Some force may be required to remove the knob.

    • Buttons are attached by a ring behind the volume knob.

Conclusión

To reassemble your device, follow these instructions in reverse order.

0 comentarios

Agregar Comentario

Ver Estadísticas:

Ultimas 24 horas: 1

Ultimos 7 días: 4

Ultimos 30 días: 8

Todo El Tiempo: 340