Esta versión puede contener ediciones incorrectas. Cambiar a la última instantánea verificada.
Qué necesitas
-
Este paso está sin traducir. Ayuda a traducirlo
-
Remove the two 6.4 mm Phillips screws on each side of the device's casing.
-
-
Este paso está sin traducir. Ayuda a traducirlo
-
Remove the two 6.5 mm Phillips screws on the back of the device casing.
-
-
Este paso está sin traducir. Ayuda a traducirlo
-
Grip the front panel in one hand and the back of the casing in the other. Pull the casing back, and slide it up and away from the inner box.
-
-
-
Este paso está sin traducir. Ayuda a traducirlo
-
Unlatch the three plastic connectors on the top of the receiver that hold the front panel to the device casing.
-
-
Este paso está sin traducir. Ayuda a traducirlo
-
Carefully flip the device over and unlatch the three plastic connectors that hold the front panel to the bottom of the device casing.
-
-
Este paso está sin traducir. Ayuda a traducirlo
-
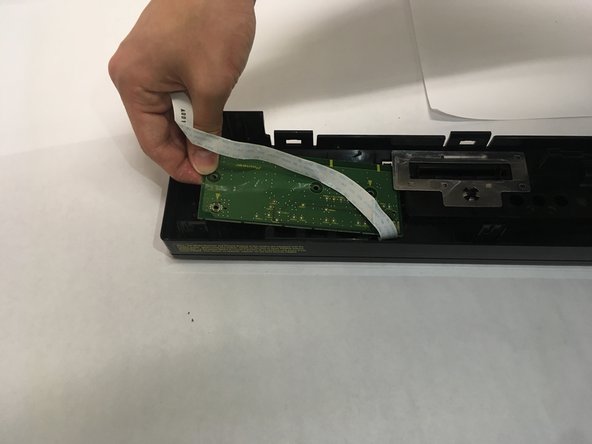
Grip and unplug the ribbon connector that connects the front circuit board to the device.
-
-
Este paso está sin traducir. Ayuda a traducirlo
-
Unscrew the three 1/4 Phillips head screws on the back of the front circuit board.
-
-
Este paso está sin traducir. Ayuda a traducirlo
-
Grip the circuit board and slide towards the front side of the plastic casing.
-
Lift upwards to remove the circuit board from the front panel.
-


Equipo

Baylor, Team S1-G5, Johnson Spring 2018 Miembro de Baylor, Team S1-G5, Johnson Spring 2018
BU-JOHNSON-S18S1G5
3 Miembros
6 Guías creadas