Saltar al contenido principal

Pioneer A1 XW-SMA1-K Antenna Replacement

Qué necesitas

  1. Pioneer A1 XW-SMA1-K Antenna Replacement, Back Panel: paso 1, imagen 1 de 1
    • Use the spudger to remove the mesh front panel.

  2. Pioneer A1 XW-SMA1-K Antenna Replacement: paso 2, imagen 1 de 2 Pioneer A1 XW-SMA1-K Antenna Replacement: paso 2, imagen 2 de 2
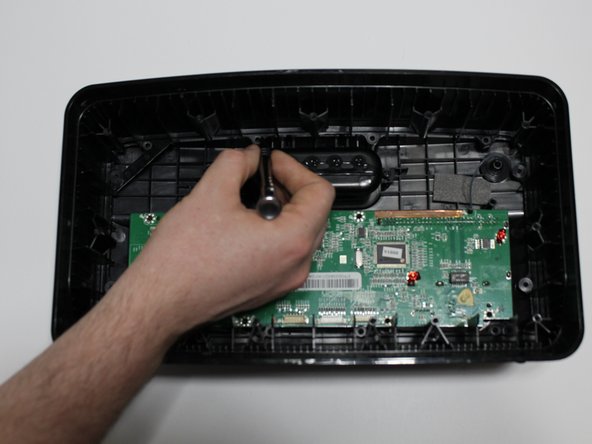
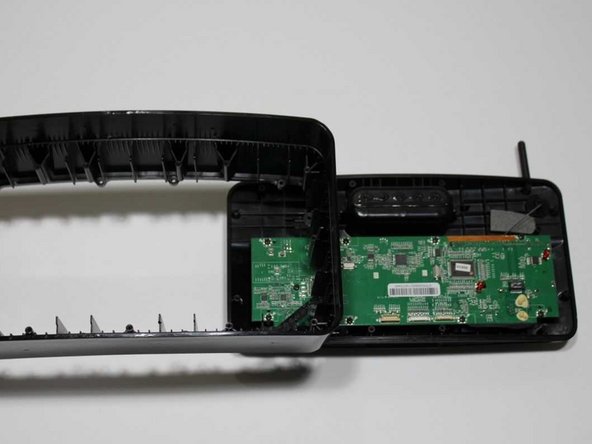
    • Use a Phillips #1 screwdriver to remove the thirteen 12 mm screws in the speaker frame.

    • Remove the speaker frame by pulling vertically upwards revealing the motherboard.

  3. Pioneer A1 XW-SMA1-K Antenna Replacement: paso 3, imagen 1 de 3 Pioneer A1 XW-SMA1-K Antenna Replacement: paso 3, imagen 2 de 3 Pioneer A1 XW-SMA1-K Antenna Replacement: paso 3, imagen 3 de 3
    • Use a Phillips #1 screwdriver to remove the twelve 12 mm screws from the middle frame.

    • Remove the middle frame by pulling upward and vertically.

  4. Pioneer A1 XW-SMA1-K Antenna Replacement: paso 4, imagen 1 de 2 Pioneer A1 XW-SMA1-K Antenna Replacement: paso 4, imagen 2 de 2
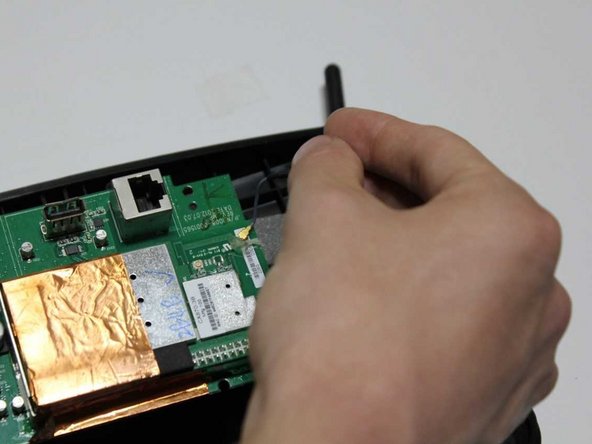
    • Use the Phillips #1 screwdriver to remove the nine 12 mm screws from the motherboard.

    • Flip the motherboard over.

    • Remove the motherboard by detaching the antenna.

  5. Pioneer A1 XW-SMA1-K Antenna Replacement, Motherboard: paso 5, imagen 1 de 1
    • Remove the motherboard from the speaker.

  6. Pioneer A1 XW-SMA1-K Antenna Replacement, Antenna: paso 6, imagen 1 de 2 Pioneer A1 XW-SMA1-K Antenna Replacement, Antenna: paso 6, imagen 2 de 2
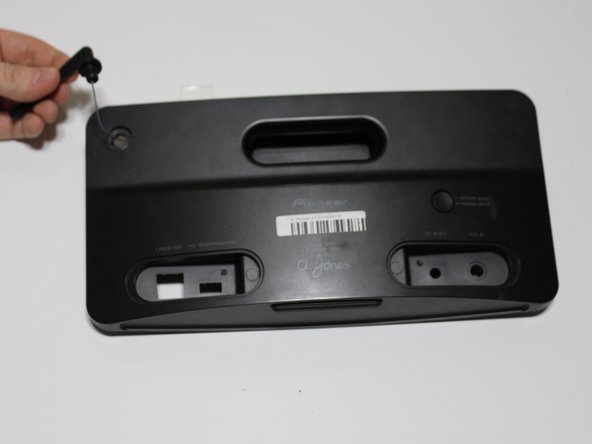
    • Flip over the back panel and pull the antenna up and out.

Conclusión

To reassemble your device, follow these instructions in reverse order.

0 comentarios

Agregar Comentario

Ver Estadísticas:

Ultimas 24 horas: 2

Ultimos 7 días: 3

Ultimos 30 días: 9

Todo El Tiempo: 528