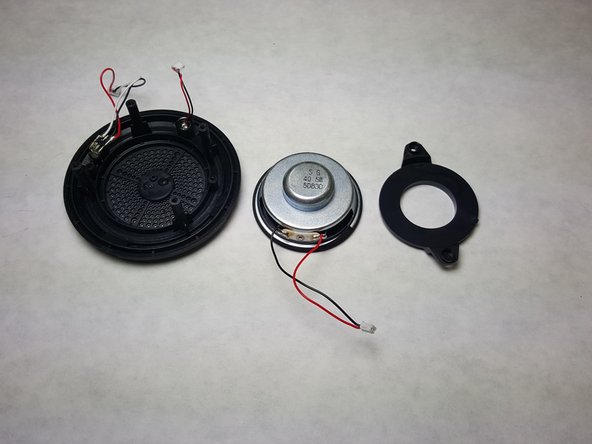
Saltar al contenido principal

Photive Rain Speaker Replacement

Qué necesitas

  1. Photive Rain Speaker Replacement, Back Panel: paso 1, imagen 1 de 1
    • Turn the speaker off before disassembling.

    • Remove the suction cup from its groove by twisting and turning it.

  2. Photive Rain Speaker Replacement: paso 2, imagen 1 de 1
    • Remove the four 8.5 mm screws from the back panel of the speaker by using the Phillips #1 Screwdriver.

    • Remove back panel

  3. Photive Rain Speaker Replacement, Speaker: paso 3, imagen 1 de 1
    • Carefully remove the front panel from the device.

  4. Photive Rain Speaker Replacement: paso 4, imagen 1 de 1
    • Detach the connector clips from the motherboard using the iFixit Opening Tool.

    • Some force may be necessary to remove the plastic clips.

  5. Photive Rain Speaker Replacement: paso 5, imagen 1 de 2 Photive Rain Speaker Replacement: paso 5, imagen 2 de 2
    • After the speaker is detached, remove the two 8.5mm screws that hold the speaker to the front panel with a Phillips #1 screwdriver.

Conclusión

To reassemble your device, follow these instructions in reverse order.

2 personas más completaron esta guía.

abcdef ghijk

Miembro Desde 02/15/16

723 Reputación

4 Guías creadas

Equipo

IUPUI, Team 1-4, Harley Spring 2016 Miembro de IUPUI, Team 1-4, Harley Spring 2016

IUPUI-HARLEY-S16S1G4

3 Miembros

4 Guías creadas

0 comentarios

Agregar Comentario

Ver Estadísticas:

Ultimas 24 horas: 0

Ultimos 7 días: 1

Ultimos 30 días: 8

Todo El Tiempo: 298