Introducción
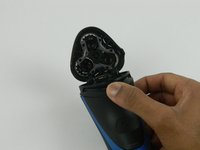
Esta guía mostrará los pasos necesarios para abrir la afeitadora y reemplazar la carcasa. Útil si tienes una afeitadora extra.
Qué necesitas
-
-
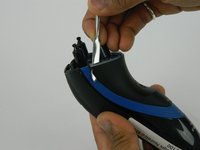
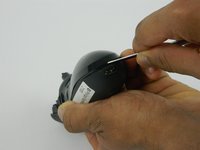
Retira el único tornillo de la carcasa trasera con un destornillador Torx T8.
-
-


Para volver a ensamblar tu dispositivo, sigue estas instrucciones en orden inverso.
Para volver a ensamblar tu dispositivo, sigue estas instrucciones en orden inverso.
Cancelar: No complete esta guía.
Una persona más ha completado esta guía.
Un agradecimiento especial a estos traductores:
100%

¡ Francisco Javier Saiz Esteban nos está ayudando a reparar el mundo! ¿Quieres contribuir?
Empezar a traducir ›

Equipo

USF Tampa, Team S1-G4, Thompson Fall 2017 Miembro de USF Tampa, Team S1-G4, Thompson Fall 2017
USFT-THOMPSON-F17S1G4
3 Miembros
10 Guías creadas