Saltar al contenido principal
Únete a la Comunidad de Reparación - Crear Cuenta

Pantech Matrix Camera Button Replacement

Qué necesitas

  1. Pantech Matrix Camera Button Replacement, Phone Orientation: paso 1, imagen 1 de 1
    • Place phone with screen side facing toward you.

    Pregunta a FixBot

    Agregar Comentario

  2. Pantech Matrix Camera Button Replacement, Phone Orientation: paso 2, imagen 1 de 1
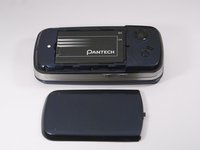
    • Flip phone over so screen side is now facing down.

    Pregunta a FixBot

    Agregar Comentario

  3. Pantech Matrix Camera Button Replacement, Remove Back Cover: paso 3, imagen 1 de 2 Pantech Matrix Camera Button Replacement, Remove Back Cover: paso 3, imagen 2 de 2
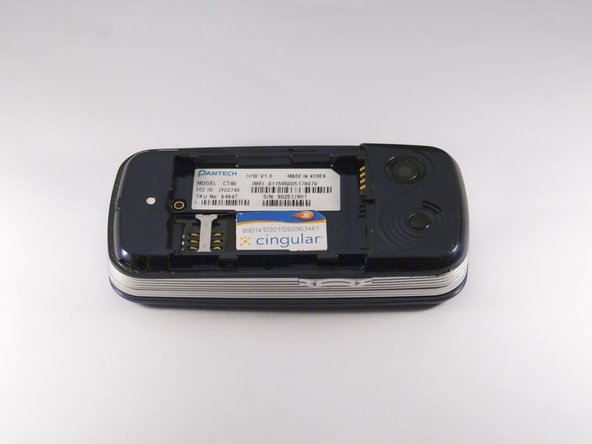
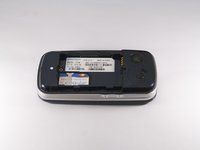
    • Gently slide the backside phone cover off exposing the battery underneath.

    Pregunta a FixBot

    Agregar Comentario

  4. Pantech Matrix Camera Button Replacement, Lift Battery: paso 4, imagen 1 de 1
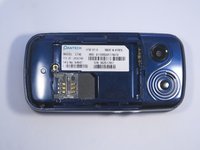
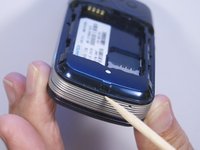
    • Carefully lift the battery up from where the spudger is pointed.

    Pregunta a FixBot

    Agregar Comentario

  5. Pantech Matrix Camera Button Replacement, Remove Battery: paso 5, imagen 1 de 1
    • Remove the battery from its dock.

    Pregunta a FixBot

    Agregar Comentario

  6. Pantech Matrix Camera Button Replacement, Slide SIM Card Out: paso 6, imagen 1 de 3 Pantech Matrix Camera Button Replacement, Slide SIM Card Out: paso 6, imagen 2 de 3 Pantech Matrix Camera Button Replacement, Slide SIM Card Out: paso 6, imagen 3 de 3
    • Slide the SIM Card out of its dock.

    Pregunta a FixBot

    Agregar Comentario

  7. Pantech Matrix Camera Button Replacement, Remove Phone Screws: paso 7, imagen 1 de 2 Pantech Matrix Camera Button Replacement, Remove Phone Screws: paso 7, imagen 2 de 2
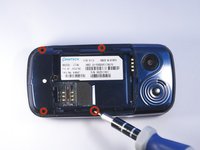
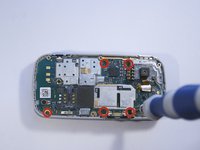
    • Use a Phillips screwdriver to remove the four 2mm Phillips #000 screws from each corner of the device.

    Pregunta a FixBot

    Agregar Comentario

  8. Pantech Matrix Camera Button Replacement, Identify and Remove Phone Casing: paso 8, imagen 1 de 2 Pantech Matrix Camera Button Replacement, Identify and Remove Phone Casing: paso 8, imagen 2 de 2
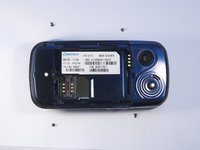
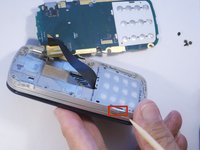
    • Rotate the phone so the base is facing you.

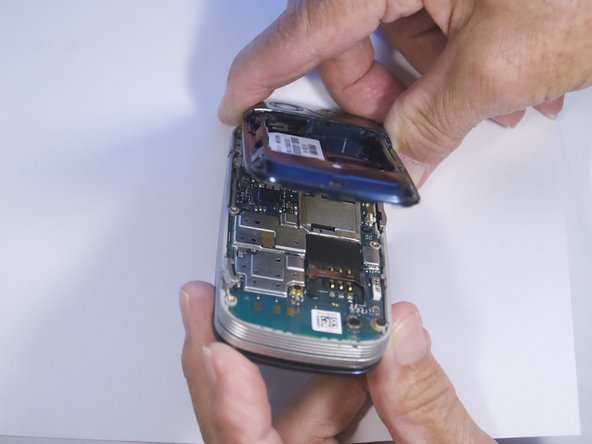
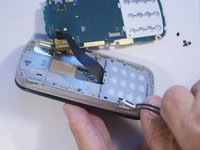
    • Use spudger to separate phone casing and inside as shown.

    • Remove the casing carefully and set aside.

    Pregunta a FixBot

    Agregar Comentario

  9. Pantech Matrix Camera Button Replacement, Remove Camera Screws: paso 9, imagen 1 de 2 Pantech Matrix Camera Button Replacement, Remove Camera Screws: paso 9, imagen 2 de 2
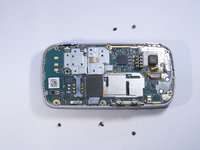
    • Place phone with exposed motherboard facing you.

    • Use a Phillips screwdriver to remove the five 2mm Phillips #000 screws holding the camera in place.

    Pregunta a FixBot

    Agregar Comentario

  10. Pantech Matrix Camera Button Replacement, Identify and Remove Camera Button: paso 10, imagen 1 de 2 Pantech Matrix Camera Button Replacement, Identify and Remove Camera Button: paso 10, imagen 2 de 2
    • Carefully remove the motherboard to expose the camera button.

    • Grasp the camera button with a polypus and pull gently to remove the camera button.

    Pregunta a FixBot

    Agregar Comentario

Conclusión

To reassemble your device, follow these instructions in reverse order.

Cancelar: No complete esta guía.

Una persona más ha completado esta guía.

Zeel Patel

Miembro Desde 10/13/14

1,096 Reputación

9 Guías creadas

0Guía Comentarios

Agregar Comentario

Ver Estadísticas:

Ultimas 24 horas: 1

Ultimos 7 días: 5

Ultimos 30 días: 30

Todo El Tiempo: 381