Esta versión puede contener ediciones incorrectas. Cambie a la última instantánea verificada.
Qué necesitas
-
Este paso está sin traducir. Ayuda a traducirlo
-
Open the laptop and face it towards you.
-
Remove the three 3 mm Phillips #00 screws at the top of the base.
-
-
Este paso está sin traducir. Ayuda a traducirlo
-
Use an opening tool to pry up and remove the plastic cover above the keyboard.
-
Push the screen all the way back, then squeeze and push up on the two black hinge covers to remove the whole piece.
-
-
-
Este paso está sin traducir. Ayuda a traducirlo
-
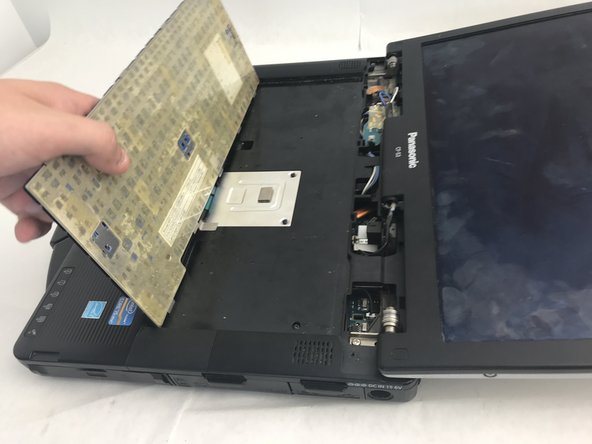
Gently pull up on the keyboard from the top.
-
There is an adhesive securing the keyboard in place. You will need to break that in order to remove the keyboard.
-
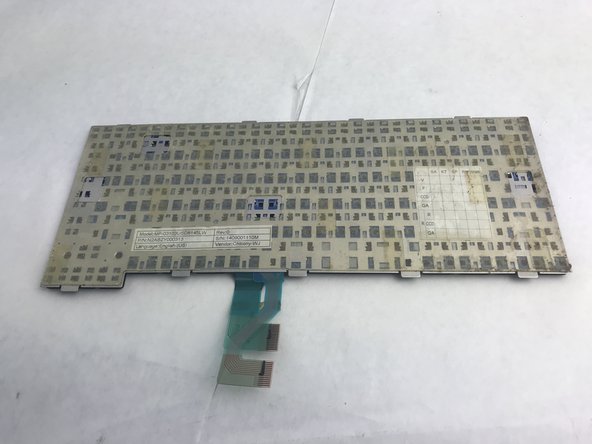
Fold the keyboard over and lay it flat on the keys so that you can access the panel under it.
-
-
Este paso está sin traducir. Ayuda a traducirlo
-
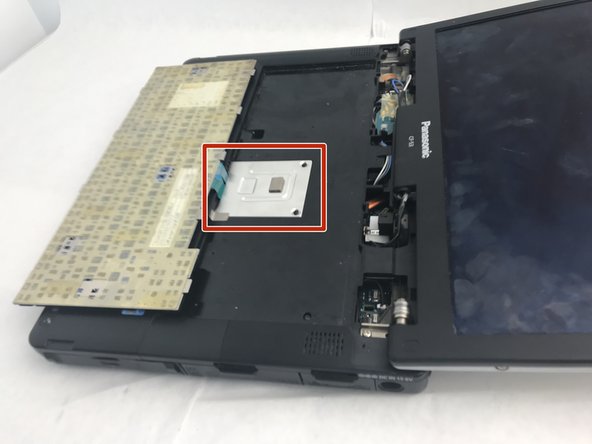
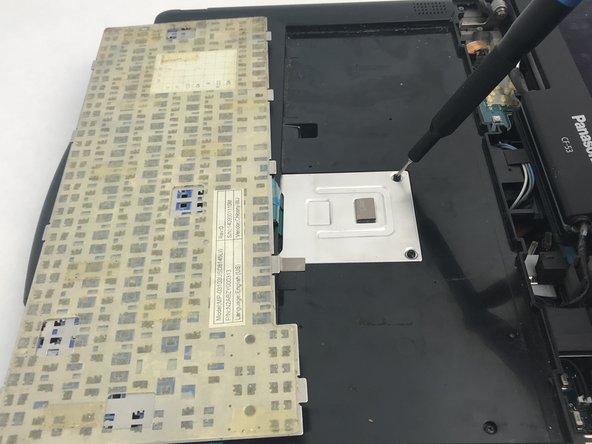
Remove the two 3 mm Phillips #00 screws securing the aluminum plate to the laptop.
-
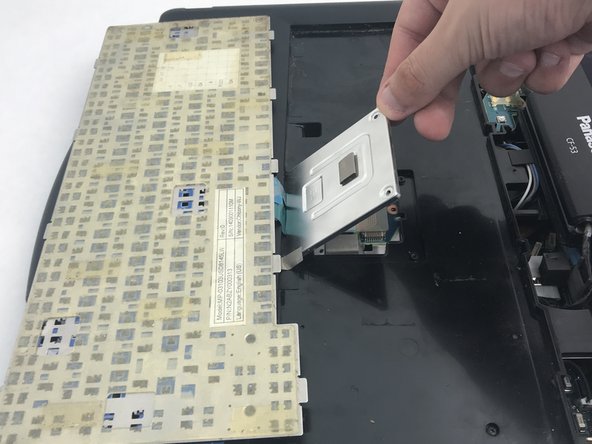
Use an opening tool or your hands to lift up and remove the cover plate.
-
-
Este paso está sin traducir. Ayuda a traducirlo
-
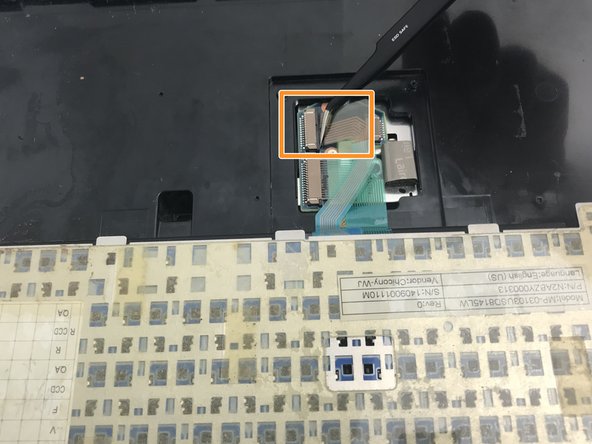
Use the tweezers to gently pull the top ribbon connection from its slot.
-
-
Este paso está sin traducir. Ayuda a traducirlo
-
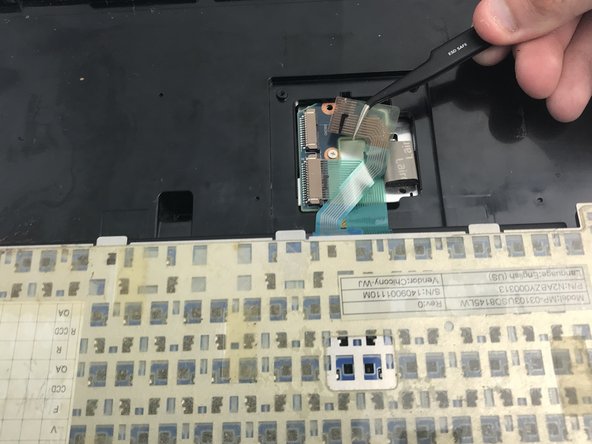
With the top ribbon connection folded back, use the tweezers to carefully remove the bottom ribbon connection.
-
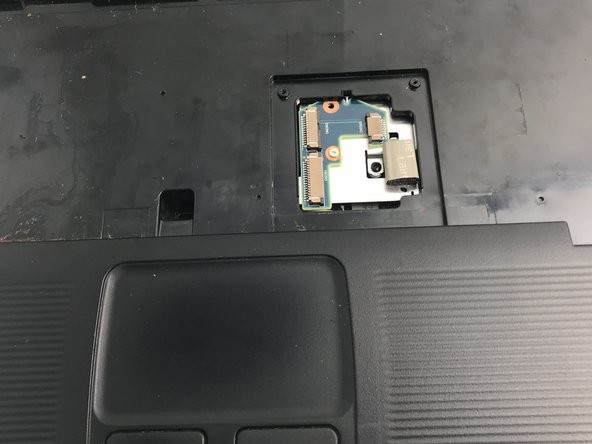
Break any adhesives holding the ribbon connections to the laptop and pull them away so that the keyboard can be removed.
-


Cancelar: No complete esta guía.
Una persona más ha completado esta guía.

Equipo

Embry-Riddle Aeronautical University, Team S6-G4, Salas Fall 2019 Miembro de Embry-Riddle Aeronautical University, Team S6-G4, Salas Fall 2019
ERAU-SALAS-F19S6G4
3 Miembros
7 Guías creadas