Esta versión puede contener ediciones incorrectas. Cambie a la última instantánea verificada.
Qué necesitas
-
Este paso está sin traducir. Ayuda a traducirlo
-
Remove right side shell. There are two screws that are right behind the strap that also need to be removed.
-
-
Este paso está sin traducir. Ayuda a traducirlo
-
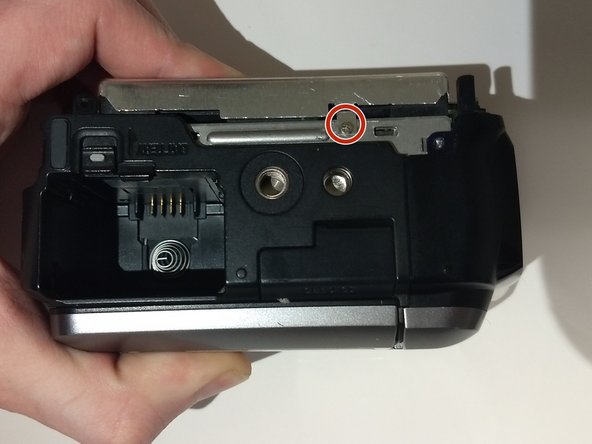
Remove the last screw.
-
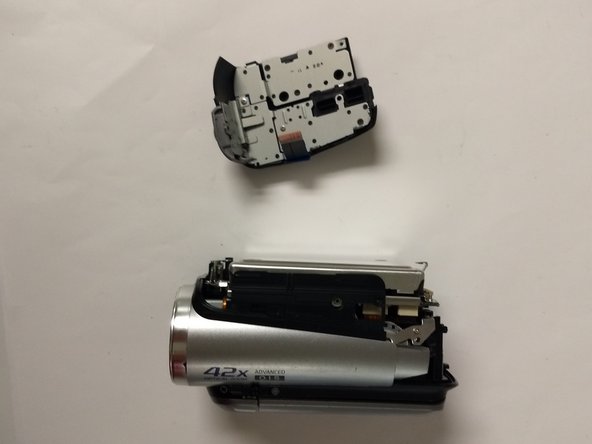
To remove the panel you simply pull it back.
-
-
-
Este paso está sin traducir. Ayuda a traducirlo
-
Remove the three screws highlighted in the pictures shown.
-
To avoid damaging the device, slowly pick up the hard drive to reveal an orange ribbon cable attached to the motherboard pull back on the dark brown tab and carefully pull out the ribbon cable . Then you may proceed with removing the hard drive.
-
-
Este paso está sin traducir. Ayuda a traducirlo
-
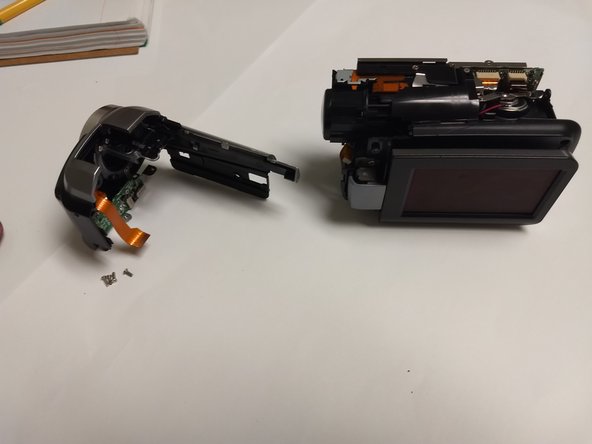
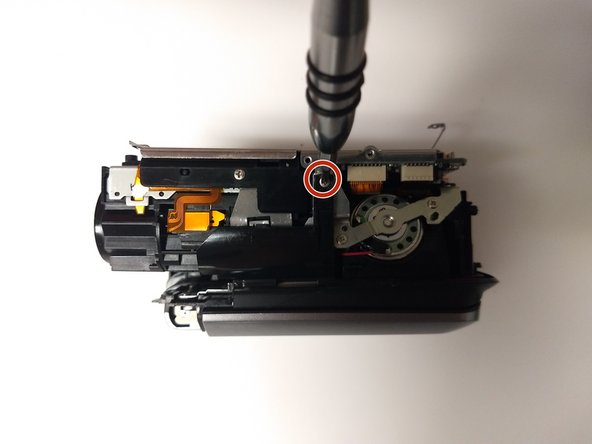
Remove the screws circled.
-
Pull front section away from the rest of the camera to remove it.
-
-
Este paso está sin traducir. Ayuda a traducirlo
-
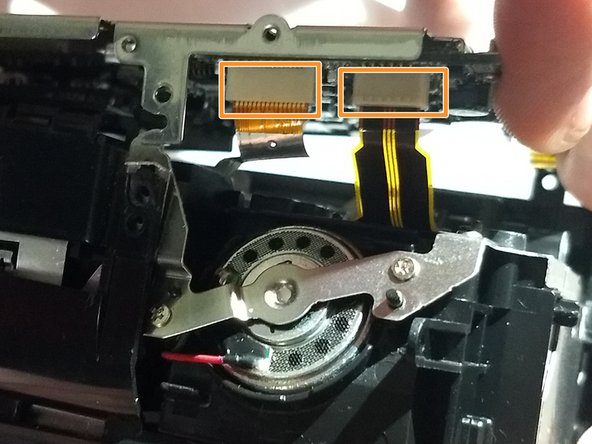
Remove the screws circled.
-
Carefully pull the motherboard away from the the rest of the camera.
-
Detach the ribbon cables from the motherboard.
-
-
Este paso está sin traducir. Ayuda a traducirlo
-
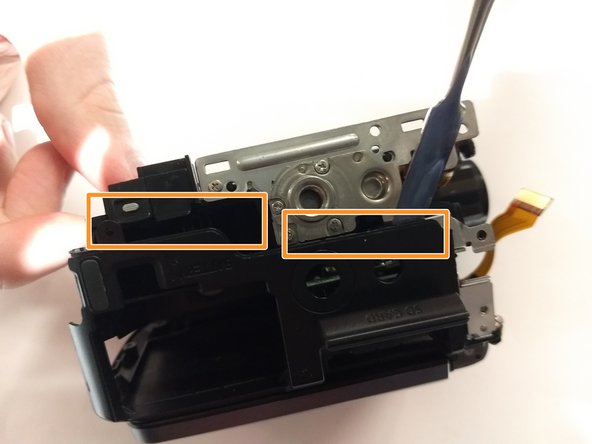
Remove screw circled.
-
Use a spatula to pull up the black shell and pull it away from the rest of the camera
-
-
Este paso está sin traducir. Ayuda a traducirlo
-
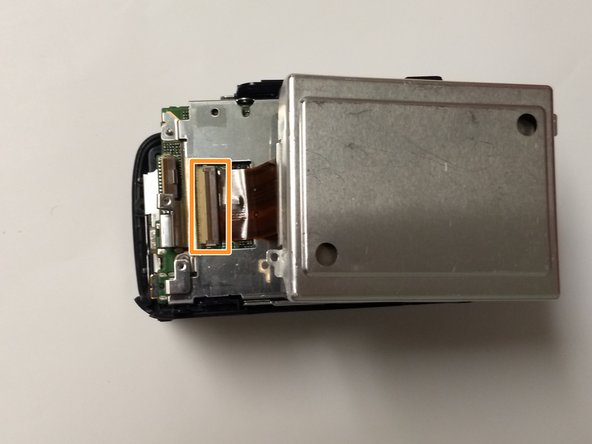
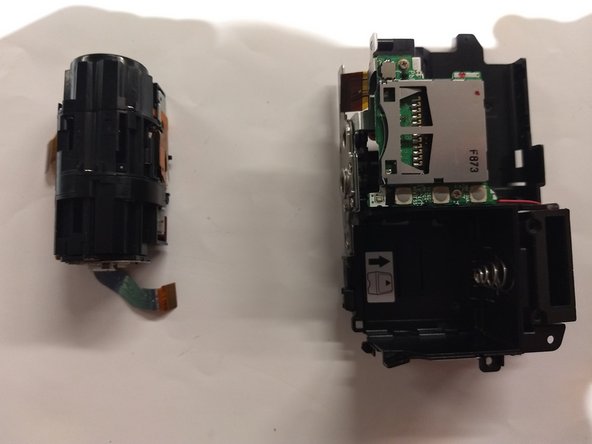
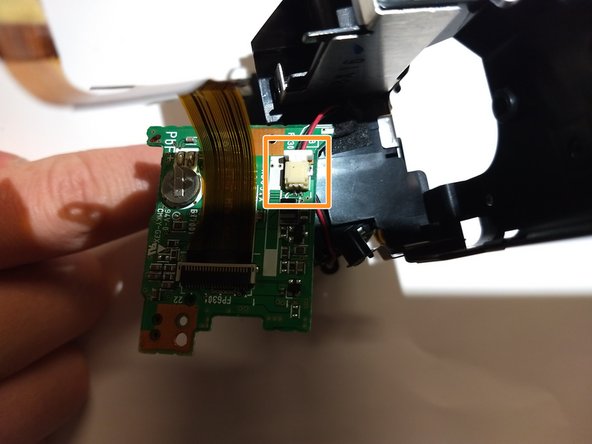
Remove the two screws using a Phillips #00 screwdriver.
-
Use tweezers to slowly pull out the cable.
-


Equipo

University of North Texas, Team S6-G6, Thompson Fall 2018 Miembro de University of North Texas, Team S6-G6, Thompson Fall 2018
UNT-THOMPSON-F18S6G6
4 Miembros
10 Guías creadas