Saltar al contenido principal

Esta guía ha sufrido modificaciones. Revisa la última versión sin revisar.

Panasonic SA-PM17 Tape Player Cover Replacement

Qué necesitas

  1. Panasonic SA-PM17 Tape Player Cover Replacement, Tape Player Unit: paso 1, imagen 1 de 2 Panasonic SA-PM17 Tape Player Cover Replacement, Tape Player Unit: paso 1, imagen 2 de 2
    • With a Phillips #0 screwdriver, remove the eight 9.5mm screws attached to the left and right panels of the device.

  2. Panasonic SA-PM17 Tape Player Cover Replacement: paso 2, imagen 1 de 1
    • With a Phillips #0 screwdriver, remove the five 11.5mm screws attached to the backside panel of the device.

    • Organize and label screws into a Ziploc bag for an easier resemble process.

  3. Panasonic SA-PM17 Tape Player Cover Replacement: paso 3, imagen 1 de 1
    • Detach the right and left panels from the device.

  4. Panasonic SA-PM17 Tape Player Cover Replacement: paso 4, imagen 1 de 1
    • Lift the top panel and gently place alongside the device.

    • Allow the top panel to rest on the back without reattaching it.

    • CAUTION: Do not extend the top panel too far from the device due to the connected wires.

  5. Panasonic SA-PM17 Tape Player Cover Replacement: paso 5, imagen 1 de 2 Panasonic SA-PM17 Tape Player Cover Replacement: paso 5, imagen 2 de 2
    • With the tweezers, detach the indicated tabs from the hooks by lifting upward.

    • Disconnecting the tabs will release a portion of the front panel connected to the entire device.

  6. Panasonic SA-PM17 Tape Player Cover Replacement: paso 6, imagen 1 de 1
    • Lift the top panel upward while firmly sliding it towards the back of the device.

    • CAUTION: Do not extend the top panel too far from the device due to the connected wires.

    • The wires connected to the top panel will need to be disconnected in order to completely detach the panel.

  7. Panasonic SA-PM17 Tape Player Cover Replacement: paso 7, imagen 1 de 2 Panasonic SA-PM17 Tape Player Cover Replacement: paso 7, imagen 2 de 2
    • Disconnect the black wire by gripping the wire at the base and pulling gently until released.

  8. Panasonic SA-PM17 Tape Player Cover Replacement: paso 8, imagen 1 de 3 Panasonic SA-PM17 Tape Player Cover Replacement: paso 8, imagen 2 de 3 Panasonic SA-PM17 Tape Player Cover Replacement: paso 8, imagen 3 de 3
    • This step deals with the indicated area of the device.

    • Using the tweezers, detach the indicated tabs so that the cord may be released from the restraints.

    • Gently pull on the cord, near its base, until it comes free of the restraint.

  9. Panasonic SA-PM17 Tape Player Cover Replacement: paso 9, imagen 1 de 3 Panasonic SA-PM17 Tape Player Cover Replacement: paso 9, imagen 2 de 3 Panasonic SA-PM17 Tape Player Cover Replacement: paso 9, imagen 3 de 3
    • This step deals with the indicated area of the device.

    • Lift the indicated tabs out until the restraint looks like the final picture.

    • Gently pull on the cord until it is released from the attachment.

    • The top panel is now disconnected from the device.

  10. Panasonic SA-PM17 Tape Player Cover Replacement: paso 10, imagen 1 de 2 Panasonic SA-PM17 Tape Player Cover Replacement: paso 10, imagen 2 de 2
    • Remove the four 12.1mm screws using a Phillips #0 screwdriver.

    • Organize and label screws into a Ziploc bag for safe keeping and easier resembling process.

  11. Panasonic SA-PM17 Tape Player Cover Replacement: paso 11, imagen 1 de 3 Panasonic SA-PM17 Tape Player Cover Replacement: paso 11, imagen 2 de 3 Panasonic SA-PM17 Tape Player Cover Replacement: paso 11, imagen 3 de 3
    • This step deals with the indicated area.

    • Using the tweezers, pull the indicated latch to the right to disconnect the tape player unit from the top of the device.

    • While holding the latch to the right, lift the unit up from the plastic.

    • CAUTION: When the latch is disengaged, the tape cover may push out and force the rest of the apparatus to pop up. This is normal, but be careful that the tape cover does not pop out too quickly.

    • NOTE: When placing this unit back on the device, you can simply push the unit into position. The latch will automatically snap into position.

  12. Panasonic SA-PM17 Tape Player Cover Replacement, Tape Player Cover: paso 12, imagen 1 de 3 Panasonic SA-PM17 Tape Player Cover Replacement, Tape Player Cover: paso 12, imagen 2 de 3 Panasonic SA-PM17 Tape Player Cover Replacement, Tape Player Cover: paso 12, imagen 3 de 3
    • Use thumbs to push the casing forward as indicated.

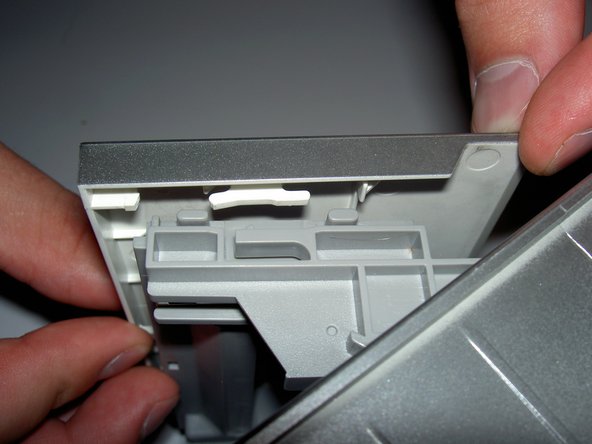
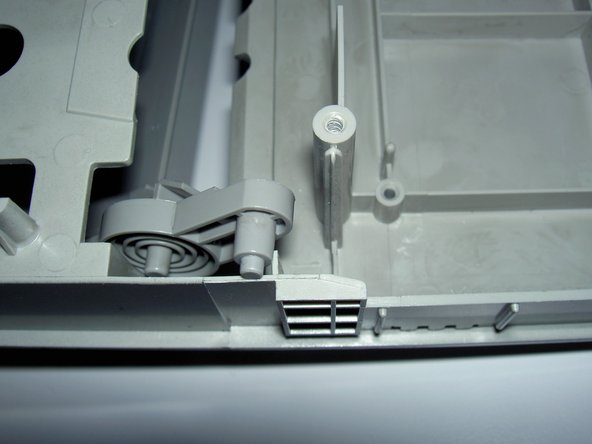
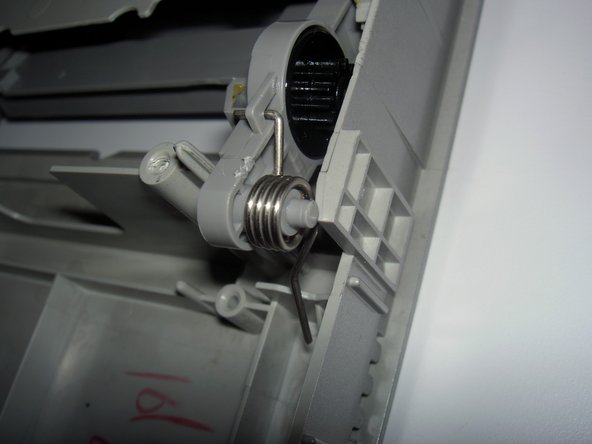
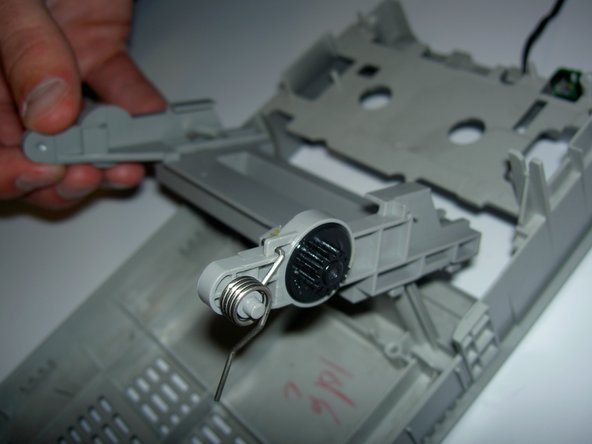
    • Note the position of the tabs in these pictures. Once the casing has slid forward, it should come loose. Place it aside.

  13. Panasonic SA-PM17 Tape Player Cover Replacement: paso 13, imagen 1 de 3 Panasonic SA-PM17 Tape Player Cover Replacement: paso 13, imagen 2 de 3 Panasonic SA-PM17 Tape Player Cover Replacement: paso 13, imagen 3 de 3
    • This step deals with the indicated area.

    • Pull back on the indicated peg while pulling forward on the tab until the peg comes out of its hole.

    • Lift the peg up and allow to rest on top, as indicated.

    • Note: This step requires some force.

  14. Panasonic SA-PM17 Tape Player Cover Replacement: paso 14, imagen 1 de 3 Panasonic SA-PM17 Tape Player Cover Replacement: paso 14, imagen 2 de 3 Panasonic SA-PM17 Tape Player Cover Replacement: paso 14, imagen 3 de 3
    • This step deals with the indicated area.

    • Pull back on the indicated peg while pulling forward on the tab.

    • Once the peg is loose of its hole, lift upward until it is clear of the tab.

    • Note: This step will also take some force.

  15. Panasonic SA-PM17 Tape Player Cover Replacement: paso 15, imagen 1 de 3 Panasonic SA-PM17 Tape Player Cover Replacement: paso 15, imagen 2 de 3 Panasonic SA-PM17 Tape Player Cover Replacement: paso 15, imagen 3 de 3
    • Lift the cover up and out from the inside of the top section.

    • If at first the cover does not come free, jiggle it around until it does. Do not force it out.

    • Note the position of the indicated spring and gear, then remove and place on your new tape player cover.

Conclusión

To reassemble your device, follow these instructions in reverse order.

NathanB

Miembro Desde 04/13/11

418 Reputación

5 Guías creadas

Equipo

Cal Poly, Team 4-1, Regan Spring 2011 Miembro de Cal Poly, Team 4-1, Regan Spring 2011

CPSU-REGAN-S11S4G1

3 Miembros

5 Guías creadas

0 comentarios

Agregar Comentario

Ver Estadísticas:

Ultimas 24 horas: 0

Ultimos 7 días: 2

Ultimos 30 días: 6

Todo El Tiempo: 3,280