Saltar al contenido principal

Panasonic Lumix DMC-ZS19 Menu/Set Button Replacement

Qué necesitas

  1. Panasonic Lumix DMC-ZS19 Menu/Set Button  Replacement, Menu/Set Button: paso 1, imagen 1 de 3 Panasonic Lumix DMC-ZS19 Menu/Set Button  Replacement, Menu/Set Button: paso 1, imagen 2 de 3 Panasonic Lumix DMC-ZS19 Menu/Set Button  Replacement, Menu/Set Button: paso 1, imagen 3 de 3
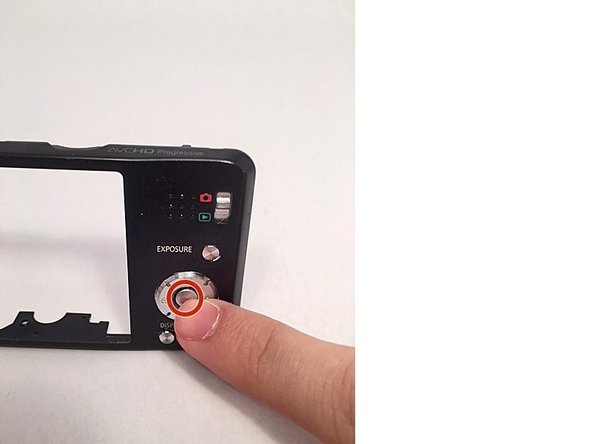
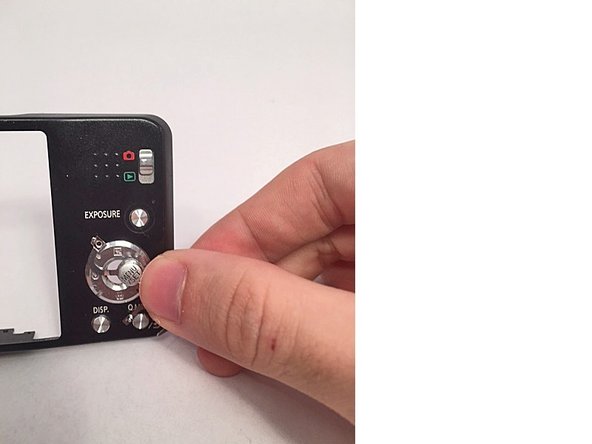
    • Start by removing the screws located on the left and right hand side panels of the camera (two sets of pairs of screws). Next remove the pair of screws on the bottom of the camera. (6 in total)

  2. Panasonic Lumix DMC-ZS19 Menu/Set Button  Replacement: paso 2, imagen 1 de 1
    • Gently remove the loosened panel from the LCD screen.

  3. Panasonic Lumix DMC-ZS19 Menu/Set Button  Replacement: paso 3, imagen 1 de 3 Panasonic Lumix DMC-ZS19 Menu/Set Button  Replacement: paso 3, imagen 2 de 3 Panasonic Lumix DMC-ZS19 Menu/Set Button  Replacement: paso 3, imagen 3 de 3
    • Carefully use a finger to pop out the Menu/Set button from the panel by pushing on it.

Conclusión

To reassemble your device, follow these instructions in reverse order.

2 personas más completaron esta guía.

Willard Scott

Miembro Desde 08/26/15

257 Reputación

1 Guía escrita

Equipo

USF Tampa, Team 14-1, Meier Fall 2015 Miembro de USF Tampa, Team 14-1, Meier Fall 2015

USFT-MEIER-F15S14G1

4 Miembros

10 Guías creadas

0 comentarios

Agregar Comentario

Ver Estadísticas:

Ultimas 24 horas: 0

Ultimos 7 días: 5

Ultimos 30 días: 5

Todo El Tiempo: 272