Saltar al contenido principal

Envío gratis en pedidos nacionales de $75+

Panasonic Lumix DMC-G7 Rear Thumbwheel Replacement

Vistas: 2.8 k

Ver estadísticas:

Últimas 24 horas:
1
Últimos 7 días:
11
Últimos 30 días:
87
Todo El Tiempo:
2,824
Comentarios: 0

Nadie ha escrito comentarios en esta guía. ¿Quieres escribir el primero?

Ir a los comentarios de la guía
Completado: 3

3 personas han marcado esta guía como "completada". ¿Serás tú la próxima persona en hacerlo?

Favoritos: 0

Nadie ha marcado como "Favorita" ni se ha suscrito a esta guía. ¿Quieres hacerlo tú?

Tiempo Requerido: 40 Minuto - 1 Hora
Dificultad: Difícil
Panasonic Lumix DMC-G7 Rear Thumbwheel Replacement

Introducción

Ir al paso 1 ↓

If rotating the rear thumbwheel elicits no or inconsistent response from a powered on camera, it may need replacement. Follow this guide to learn how to remove and replace the rear thumbwheel.

Qué necesitas

Herramientas

    1. Panasonic Lumix DMC-G7 Rear Thumbwheel Replacement, Mainboard: paso 1, imagen 1 de 2 Panasonic Lumix DMC-G7 Rear Thumbwheel Replacement, Mainboard: paso 1, imagen 2 de 2
      • Unlock and open the battery compartment on the bottom of the camera.

      • Remove both the battery and SD card.

      Pregunta a FixBot

      Agregar Comentario

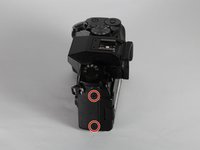
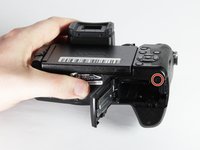
    2. Panasonic Lumix DMC-G7 Rear Thumbwheel Replacement: paso 2, imagen 1 de 3 Panasonic Lumix DMC-G7 Rear Thumbwheel Replacement: paso 2, imagen 2 de 3 Panasonic Lumix DMC-G7 Rear Thumbwheel Replacement: paso 2, imagen 3 de 3
      • Remove the four indicated 3.0mm long black screws from the bottom of the camera and the viewfinder housing using a PH0 Phillips screwdriver.

      • There are four screws on the bottom of the camera. Only remove the two nearest to the screen.

      Pregunta a FixBot

      Agregar Comentario

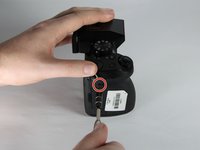
    3. Panasonic Lumix DMC-G7 Rear Thumbwheel Replacement: paso 3, imagen 1 de 3 Panasonic Lumix DMC-G7 Rear Thumbwheel Replacement: paso 3, imagen 2 de 3 Panasonic Lumix DMC-G7 Rear Thumbwheel Replacement: paso 3, imagen 3 de 3
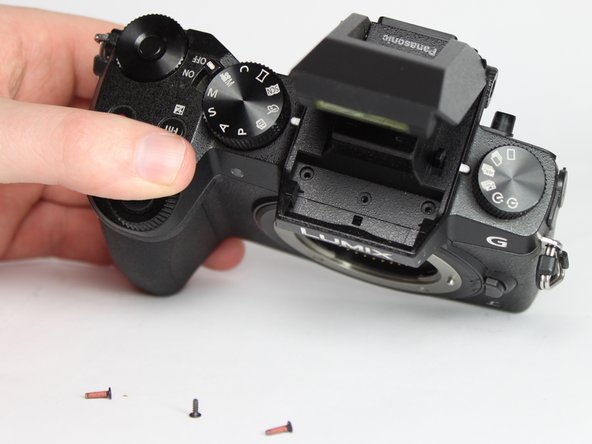
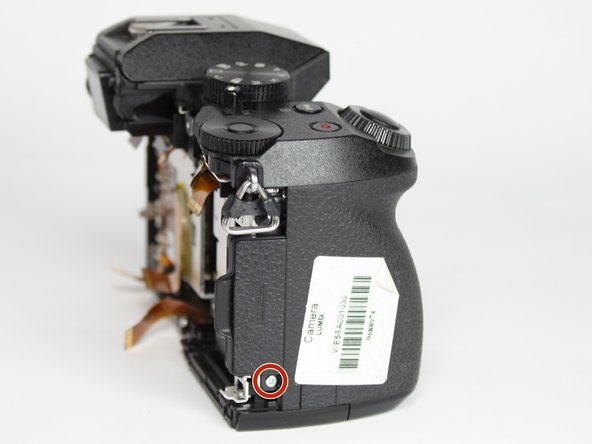
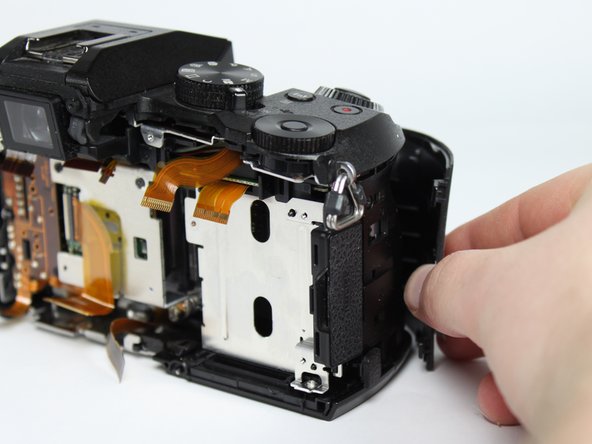
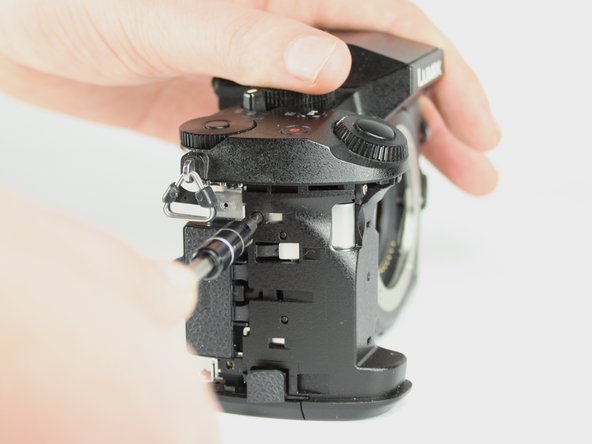
      • Remove the four indicated 6.0mm long black screws using a PH0 Phillips screwdriver.

      • Three of the screws are located on the sides of the chassis and one is directly underneath the battery compartment lid.

      Pregunta a FixBot

      Agregar Comentario

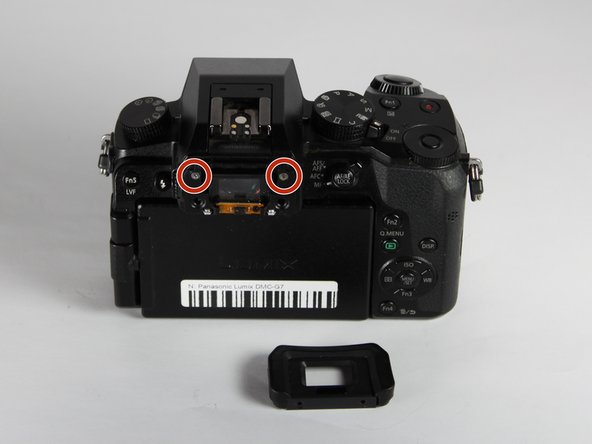
    4. Panasonic Lumix DMC-G7 Rear Thumbwheel Replacement: paso 4, imagen 1 de 3 Panasonic Lumix DMC-G7 Rear Thumbwheel Replacement: paso 4, imagen 2 de 3 Panasonic Lumix DMC-G7 Rear Thumbwheel Replacement: paso 4, imagen 3 de 3
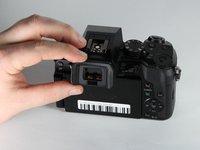
      • Remove the viewfinder eye cup by pulling up and out from the bottom to separate the locking clips from the camera.

      • Do not flex the eye cup too aggressively as it may lose its shape.

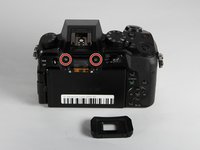
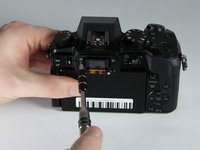
      • Remove the two indicated silver 3.5mm long screws adjacent to the viewfinder screen using a PH0 Phillips screwdriver.

      Pregunta a FixBot

      Agregar Comentario

    5. Panasonic Lumix DMC-G7 Rear Thumbwheel Replacement: paso 5, imagen 1 de 2 Panasonic Lumix DMC-G7 Rear Thumbwheel Replacement: paso 5, imagen 2 de 2
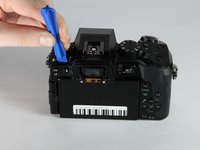
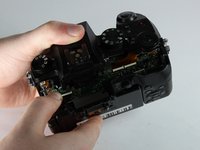
      • Use an iFixit opening tool (or similarly long and thin object) to insert into the gap between the two camera halves and pry the camera apart from the top.

      Pregunta a FixBot

      Agregar Comentario

    6. Panasonic Lumix DMC-G7 Rear Thumbwheel Replacement: paso 6, imagen 1 de 3 Panasonic Lumix DMC-G7 Rear Thumbwheel Replacement: paso 6, imagen 2 de 3 Panasonic Lumix DMC-G7 Rear Thumbwheel Replacement: paso 6, imagen 3 de 3
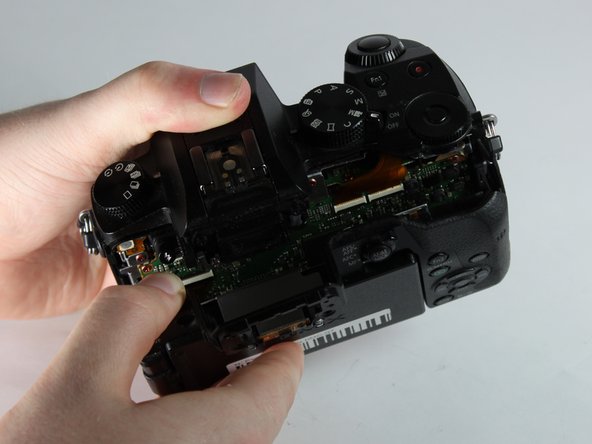
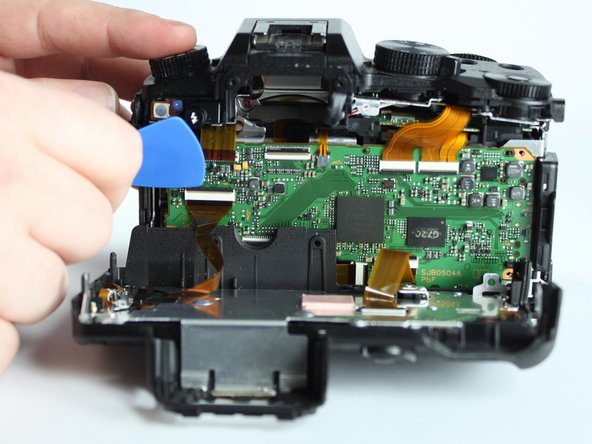
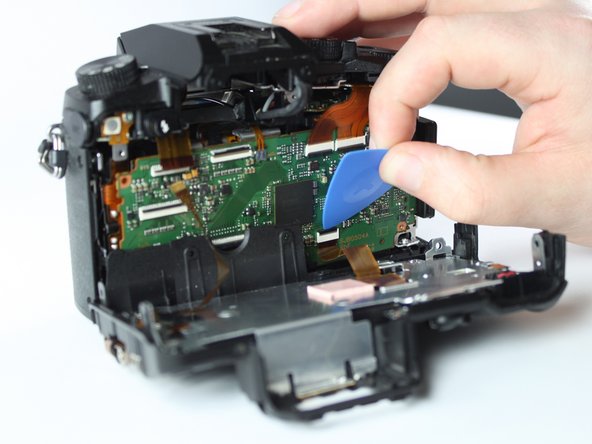
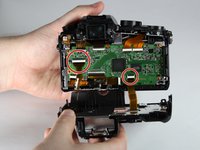
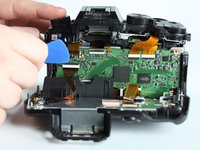
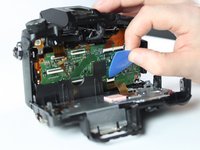
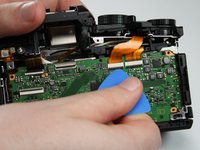
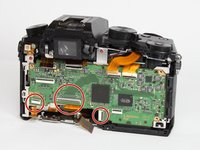
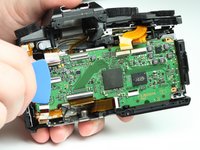
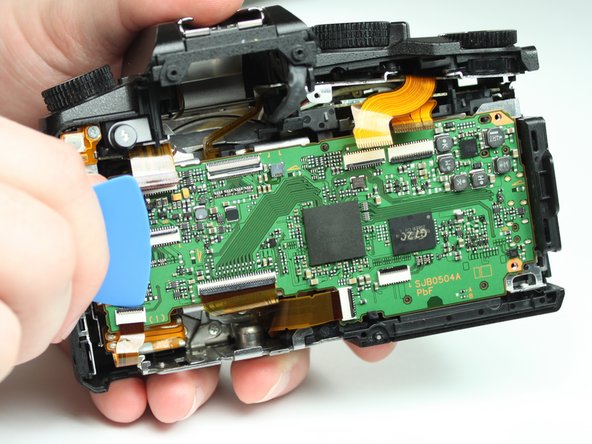
      • Remove the two indicated ribbon cables before separating the two halves of the camera.

      • Using a flat object, pry open the black tabs above the ribbon cable connectors by gently pulling away from the motherboard.

      • An opening pick is recommended, but any equally small and flat object will work.

      • Ribbon cables are fragile, so put as little stress on them as possible.

      Pregunta a FixBot

      Agregar Comentario

    7. Panasonic Lumix DMC-G7 Rear Thumbwheel Replacement: paso 7, imagen 1 de 2 Panasonic Lumix DMC-G7 Rear Thumbwheel Replacement: paso 7, imagen 2 de 2
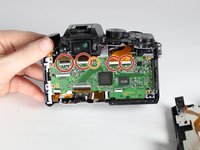
      • Remove the 4 indicated flex cables from top of mainboard

      • Remove the indicated small flex cable from top of mainboard.

      • The small flex cable does not have a lock: simply pull to disconnect it.

      Pregunta a FixBot

      Agregar Comentario

    8. Panasonic Lumix DMC-G7 Rear Thumbwheel Replacement: paso 8, imagen 1 de 2 Panasonic Lumix DMC-G7 Rear Thumbwheel Replacement: paso 8, imagen 2 de 2
      • Remove the 3 indicated flex cables from the bottom of the mainboard.

      Pregunta a FixBot

      Agregar Comentario

    9. Panasonic Lumix DMC-G7 Rear Thumbwheel Replacement: paso 9, imagen 1 de 3 Panasonic Lumix DMC-G7 Rear Thumbwheel Replacement: paso 9, imagen 2 de 3 Panasonic Lumix DMC-G7 Rear Thumbwheel Replacement: paso 9, imagen 3 de 3
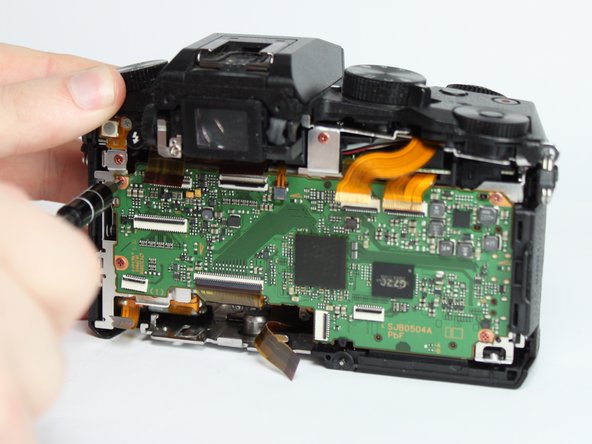
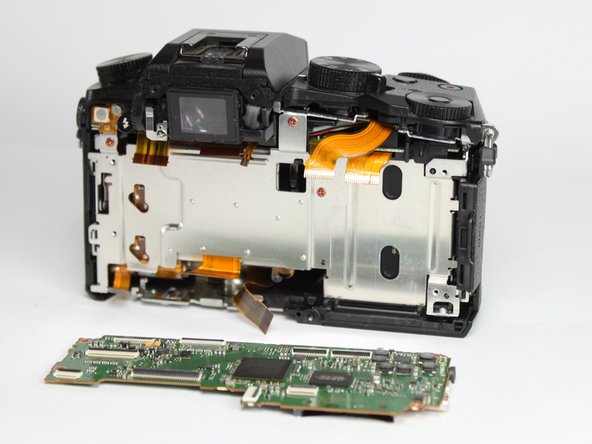
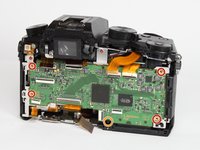
      • Remove the 4 indicated red 3.0mm long screws from the corners of mainboard using a Phillips PH0 screwdriver.

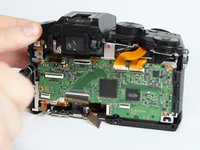
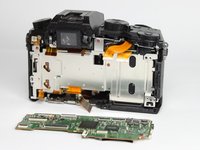
      • With the eyepiece facing away from you, pull up on the main PCB from the left side and then pull it away from the chassis.

      • There is a plastic locking tab on the bottom of the camera that holds the mainboard PCB.

      • A replacement mainboard can be purchased from AliExpress here

      Pregunta a FixBot

      Agregar Comentario

    1. Panasonic Lumix DMC-G7 Rear Thumbwheel Replacement, Rear Thumbwheel: paso 10, imagen 1 de 3 Panasonic Lumix DMC-G7 Rear Thumbwheel Replacement, Rear Thumbwheel: paso 10, imagen 2 de 3 Panasonic Lumix DMC-G7 Rear Thumbwheel Replacement, Rear Thumbwheel: paso 10, imagen 3 de 3
      • Remove the three indicated red 3.0mm screws from heat sink shield using a Phillips PH0 screwdriver, then remove the heat sink.

      Pregunta a FixBot

      Agregar Comentario

    2. Panasonic Lumix DMC-G7 Rear Thumbwheel Replacement: paso 11, imagen 1 de 2 Panasonic Lumix DMC-G7 Rear Thumbwheel Replacement: paso 11, imagen 2 de 2
      • Use a Phillips PH0 screwdriver to remove the two indicated black 6.0mm long screws from top of camera, underneath the flash mechanism.

      • Remove the indicated black 4.0mm long screw from the top of the camera.

      Pregunta a FixBot

      Agregar Comentario

    3. Panasonic Lumix DMC-G7 Rear Thumbwheel Replacement: paso 12, imagen 1 de 2 Panasonic Lumix DMC-G7 Rear Thumbwheel Replacement: paso 12, imagen 2 de 2
      • Remove the three indicated silver 5.0mm long screws from the back of the camera and the right side using a Phillips PH0 screwdriver.

      • The two screws on the back require a very thin screwdriver as they are only accessible through the holes on the back shield.

      Pregunta a FixBot

      Agregar Comentario

    4. Panasonic Lumix DMC-G7 Rear Thumbwheel Replacement: paso 13, imagen 1 de 3 Panasonic Lumix DMC-G7 Rear Thumbwheel Replacement: paso 13, imagen 2 de 3 Panasonic Lumix DMC-G7 Rear Thumbwheel Replacement: paso 13, imagen 3 de 3
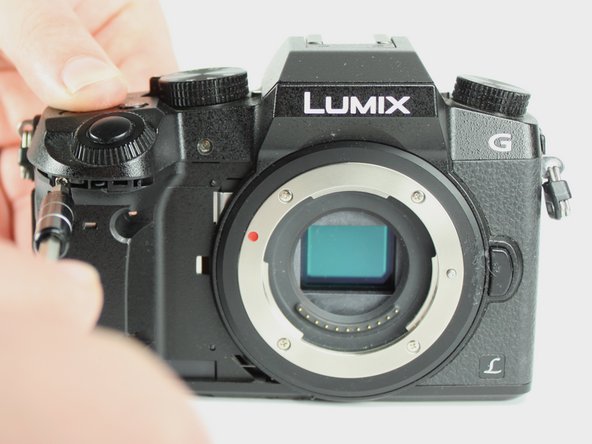
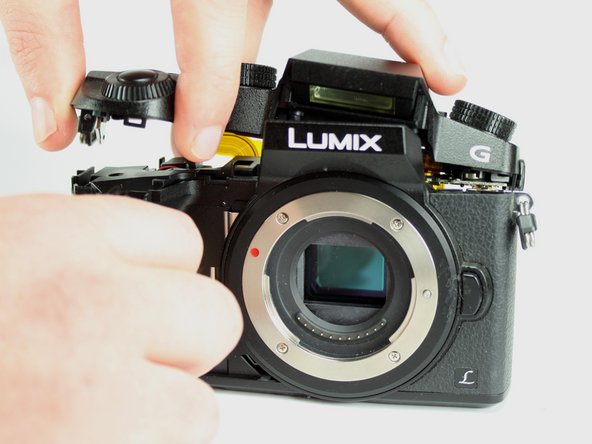
      • Remove the front grip from the camera by pulling it forward and out.

      Pregunta a FixBot

      Agregar Comentario

    5. Panasonic Lumix DMC-G7 Rear Thumbwheel Replacement: paso 14, imagen 1 de 2 Panasonic Lumix DMC-G7 Rear Thumbwheel Replacement: paso 14, imagen 2 de 2
      • Remove the indicated black 4.0mm long screw from the side under the front cover using a Phillips PH0 screwdriver.

      Pregunta a FixBot

      Agregar Comentario

    6. Panasonic Lumix DMC-G7 Rear Thumbwheel Replacement: paso 15, imagen 1 de 2 Panasonic Lumix DMC-G7 Rear Thumbwheel Replacement: paso 15, imagen 2 de 2
      • Remove the indicated silver 5.0mm long screw from under the front cover using a Phillips PH0 screwdriver.

      Pregunta a FixBot

      Agregar Comentario

    7. Panasonic Lumix DMC-G7 Rear Thumbwheel Replacement: paso 16, imagen 1 de 3 Panasonic Lumix DMC-G7 Rear Thumbwheel Replacement: paso 16, imagen 2 de 3 Panasonic Lumix DMC-G7 Rear Thumbwheel Replacement: paso 16, imagen 3 de 3
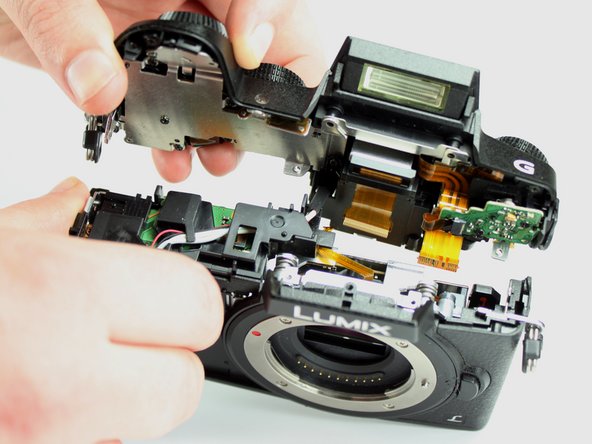
      • Lift the top unit away, separating it from the rest of the unit.

      Pregunta a FixBot

      Agregar Comentario

    8. Panasonic Lumix DMC-G7 Rear Thumbwheel Replacement: paso 17, imagen 1 de 3 Panasonic Lumix DMC-G7 Rear Thumbwheel Replacement: paso 17, imagen 2 de 3 Panasonic Lumix DMC-G7 Rear Thumbwheel Replacement: paso 17, imagen 3 de 3
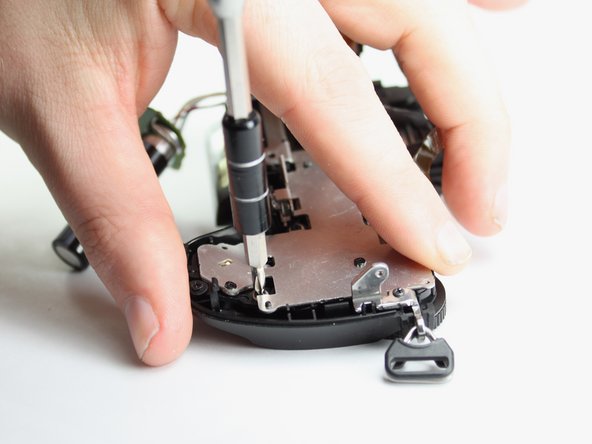
      • Remove the five indicated black 4.0mm long screws from the top plate shield using a Phillips PH0 screwdriver.

      • Remove the black 6.0 mm long screw from shoulder strap eyelet.

      Pregunta a FixBot

      Agregar Comentario

    9. Panasonic Lumix DMC-G7 Rear Thumbwheel Replacement: paso 18, imagen 1 de 1
      • Lift away the shoulder strap eyelet.

      • Lift away the metal shield plate.

      Pregunta a FixBot

      Agregar Comentario

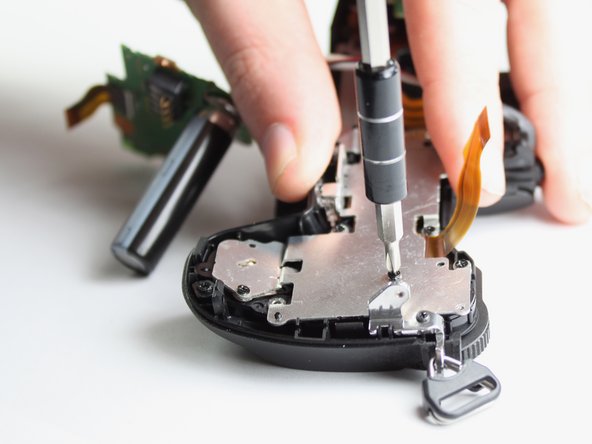
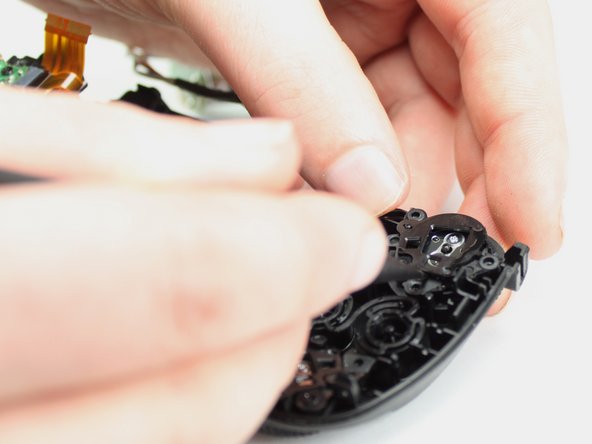
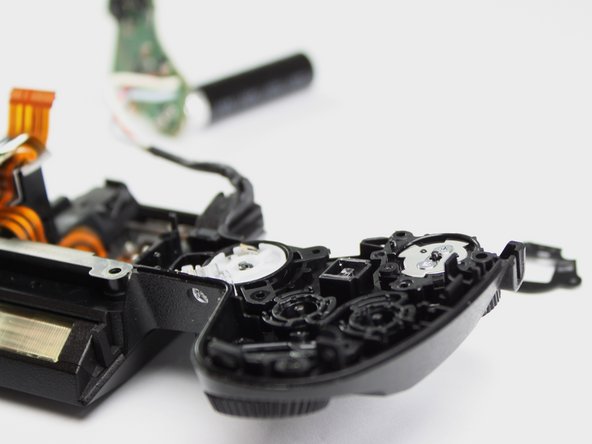
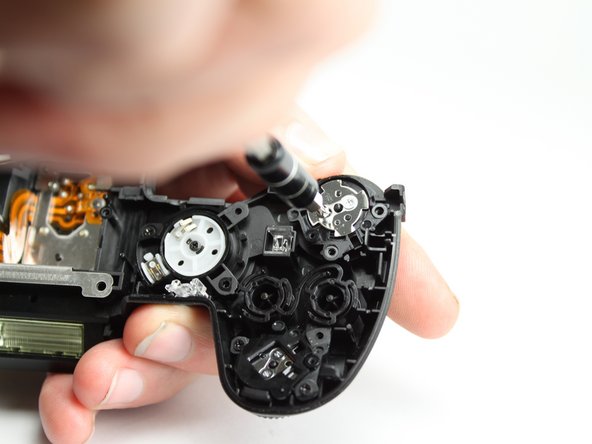
    10. Panasonic Lumix DMC-G7 Rear Thumbwheel Replacement: paso 19, imagen 1 de 3 Panasonic Lumix DMC-G7 Rear Thumbwheel Replacement: paso 19, imagen 2 de 3 Panasonic Lumix DMC-G7 Rear Thumbwheel Replacement: paso 19, imagen 3 de 3
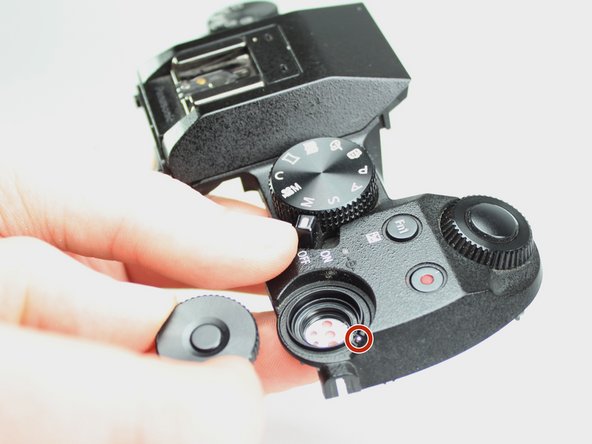
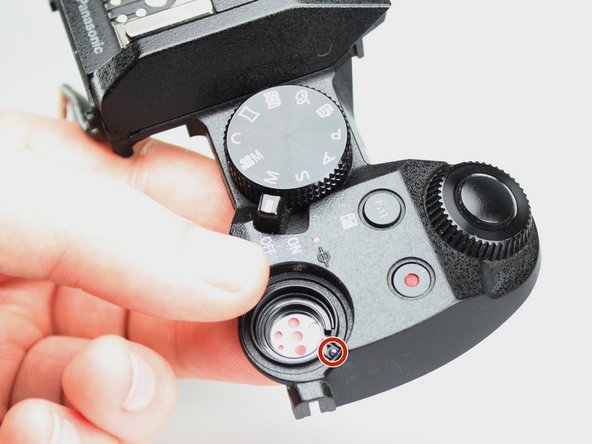
      • Remove the indicated black 4.0 mm long screw using a Phillips PH0 screwdriver.

      • Lift away the circular plastic cover.

      • The parts indicated in orange are not retained and can fall out.

      Pregunta a FixBot

      Agregar Comentario

    11. Panasonic Lumix DMC-G7 Rear Thumbwheel Replacement: paso 20, imagen 1 de 2 Panasonic Lumix DMC-G7 Rear Thumbwheel Replacement: paso 20, imagen 2 de 2
      • Remove the two silver 4.0 mm long screws using a Phillips PH00 screwdriver.

      • Hold the wheel in place while unscrewing to prevent the wheel from spinning and hampering the removal of the screw.

      • Once the screws are removed, the metal lower and plastic upper are no longer retained. Pressure should be applied to prevent the pieces from falling apart.

      Pregunta a FixBot

      Agregar Comentario

    12. Panasonic Lumix DMC-G7 Rear Thumbwheel Replacement: paso 21, imagen 1 de 3 Panasonic Lumix DMC-G7 Rear Thumbwheel Replacement: paso 21, imagen 2 de 3 Panasonic Lumix DMC-G7 Rear Thumbwheel Replacement: paso 21, imagen 3 de 3
      • Rotate the upper cover so that the plastic section of the rear thumbwheel is upright.

      • Carefully remove the plastic upper cover.

      • There is a small ball bearing, indicated in red, underneath the plastic cover. The bearing is spring loaded and can be lost easily if the cover is not upright.

      Pregunta a FixBot

      Agregar Comentario

Conclusión

To reassemble your device, follow these instructions in reverse order.

Cancelar: No complete esta guía.

3 personas más completaron esta guía.

Autor

con

Jared Lynn

Miembro Desde 04/03/19

448 Reputación

2 Guías creadas

0Guía Comentarios

Agregar Comentario

Ver Estadísticas:

Ultimas 24 horas: 1

Ultimos 7 días: 11

Ultimos 30 días: 87

Todo El Tiempo: 2,824