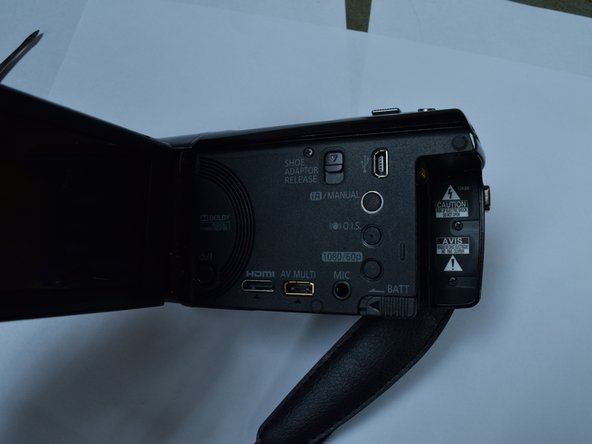
Saltar al contenido principal

Panasonic HDC-TM90 Lens Clean

Qué necesitas

  1. Panasonic HDC-TM90 Lens Clean, Battery: paso 1, imagen 1 de 1
    • Open the LCD screen.

  2. Panasonic HDC-TM90 Lens Clean: paso 2, imagen 1 de 1
    • Slide the battery release switch away from the battery.

  3. Panasonic HDC-TM90 Lens Clean: paso 3, imagen 1 de 1
    • While holding the switch away from the battery, push the battery out of the slot.

  4. Panasonic HDC-TM90 Lens Clean: paso 4, imagen 1 de 1
    • Remove the battery from the camera.

  5. Panasonic HDC-TM90 Lens Clean, Panasonic HDC-TM90 Lens Clean: paso 5, imagen 1 de 3 Panasonic HDC-TM90 Lens Clean, Panasonic HDC-TM90 Lens Clean: paso 5, imagen 2 de 3 Panasonic HDC-TM90 Lens Clean, Panasonic HDC-TM90 Lens Clean: paso 5, imagen 3 de 3
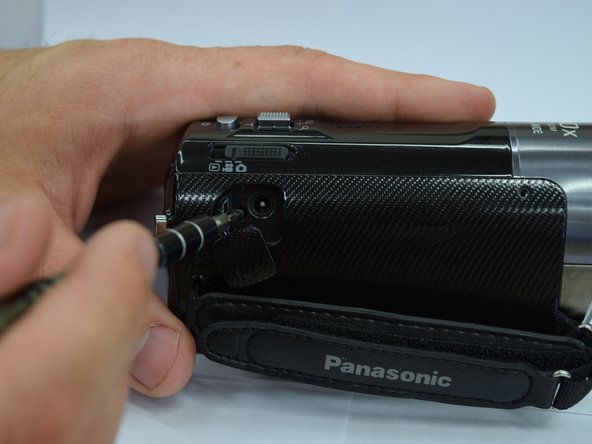
    • Remove 5 screws from the side panel body of the camcorder.

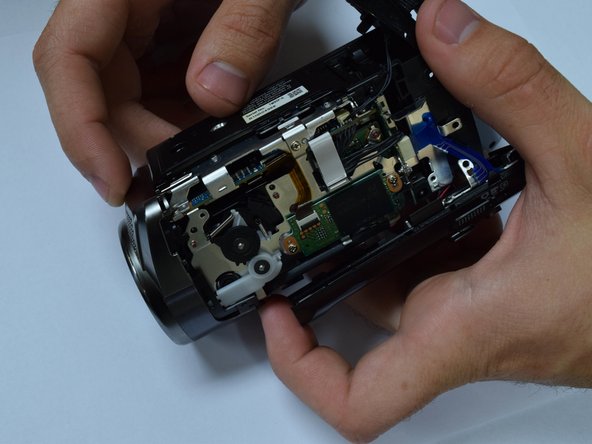
    • Use the spudger to remove the top of the camcorder.

  6. Panasonic HDC-TM90 Lens Clean: paso 6, imagen 1 de 2 Panasonic HDC-TM90 Lens Clean: paso 6, imagen 2 de 2
    • Unscrew three screws to remove the lens rim on the front of the camcorder.

    • Be aware of the wires attaching the lens rim to the body of the camcorder. You will not be able to separate the lens rim completely.

    • Use caution when separating the shutter lever.

  7. Panasonic HDC-TM90 Lens Clean: paso 7, imagen 1 de 1
    • Remove the rubber ring around the lens.

  8. Panasonic HDC-TM90 Lens Clean: paso 8, imagen 1 de 1
    • Unscrew the lens by removing the three screws connected to it.

Conclusión

To reassemble your device, follow these instructions in reverse order.

Tyler Jaynes

Miembro Desde 02/01/17

1 Reputación

2 Guías creadas

Equipo

Baylor, Team 8-4, Whitney Spring 2017 Miembro de Baylor, Team 8-4, Whitney Spring 2017

BU-WHITNEY-S17S8G4

3 Miembros

5 Guías creadas

Un comentario

Steps 1-4: good pre-req

Step 5-bullet 1: Which screwdriver and how many screws? There seem to be a lot of screws so perhaps numbering how many and where they came from would be helpful. Maybe color coding your steps with more details using markers of how many screws and what location in the pictures would be helpful.

Step 5 bullet 1 and 2 should probably be 2 separate steps.

Step 5- bullet 2: could use a picture

Step 6: Did not seem to be how we did this step at all. Perhaps this could be explained in much more detail with more detailed pictures. Also the cautions and warnings should be labeled as such.

Rene Klopf - Contestar

Agregar Comentario

Ver Estadísticas:

Ultimas 24 horas: 0

Ultimos 7 días: 5

Ultimos 30 días: 13

Todo El Tiempo: 493