Saltar al contenido principal

Palm Treo 755p Screen Replacement

Qué necesitas

  1. Palm Treo 755p Screen Replacement, Battery: paso 1, imagen 1 de 3 Palm Treo 755p Screen Replacement, Battery: paso 1, imagen 2 de 3 Palm Treo 755p Screen Replacement, Battery: paso 1, imagen 3 de 3
    • Press the button on the back cover to release the battery cover.

    • Slide off the battery cover.

  2. Palm Treo 755p Screen Replacement: paso 2, imagen 1 de 2 Palm Treo 755p Screen Replacement: paso 2, imagen 2 de 2
    • Remove the battery by lifting up on one side.

  3. Palm Treo 755p Screen Replacement, Back Cover: paso 3, imagen 1 de 2 Palm Treo 755p Screen Replacement, Back Cover: paso 3, imagen 2 de 2
    • Remove the stylus by pulling up on the large top to reveal the top left case screw.

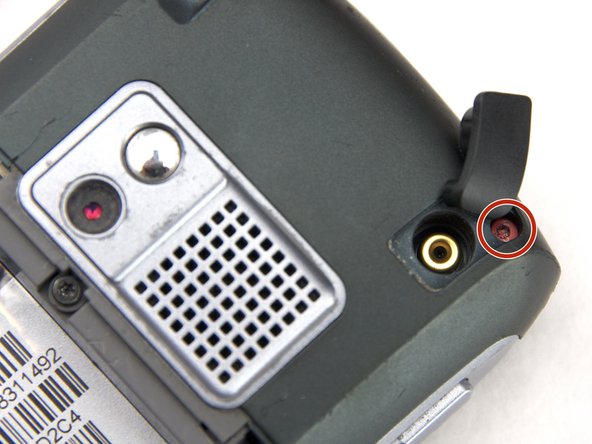
    • Pull away the black flap to reveal the top right case screw.

  4. Palm Treo 755p Screen Replacement: paso 4, imagen 1 de 1
    • Use a T5 screwdriver to remove the five 7 mm black/red back case screws.

    • Use a T5 screwdriver to remove the middle 3.1 mm screw.

  5. Palm Treo 755p Screen Replacement: paso 5, imagen 1 de 2 Palm Treo 755p Screen Replacement: paso 5, imagen 2 de 2
    • Use the plastic opening tool to pry open the device. Start on the volume control side (left side of the screen) and work your way up along the edge and across the top.

    • The side volume control buttons may fall out after opening the device.

  6. Palm Treo 755p Screen Replacement: paso 6, imagen 1 de 2 Palm Treo 755p Screen Replacement: paso 6, imagen 2 de 2
    • Slowly unfold the back casing away from the front casing revealing the red and black wound wire speaker cable, marked by the red box.

    • Potential for device damage: Be gentle while separating the halves to prevent breaking the red and black wound wire speaker cable that bridges both halves.

  7. Palm Treo 755p Screen Replacement: paso 7, imagen 1 de 3 Palm Treo 755p Screen Replacement: paso 7, imagen 2 de 3 Palm Treo 755p Screen Replacement: paso 7, imagen 3 de 3
    • Using tweezers, squeeze the plastic head of the black and red wound wire cable. This will detach the cable from the circuit board and fully separate the two halves.

  8. Palm Treo 755p Screen Replacement, Circuit Board: paso 8, imagen 1 de 1
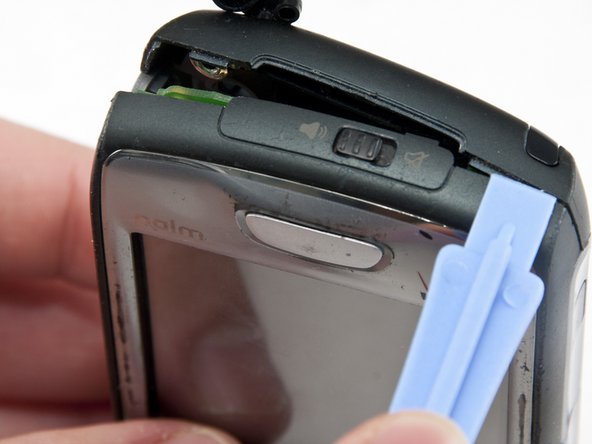
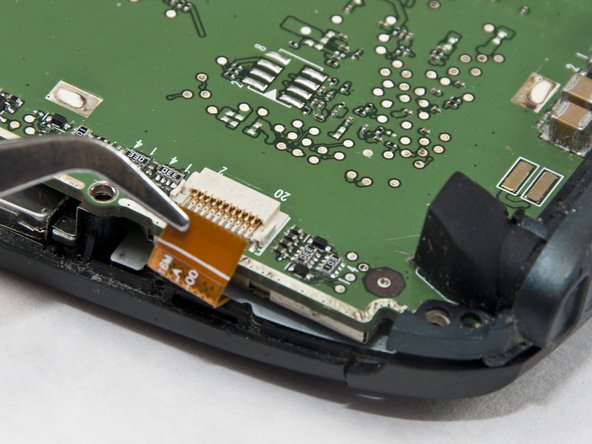
    • Gently peel off the protective yellow tape covering the ribbon cable using tweezers or your fingers.

    • ATTENTION: Save the tape for reassembly.

  9. Palm Treo 755p Screen Replacement: paso 9, imagen 1 de 2 Palm Treo 755p Screen Replacement: paso 9, imagen 2 de 2
    • Using tweezers flip up the black plastic snap covering the small ribbon cable.

    • Using tweezers gently pull out the ribbon cable to detach it from the circuit board.

  10. Palm Treo 755p Screen Replacement: paso 10, imagen 1 de 1
    • With the screen facing down. Use the Phillips 00 screwdriver attachment to remove the silver, 0.124 inch long screw on the left side of the circuit board above the ribbon cable.

    • WARNING: Do not over-tighten the screw during reassembly.

  11. Palm Treo 755p Screen Replacement: paso 11, imagen 1 de 3 Palm Treo 755p Screen Replacement: paso 11, imagen 2 de 3 Palm Treo 755p Screen Replacement: paso 11, imagen 3 de 3
    • Pivot the circuit board away from the casing keeping the screen face down.

    • Gently peel away the tape holding the ribbon cable to the screen.

    • ATTENTION: Save the tape for reassembly.

  12. Palm Treo 755p Screen Replacement: paso 12, imagen 1 de 2 Palm Treo 755p Screen Replacement: paso 12, imagen 2 de 2
    • Using tweezers flip up the black plastic snap covering the ribbon cable attached to the screen.

    • Gently pull out the ribbon cable freeing the circuit board from the casing.

  13. Palm Treo 755p Screen Replacement: paso 13, imagen 1 de 2 Palm Treo 755p Screen Replacement: paso 13, imagen 2 de 2
    • Separate the circuit board from front cover.

  14. Palm Treo 755p Screen Replacement, Screen: paso 14, imagen 1 de 2 Palm Treo 755p Screen Replacement, Screen: paso 14, imagen 2 de 2
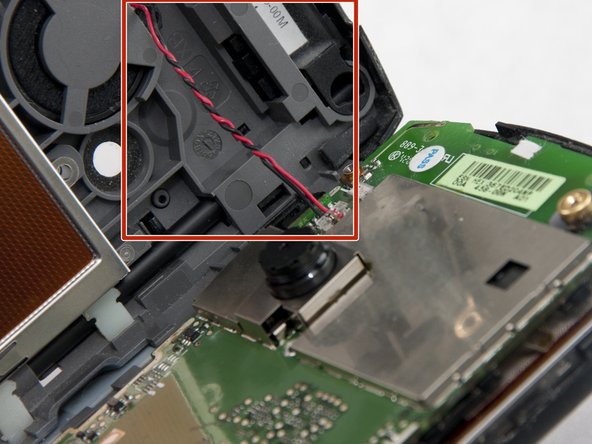
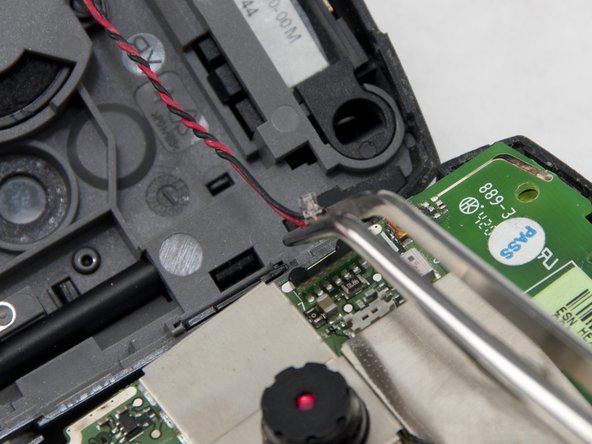
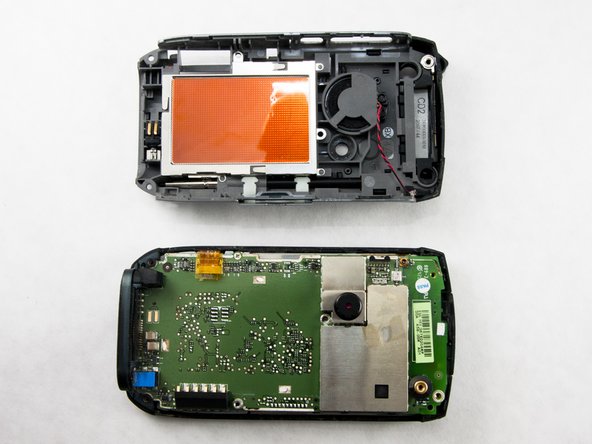
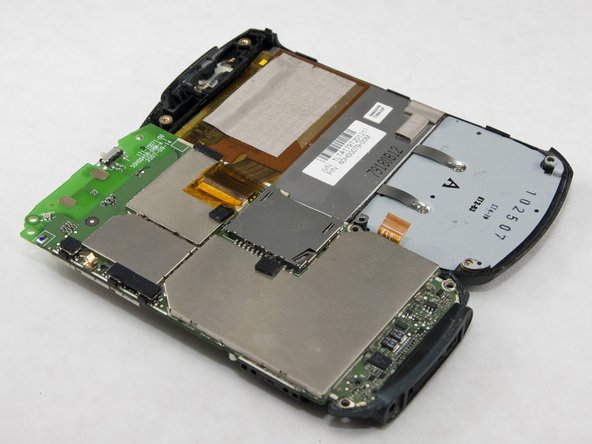
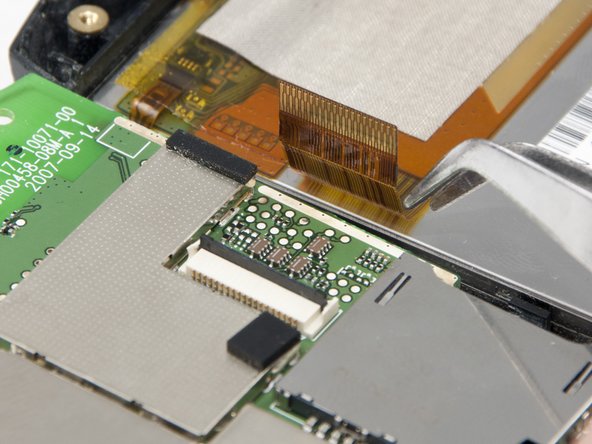
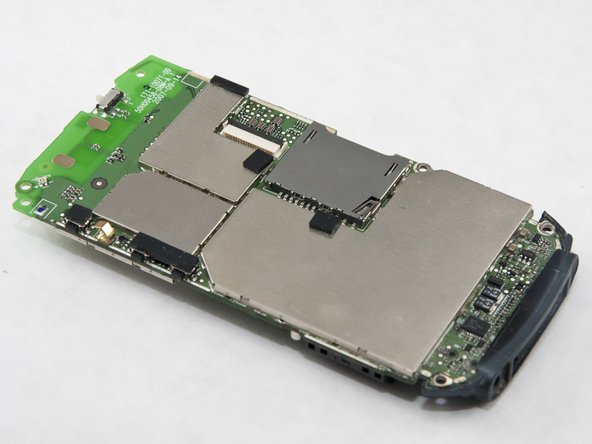
    • Using your fingers gently lift the display screen panel out of the casing by either grasping it from the back or popping it out of the front.

Conclusión

To reassemble your device, follow these instructions in reverse order.

Mike Shaw

Miembro Desde 01/03/11

601 Reputación

6 Guías creadas

Equipo

Cal Poly, Team 14-6, Forte Winter 2011 Miembro de Cal Poly, Team 14-6, Forte Winter 2011

CPSU-FORTE-W11S14G6

6 Miembros

12 Guías creadas

0 comentarios

Agregar Comentario

Ver Estadísticas:

Ultimas 24 horas: 0

Ultimos 7 días: 0

Ultimos 30 días: 1

Todo El Tiempo: 1,898