Esta versión puede contener ediciones incorrectas. Cambie a la última instantánea verificada.
Qué necesitas
-
Este paso está sin traducir. Ayuda a traducirlo
-
Press the button on the back cover to release the battery cover.
-
Slide off the battery cover.
-
-
Este paso está sin traducir. Ayuda a traducirlo
-
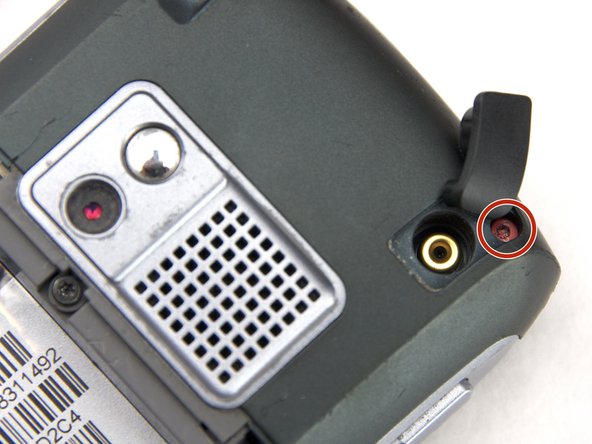
Remove the stylus by pulling up on the large top to reveal the top left case screw.
-
Pull away the black flap to reveal the top right case screw.
-
-
Este paso está sin traducir. Ayuda a traducirlo
-
Use a T5 screwdriver to remove the five 7 mm black/red back case screws.
-
Use a T5 screwdriver to remove the middle 3.1 mm screw.
-
-
-
Este paso está sin traducir. Ayuda a traducirlo
-
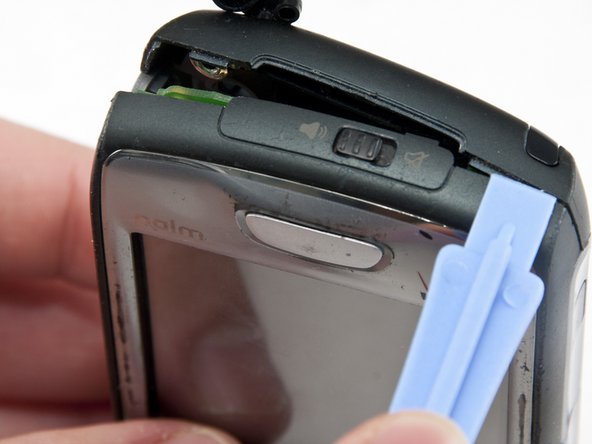
Use the plastic opening tool to pry open the device. Start on the volume control side (left side of the screen) and work your way up along the edge and across the top.
-
-
Este paso está sin traducir. Ayuda a traducirlo
-
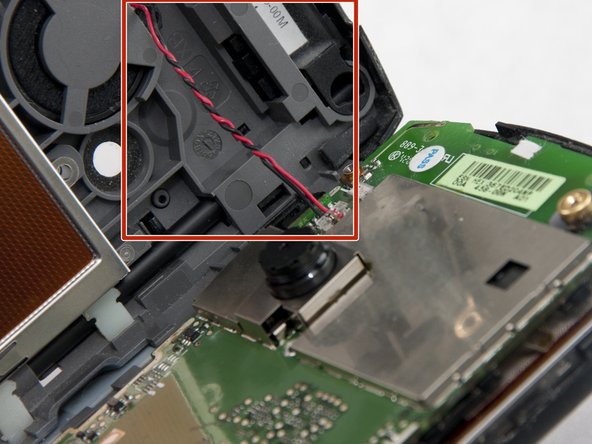
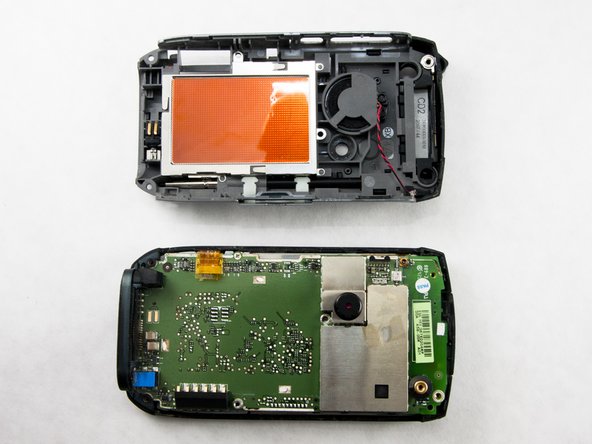
Slowly unfold the back casing away from the front casing revealing the red and black wound wire speaker cable, marked by the red box.
-
-
Este paso está sin traducir. Ayuda a traducirlo
-
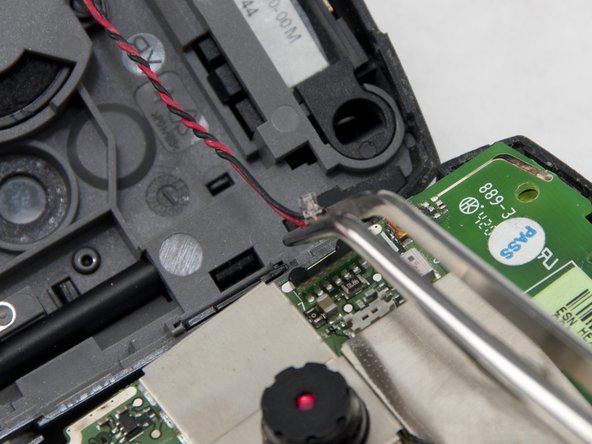
Using tweezers, squeeze the plastic head of the black and red wound wire cable. This will detach the cable from the circuit board and fully separate the two halves.
-
-
Este paso está sin traducir. Ayuda a traducirlo
-
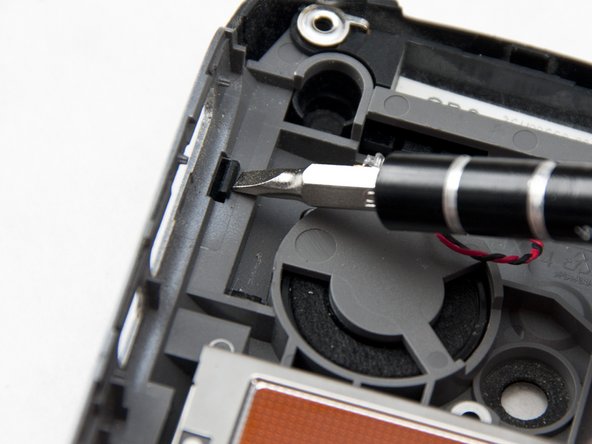
Press in the four black clips using a spudger to pop off the upper-back cover.
-
-
Este paso está sin traducir. Ayuda a traducirlo
-
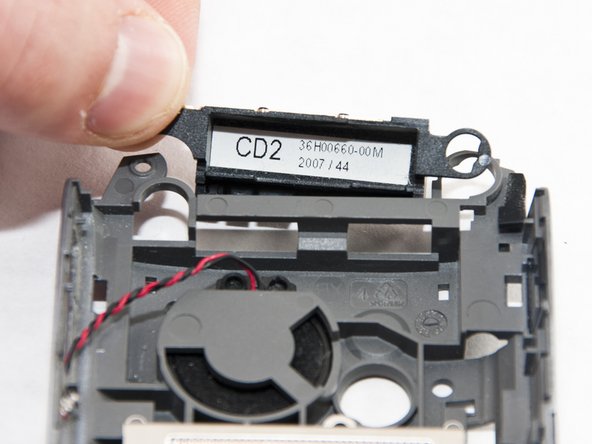
Lift off the top of the back cover from the phone frame.
-
-
Este paso está sin traducir. Ayuda a traducirlo
-
Gently pop off the antenna by pulling it away from the back cover.
-


