Esta guía ha sufrido modificaciones. Revisa la última versión sin revisar.
Introducción
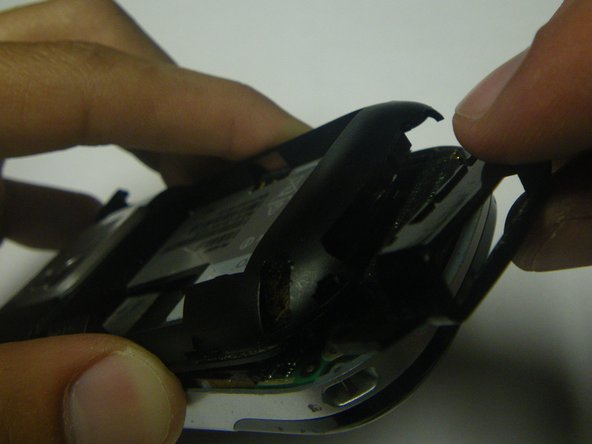
This is instructions on how to open up the phone to get to the insides.
Qué necesitas
-
-
-
Remove the touchpad pen from the top left corner on the back to reveal the last of 6 screws to be removed.
-


To reassemble your device, follow these instructions in reverse order.
To reassemble your device, follow these instructions in reverse order.
Cancelar: No complete esta guía.
2 personas más completaron esta guía.
Equipo

Cal Poly, Team 15-49, Garner Spring 2010 Miembro de Cal Poly, Team 15-49, Garner Spring 2010
CPSU-GARNER-S10S15G49
5 Miembros
12 Guías creadas