Introducción
Prerequisite Only
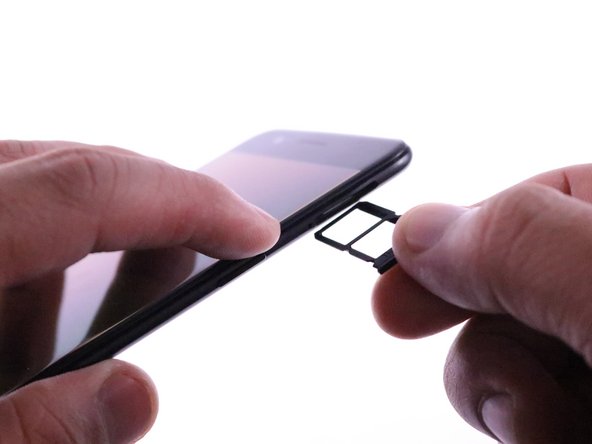
Qué necesitas
-
-
Power off the phone by holding down the rectangular power button on right side and pressing the red button that says "Power off."
-
-
-
-
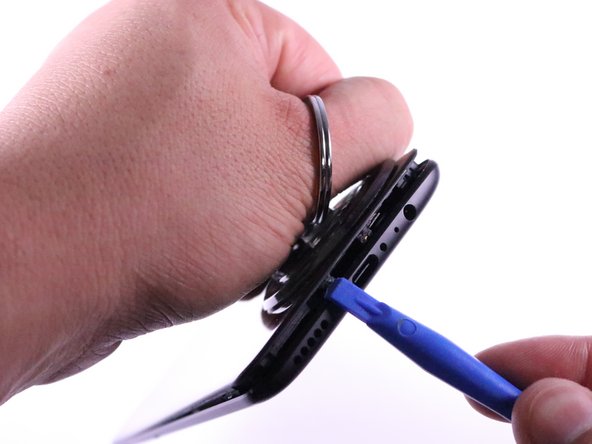
Insert the plastic iFixit opening tool between the the plastic rim of the screen and the metal edge of the phone.
-
Place a suction cup on the screen to gain more leverage when separating the screen from the back plate.
-
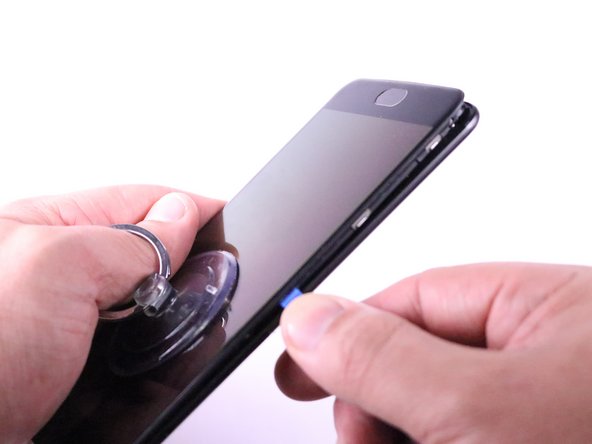
Moving right to left around the phone, carefully pry the screen away from the back plate by wiggling the iFixit opening tool and pulling the suction cup in the opposite direction.
-
-
-
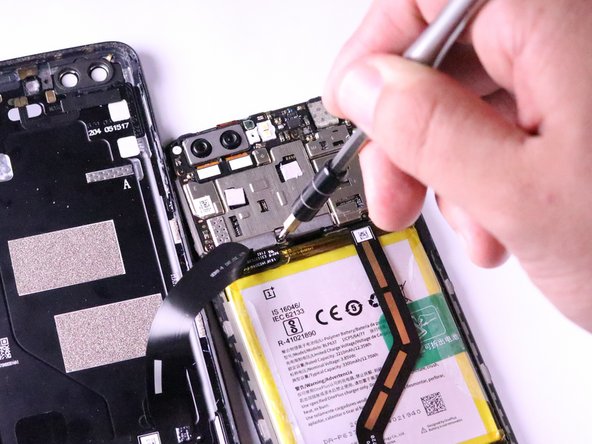
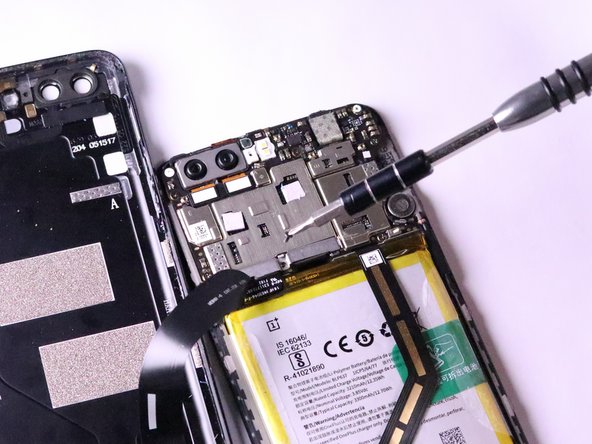
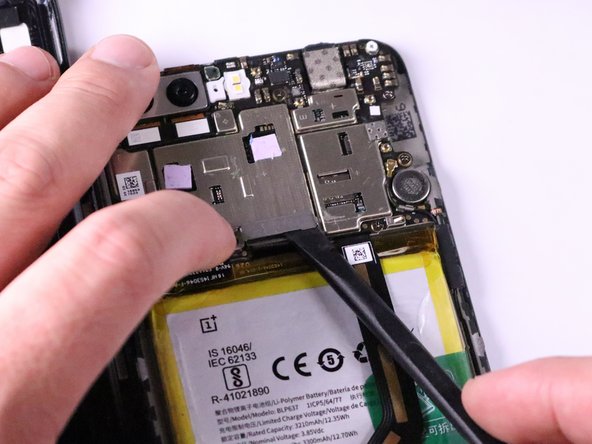
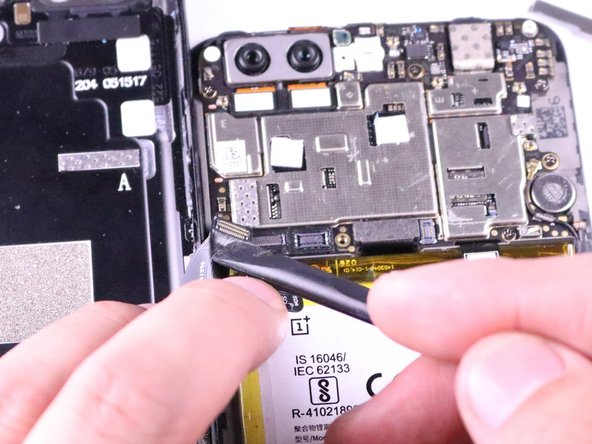
Locate the two connectors directly above the battery on the left side of the device.
-
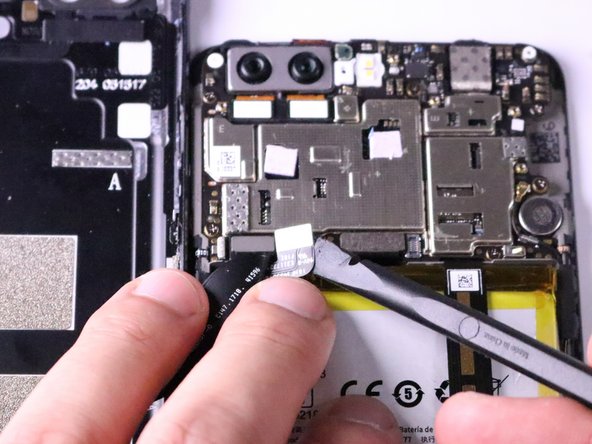
Remove the battery connector cable located to the right of the charging port connector cable using a nylon spudger by prying underneath it and popping it up.
-
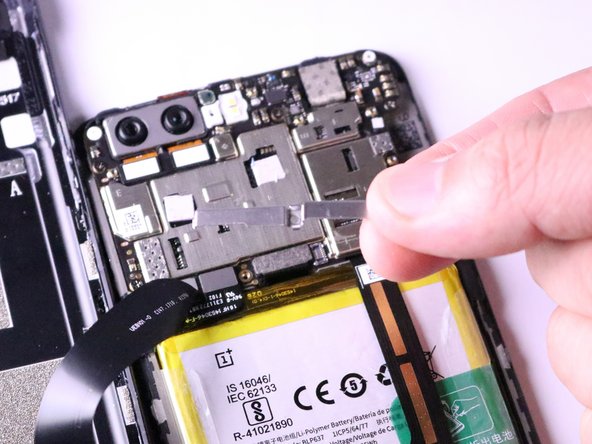
Remove the charging port connector cable to the left of the battery cable using a nylon spudger by prying underneath it and popping it up.
-


To reassemble your device, follow these instructions in reverse order.
To reassemble your device, follow these instructions in reverse order.
Equipo

Cal Poly, Team S19-G1, Livingston Winter 2018 Miembro de Cal Poly, Team S19-G1, Livingston Winter 2018
CPSU-LIVINGSTON-W18S19G1
4 Miembros
6 Guías creadas