Introducción
If you’re looking to replace a part of your Olympus Stylus 1030 SW Camera, you will most likely need to disassemble it first. This guide will help you accomplish that. Don’t worry, no special skills are required.
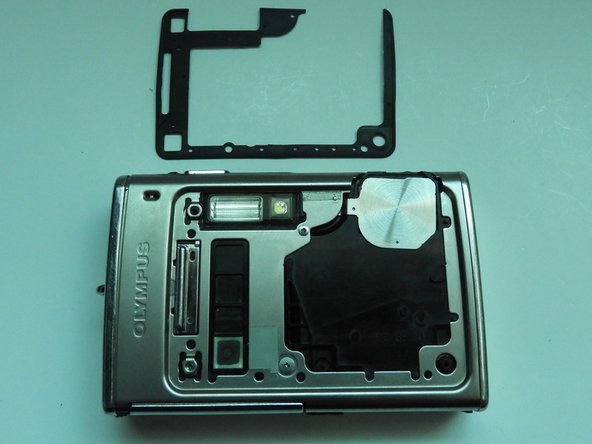
Before you begin disassembling, be sure to remove the SD card and the battery from the camera.
Qué necesitas
-
-
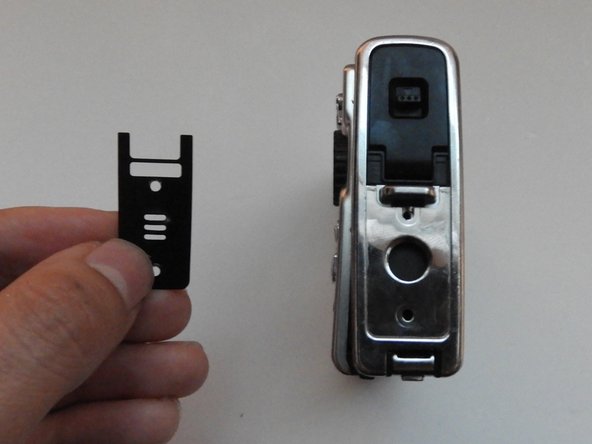
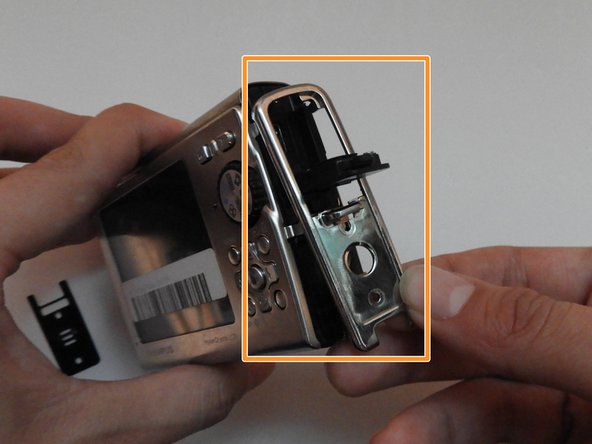
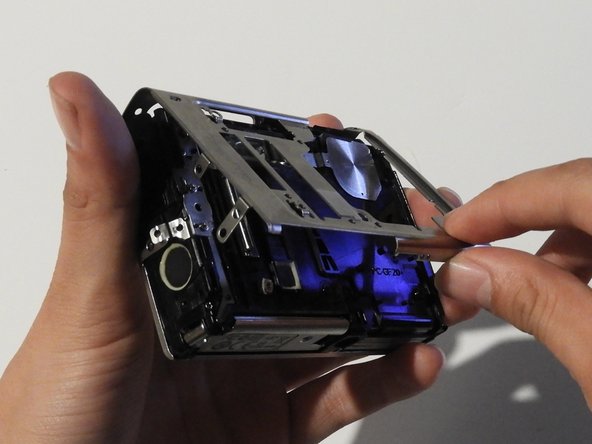
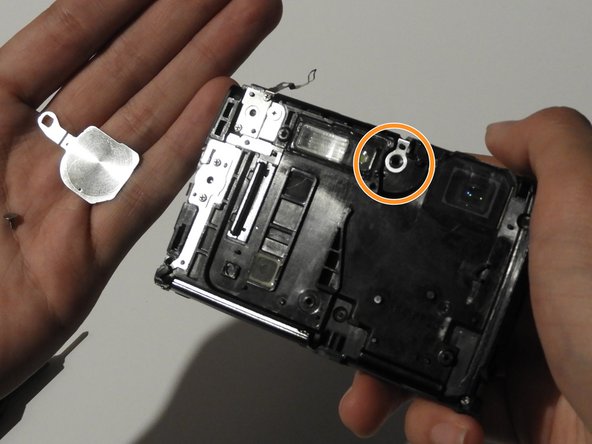
Using the iFixit Opening Tool, pry off the plastic part of the lens.
-
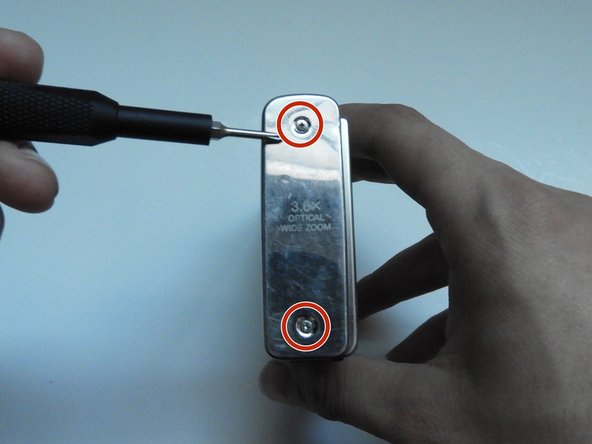
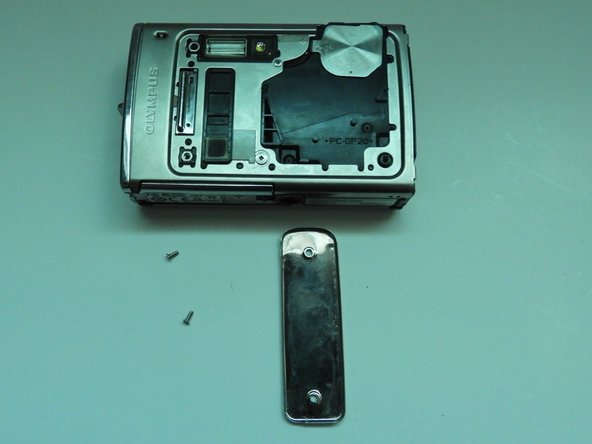
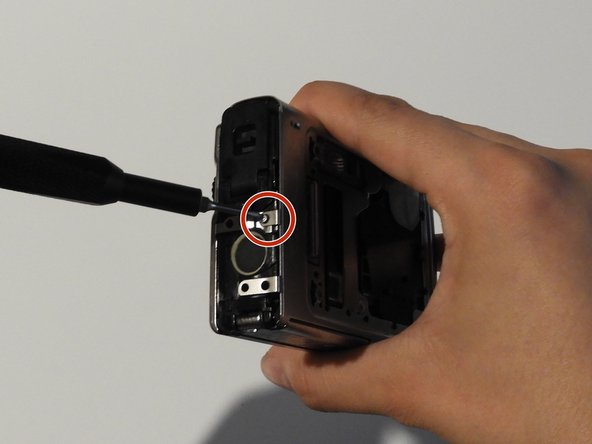
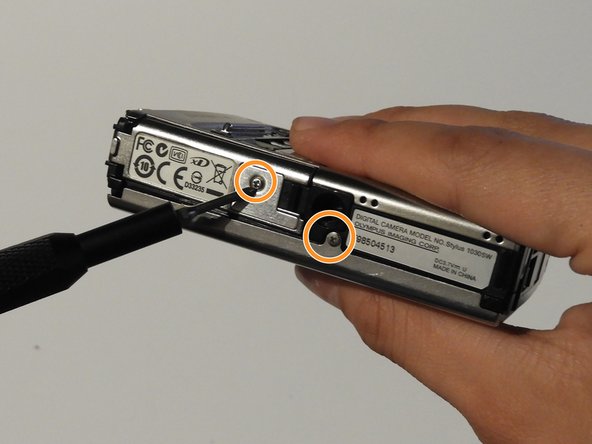
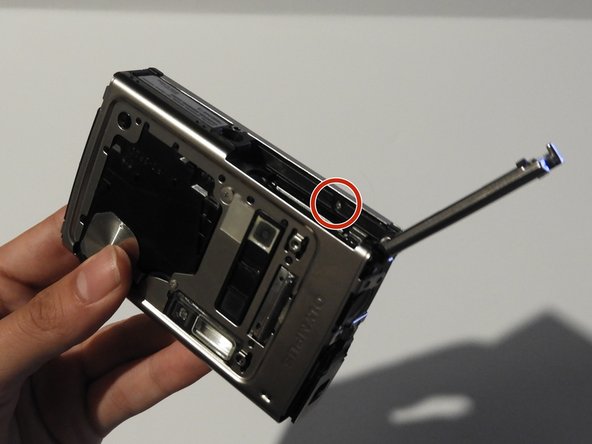
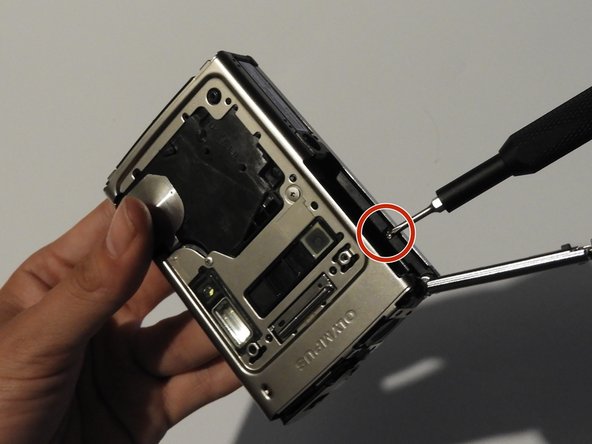
Using the T6 Torx screwdriver, unscrew the three screws.
-
-


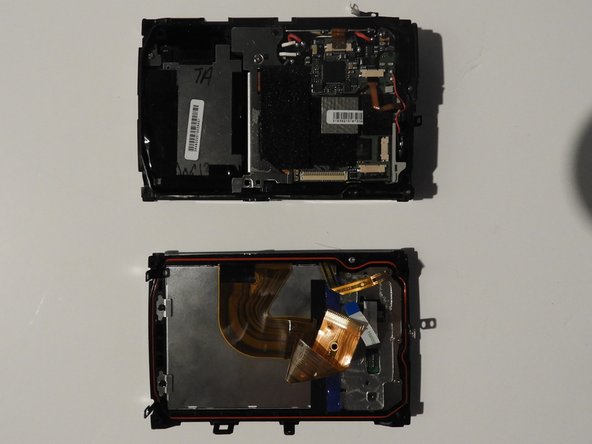
To reassemble your device, follow these instructions in reverse order.
To reassemble your device, follow these instructions in reverse order.
Equipo

University of Illinois Urbana-Champaign, Team 1-2, Scrogum Spring 2014 Miembro de University of Illinois Urbana-Champaign, Team 1-2, Scrogum Spring 2014
UICU-SCROGUM-S14S1G2
5 Miembros
10 Guías creadas