Saltar al contenido principal

Oculus Rift CV1 Lens Replacement

Qué necesitas

  1. Oculus Rift CV1 Lens Replacement, Facial Interface: paso 1, imagen 1 de 1
    • Pull firmly from the top of the headset facial interface to remove the foam frame.

  2. Oculus Rift CV1 Lens Replacement: paso 2, imagen 1 de 1
    • Remove the six T3 4mm screws from the top and bottom edges of the case.

  3. Oculus Rift CV1 Lens Replacement: paso 3, imagen 1 de 1
    • Insert the spudger underneath the edge of the lens on the left or right side.

    • Slide the spudger upwards and around the edge of the frame to undo the tabs underneath.

    • Repeat for the other side of the frame.

  4. Oculus Rift CV1 Lens Replacement: paso 4, imagen 1 de 3 Oculus Rift CV1 Lens Replacement: paso 4, imagen 2 de 3 Oculus Rift CV1 Lens Replacement: paso 4, imagen 3 de 3
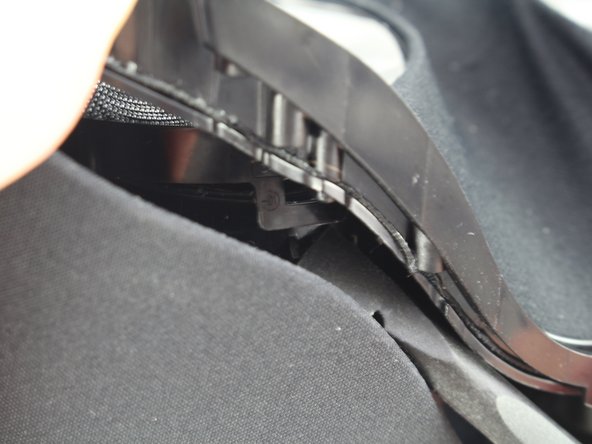
    • Lift up the frame to see a tab hidden underneath the lycra mesh along the edge of the lens.

    • Pull up on the tab with the spudger.

    • Repeat for the corresponding tab on the other lens.

  5. Oculus Rift CV1 Lens Replacement: paso 5, imagen 1 de 1
    • Lift up on the plastic frame around the lens.

    • Slide a finger around the inside edge, pulling outward from the center of the lens to release the other tabs.

    • Repeat for the frame on the other lens.

  6. Oculus Rift CV1 Lens Replacement: paso 6, imagen 1 de 1
    • Pull up along the outer frame.

    • Remove the facial interface.

  7. Oculus Rift CV1 Lens Replacement, Lens: paso 7, imagen 1 de 3 Oculus Rift CV1 Lens Replacement, Lens: paso 7, imagen 2 de 3 Oculus Rift CV1 Lens Replacement, Lens: paso 7, imagen 3 de 3
    • Move the lenses as close together as possible by sliding the button on the bottom of the frame towards the center of the frame.

    • Remove the four Phillips #00 4mm screws from the outer edge of the base of the lenses.

    • There are two screws that are near the lens that are difficult to see. Remove the screw that is the nearest to the lens. Do not remove the larger screw farther from the lens.

  8. Oculus Rift CV1 Lens Replacement: paso 8, imagen 1 de 3 Oculus Rift CV1 Lens Replacement: paso 8, imagen 2 de 3 Oculus Rift CV1 Lens Replacement: paso 8, imagen 3 de 3
    • Push off the 8 tabs (4 per lens) from the base of the lens using a spudger.

    • Spread the lenses back apart using the button on the bottom of the headset to access the center tabs more easily.

  9. Oculus Rift CV1 Lens Replacement: paso 9, imagen 1 de 2 Oculus Rift CV1 Lens Replacement: paso 9, imagen 2 de 2
    • Stretch the headset frame apart to make the lenses more accessible.

    • Be careful when removing the lens not to scratch the screen that is directly underneath.

    • While the headset frame is spread apart, pull the corner of the lens out. The rest of the lens will unlatch.

    • Pull out the lens.

    • Repeat for the other lens.

Conclusión

To reassemble your device, follow these instructions in reverse order.

3 personas más completaron esta guía.

Jennifer Lai

Miembro Desde 01/24/19

271 Reputación

2 Guías creadas

Equipo

Cal Poly, Team S18-G4, White Winter 2019 Miembro de Cal Poly, Team S18-G4, White Winter 2019

CPSU-WHITE-W19S18G4

3 Miembros

10 Guías creadas

Un comentario

Where can i get spare lens?

Night Gryphon - Contestar

Agregar Comentario

Ver Estadísticas:

Ultimas 24 horas: 4

Ultimos 7 días: 47

Ultimos 30 días: 126

Todo El Tiempo: 15,236