Esta versión puede contener ediciones incorrectas. Cambie a la última instantánea verificada.
Qué necesitas
-
Este paso está sin traducir. Ayuda a traducirlo
-
Turn the Nook over to find the power button along the back upper edge.
-
Wedge the spudger between the top of the power button and the upper edge of the device.
-
Push the tool down to pry the button up and off.
-
-
Este paso está sin traducir. Ayuda a traducirlo
-
Peel off the white sticker that is covering the screw head.
-
Remove the one 2mm-long screw using a size T5 Torx screwdriver.
-
-
-
Este paso está sin traducir. Ayuda a traducirlo
-
Slide the back cover down towards the USB port to release it. The pictures show the case being prised open but this should not be necessary.
-
-
Este paso está sin traducir. Ayuda a traducirlo
-
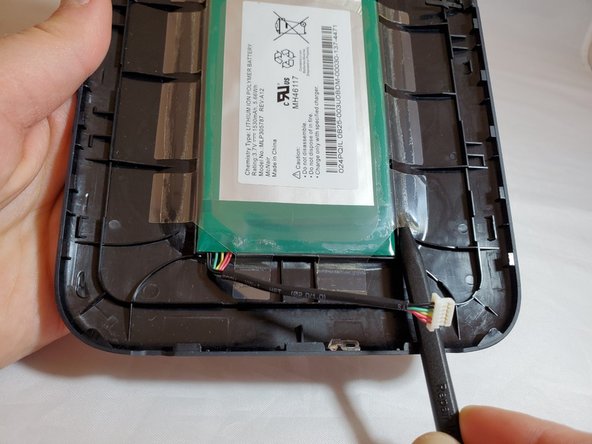
Use a spudger or your fingers to gently pry the connector out of the white socket.
-
The back cover is now fully detached.
-
-
Este paso está sin traducir. Ayuda a traducirlo
-
Use tweezers to remove the brass-colored threaded fastener from the Nook plastic casing.
-
-
Este paso está sin traducir. Ayuda a traducirlo
-
Insert a nylon spudger beneath the clear plastic adhesive holding the battery to the back cover.
-
Work around the battery, peeling up all of the adhesive.
-
-
Este paso está sin traducir. Ayuda a traducirlo
-
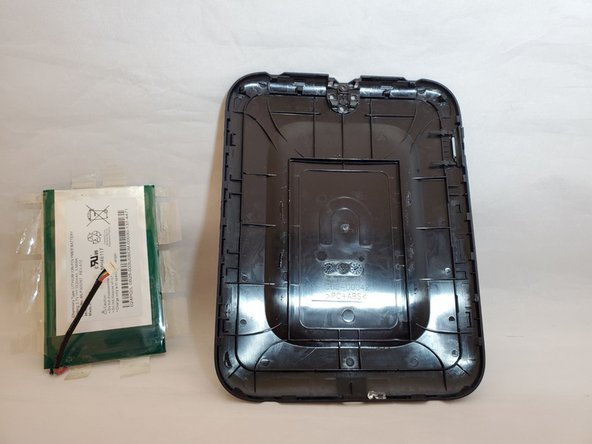
Hold on to one of the adhesive tabs and pull up.
-
This will fully remove the battery from its compartment.
-


Cancelar: No complete esta guía.
3 personas más completaron esta guía.

Equipo

Eastern Washington University, Team S1-G1, Al-Hmeyrat Fall 2019 Miembro de Eastern Washington University, Team S1-G1, Al-Hmeyrat Fall 2019
EWU-AL-HMEYRAT-F19S1G1
3 Miembros
5 Guías creadas