Introducción
Si tu linterna ya no carga su batería, quizá sea el momento de cambiar su panel solar con esta guía.
Qué necesitas
-
-
Presiona hacia abajo con firmeza para quitar la tapa de la batería y la batería de la pantalla.
-
Luego, retira la batería.
-
-
-
-
Coloca la herramienta de apertura de plástico entre los dos paneles de plástico y avanza lentamente alrededor del dispositivo.
-
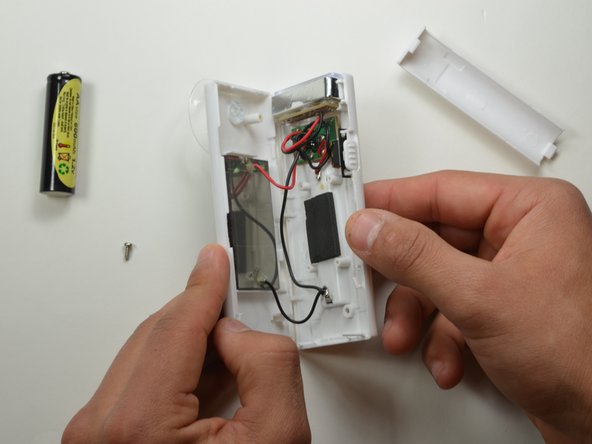
Desbloquea los clips del interior y separa el dispositivo.
-
-
-
Separa el panel del resto del conjunto y corta los cables rojo y negro que salen del panel.
-


Para volver a ensamblar tu dispositivo, sigue estas instrucciones en orden inverso.
Para volver a ensamblar tu dispositivo, sigue estas instrucciones en orden inverso.
Un agradecimiento especial a estos traductores:
100%

¡ Francisco Javier Saiz Esteban nos está ayudando a reparar el mundo! ¿Quieres contribuir?
Empezar a traducir ›
Equipo

USF Tampa, Team 19-2, Blackwell Winter 2015 Miembro de USF Tampa, Team 19-2, Blackwell Winter 2015
USFT-BLACKWELL-W15S19G2
4 Miembros
10 Guías creadas