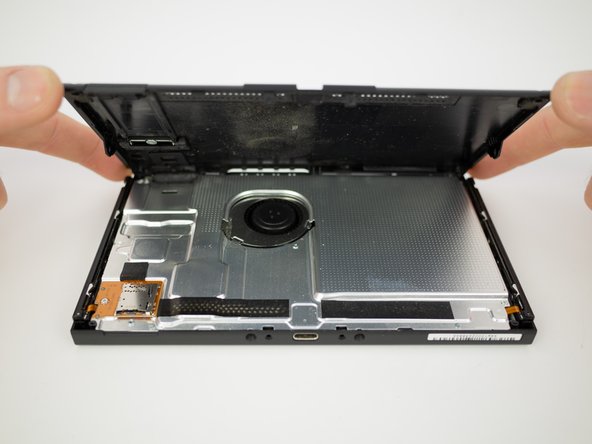
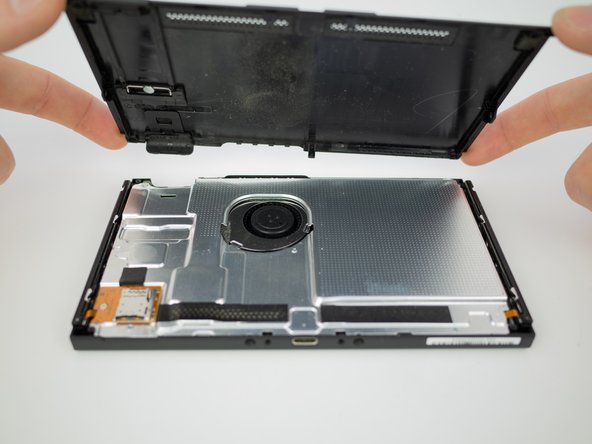
Saltar al contenido principal

Nintendo Switch Rear Panel Replacement

Qué necesitas

  1. Nintendo Switch Rear Panel Replacement, Rear Panel: paso 1, imagen 1 de 1
    • Remove the four 6.3mm Tri-point Y00 screws from the rear panel.

  2. Nintendo Switch Rear Panel Replacement: paso 2, imagen 1 de 1
    • Remove the single 6.1mm JIS #000 screw from underneath the kickstand.

  3. Nintendo Switch Rear Panel Replacement: paso 3, imagen 1 de 1
    • Remove the two 2.7mm JIS #000 screws from the bottom of the device.

  4. Nintendo Switch Rear Panel Replacement: paso 4, imagen 1 de 1
    • Remove the single 2.7mm JIS #000 screw from the top of the device.

  5. Nintendo Switch Rear Panel Replacement: paso 5, imagen 1 de 2 Nintendo Switch Rear Panel Replacement: paso 5, imagen 2 de 2
    • Remove the single 3.8mm JIS #0 screw from the right Joy-Con rail.

    • Remove the single 3.8mm JIS #0 screw from the left Joy-Con rail.

  6. Nintendo Switch Rear Panel Replacement: paso 6, imagen 1 de 3 Nintendo Switch Rear Panel Replacement: paso 6, imagen 2 de 3 Nintendo Switch Rear Panel Replacement: paso 6, imagen 3 de 3
    • Pull the rear panel up and off of the device.

Conclusión

To reassemble your device, follow these instructions in reverse order.

75 personas más completaron esta guía.

Blake Klein

Miembro Desde 01/29/17

70,510 Reputación

50 Guías creadas

10 comentarios

Excellent and concise guide.

The new panel doesn’t come with the sticky grille pieces x 2 on the bottom. Is it supposed to be a straight transfer between the old and the new?

fclbriat123 - Contestar

You can transfer the grill to the new back plat

Phillip Norton -

Just did this replacement and there are a few things to keep in mind that this review does not mention. There are x2 square foam pieces that can be transferred to the new panel located at the bottom backside of the old. Also, the game cartridge shield hardware and the kickstand holder hardware have to be taken off the back of the old panel and transferred to the new panel. The kickstand has 2 Phillips #000 screws and the game cartridge shield has 1 Phillips #000 screw

Ryan Talbert - Contestar

How do you transfer the foam pieces? Use some heat to loosen their adhesive and then remove them and transfer over the new backplate?

John - Contestar

Is the casing the same between the HAC model and the HAD model? This guide doesn’t specify

Julian Webb - Contestar

Agregar Comentario

Ver Estadísticas:

Ultimas 24 horas: 52

Ultimos 7 días: 334

Ultimos 30 días: 1,633

Todo El Tiempo: 91,424