Introducción
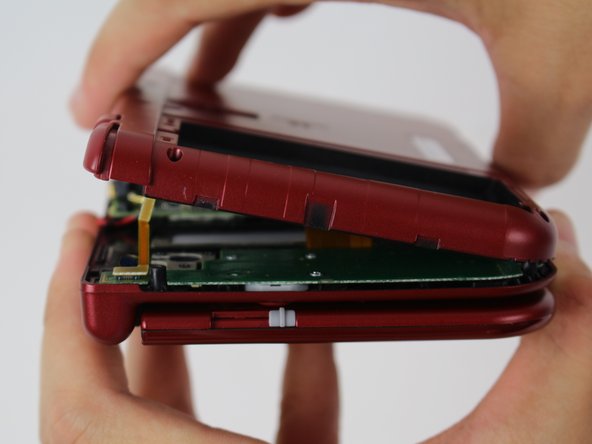
This guide will walk you through the process of opening and replacing the Upper Screen on an original Nintendo 3DS XL.
Qué necesitas
-
-
Place the 3DS upside down. Remove the game card, headphones, charging cable, stylus, or anything else that may be connected to the device.
-
-
-
Using a JIS #000 screwdriver, remove the six 6mm screws around the edges of the secondary cover.
-
-
-
-
Use tweezers to flip up the small, hinged locking flap in order to unlock the ZIF connector securing the circle pad ribbon.
-
Slide the ribbon out of the ZIF connector.
-
-
-
Carefully pivot the motherboard 90 degrees toward the hinges to reveal two more ZIF connectors on the underside of the motherboard.
-
Both have latches that must be flipped up. The left, longer latch is black; the right, shorter one is white. Flip up the flaps, slide the ribbons out and remove the motherboard.
-
-
-
Using a 1.5 flat head, remove the four red rubber stickers that are on the inside of the casing.
-
Underneath the rubber is a silver sticky
-
Using the PH00 screw driver, remove the screws.
-
-
-
Using a plastic spudger, slightly lift it from underneath the lips and move it around the screen.
-
Once it is loose, lift the screen carefully.
-
To reassemble your device, follow these instructions in reverse order.
To reassemble your device, follow these instructions in reverse order.
Cancelar: No complete esta guía.
11 personas más completaron esta guía.
10 comentarios
Is it possible we could get a link to a screen replacement?
Almost every guide on the internet skips over getting ribbon-cable through the hinge…
and its the step that gets messed up the most so that may be why since you have to roll up the ribbon to get it through the hinge giving it a good chance of breaking the ribbon. Sucks because the only way to tell is to hook it all back up to see if it worked.
Jacob -


