Saltar al contenido principal

Nintendo 3DS NFC Reader Motherboard Replacement

Qué necesitas

  1. Nintendo 3DS NFC Reader Motherboard Replacement, Motherboard: paso 1, imagen 1 de 3 Nintendo 3DS NFC Reader Motherboard Replacement, Motherboard: paso 1, imagen 2 de 3 Nintendo 3DS NFC Reader Motherboard Replacement, Motherboard: paso 1, imagen 3 de 3
    • Flip the adapter so the bottom side faces up.

    • Remove the cover by pressing the plastic flap and lifting it up with one finger.

  2. Nintendo 3DS NFC Reader Motherboard Replacement: paso 2, imagen 1 de 3 Nintendo 3DS NFC Reader Motherboard Replacement: paso 2, imagen 2 de 3 Nintendo 3DS NFC Reader Motherboard Replacement: paso 2, imagen 3 de 3
    • Remove the batteries by pressing the positive side towards the negative side and lifting with one finger.

  3. Nintendo 3DS NFC Reader Motherboard Replacement: paso 3, imagen 1 de 3 Nintendo 3DS NFC Reader Motherboard Replacement: paso 3, imagen 2 de 3 Nintendo 3DS NFC Reader Motherboard Replacement: paso 3, imagen 3 de 3
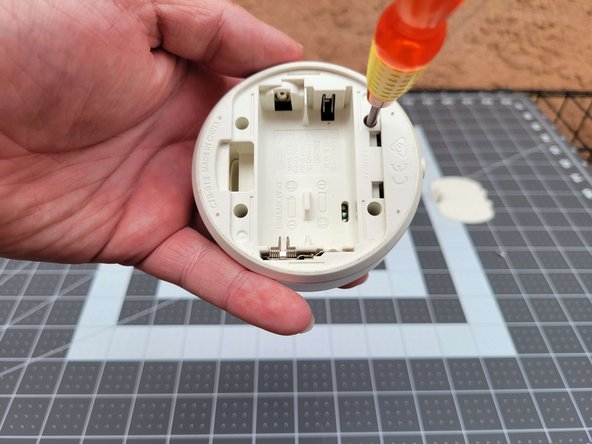
    • Grab your tri-point screwdriver.

    • Locate the four holes containing the tri-point screws at each corner of the adapter.

    • Using the screwdriver, unscrew all four screws.

    • Put the screws out of the way.

  4. Nintendo 3DS NFC Reader Motherboard Replacement: paso 4, imagen 1 de 2 Nintendo 3DS NFC Reader Motherboard Replacement: paso 4, imagen 2 de 2
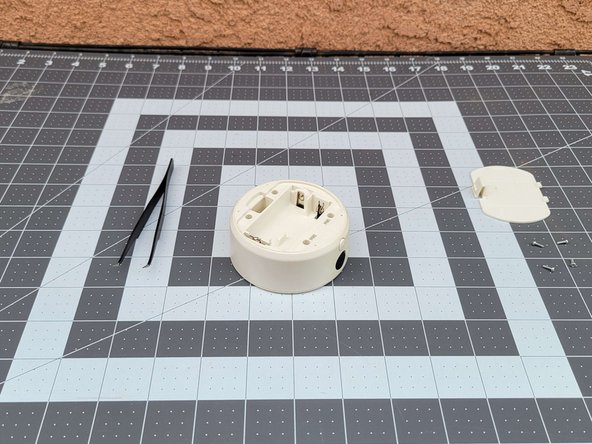
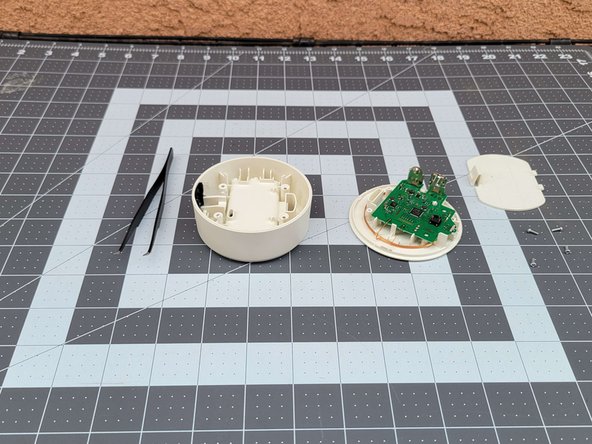
    • After removing the screws, flip the adapter where the top side faces up.

    • Using your fingers, pull the top off of the adapter.

    • Place the top out of the way.

  5. Nintendo 3DS NFC Reader Motherboard Replacement: paso 5, imagen 1 de 2 Nintendo 3DS NFC Reader Motherboard Replacement: paso 5, imagen 2 de 2
    • Using your tweezers, remove the translucent plastic by lifting upwards out of it's peg.

  6. Nintendo 3DS NFC Reader Motherboard Replacement: paso 6, imagen 1 de 3 Nintendo 3DS NFC Reader Motherboard Replacement: paso 6, imagen 2 de 3 Nintendo 3DS NFC Reader Motherboard Replacement: paso 6, imagen 3 de 3
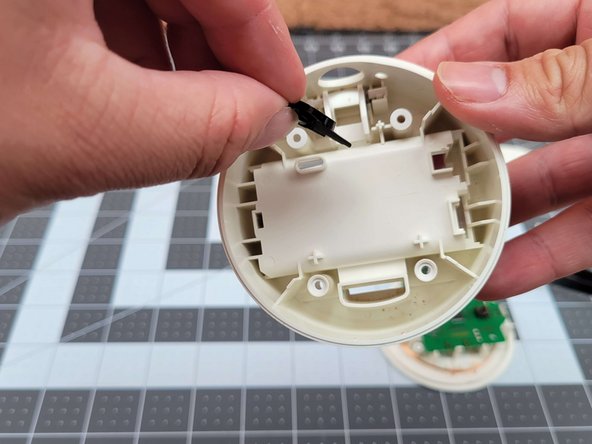
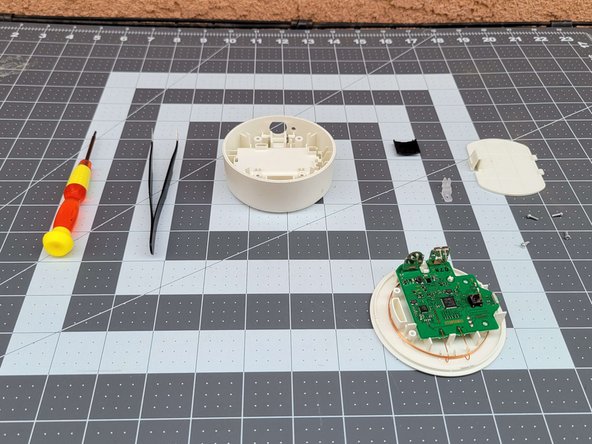
    • To remove the black slide, use your fingers to slide the black slide out of its slot.

  7. Nintendo 3DS NFC Reader Motherboard Replacement: paso 7, imagen 1 de 3 Nintendo 3DS NFC Reader Motherboard Replacement: paso 7, imagen 2 de 3 Nintendo 3DS NFC Reader Motherboard Replacement: paso 7, imagen 3 de 3
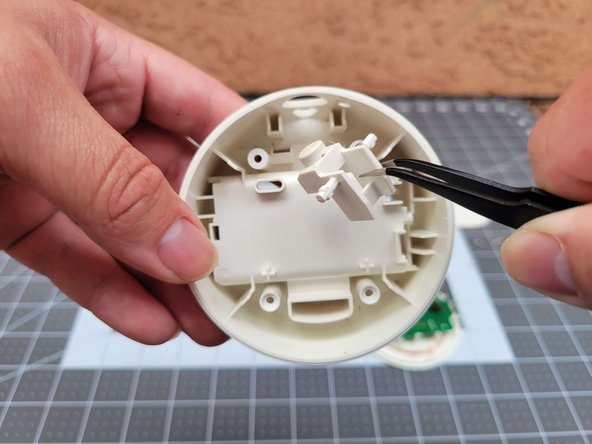
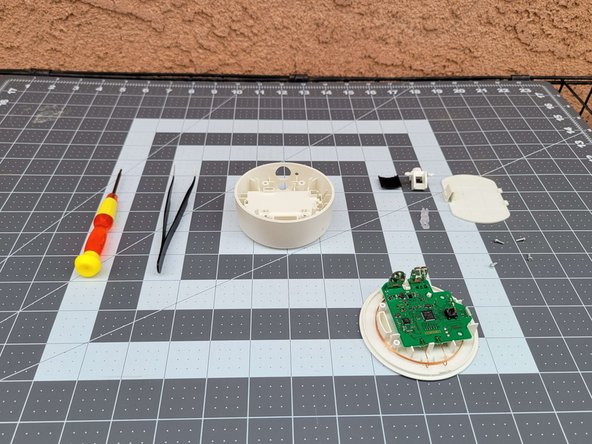
    • Using the tweezers, carefully lift up the plastic button out of its slot.

  8. Nintendo 3DS NFC Reader Motherboard Replacement: paso 8, imagen 1 de 3 Nintendo 3DS NFC Reader Motherboard Replacement: paso 8, imagen 2 de 3 Nintendo 3DS NFC Reader Motherboard Replacement: paso 8, imagen 3 de 3
    • Using your tweezers, carefully loosen the copper wire from its plastic holder.

    • Then with the tweezers, remove the plastic holding the motherboard in place.

  9. Nintendo 3DS NFC Reader Motherboard Replacement: paso 9, imagen 1 de 2 Nintendo 3DS NFC Reader Motherboard Replacement: paso 9, imagen 2 de 2
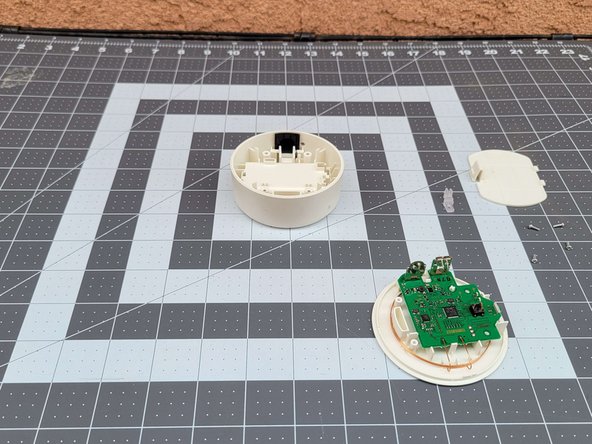
    • Using your fingers, carefully lift the board and place it down, out of the way.

Linea de Meta

Una persona más ha completado esta guía.

Sruiz84

Miembro Desde 03/21/23

196 Reputación

1 Guía escrita

Equipo

0 comentarios

Agregar Comentario

Ver Estadísticas:

Ultimas 24 horas: 1

Ultimos 7 días: 1

Ultimos 30 días: 17

Todo El Tiempo: 236