Saltar al contenido principal

Ninja Ultima BL810 Vent Replacement

Qué necesitas

  1. Ninja Ultima BL810 Vent Replacement, Power Plug: paso 1, imagen 1 de 3 Ninja Ultima BL810 Vent Replacement, Power Plug: paso 1, imagen 2 de 3 Ninja Ultima BL810 Vent Replacement, Power Plug: paso 1, imagen 3 de 3
    • Unscrew the Phillips #0 11mm screws.

    • Unscrew the Torx Security #10 11mm screw.

  2. Ninja Ultima BL810 Vent Replacement: paso 2, imagen 1 de 2 Ninja Ultima BL810 Vent Replacement: paso 2, imagen 2 de 2
    • Unscrew the six Phillips #2 11mm screws from the remainder of the bottom plate.

    • Pull the bottom covering off of the blender.

  3. Ninja Ultima BL810 Vent Replacement: paso 3, imagen 1 de 2 Ninja Ultima BL810 Vent Replacement: paso 3, imagen 2 de 2
    • Unscrew the two Phillips #2 9mm screws.

    • Remove the plastic block.

  4. Ninja Ultima BL810 Vent Replacement: paso 4, imagen 1 de 3 Ninja Ultima BL810 Vent Replacement: paso 4, imagen 2 de 3 Ninja Ultima BL810 Vent Replacement: paso 4, imagen 3 de 3
    • Unscrew the four Phillips #2 11mm screws.

    • Remove the plastic covers.

    • Removing the top cover and then rotating the bottom cover into the same orientation works best.

  5. Ninja Ultima BL810 Vent Replacement: paso 5, imagen 1 de 1
    • Unscrew the three Phillips #2 9mm screws.

    • This metal plate doesn't need to be completely removed, just adjusted to the side to continue working.

  6. Ninja Ultima BL810 Vent Replacement: paso 6, imagen 1 de 3 Ninja Ultima BL810 Vent Replacement: paso 6, imagen 2 de 3 Ninja Ultima BL810 Vent Replacement: paso 6, imagen 3 de 3
    • Unscrew the four Phillips #2 11mm screws.

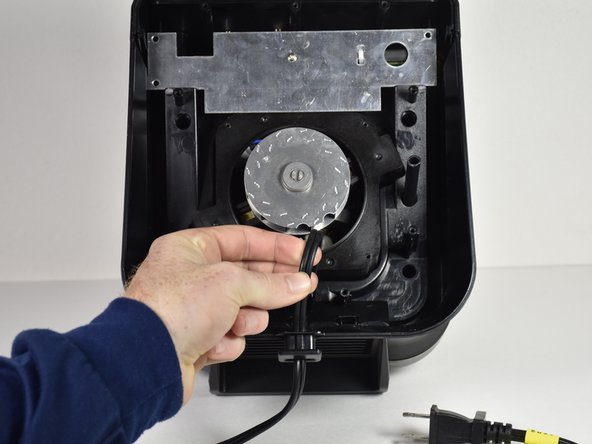
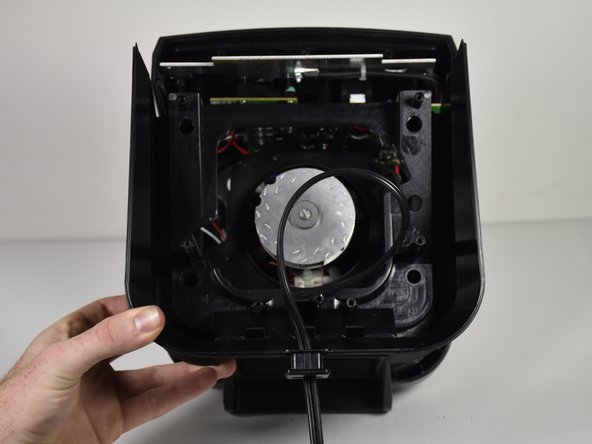
    • Pull the power cord through as shown to create slack.

    • Remove plastic casing by lifting upwards.

  7. Ninja Ultima BL810 Vent Replacement: paso 7, imagen 1 de 3 Ninja Ultima BL810 Vent Replacement: paso 7, imagen 2 de 3 Ninja Ultima BL810 Vent Replacement: paso 7, imagen 3 de 3
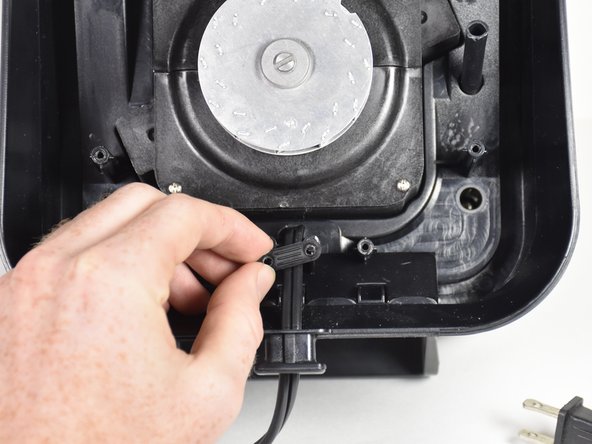
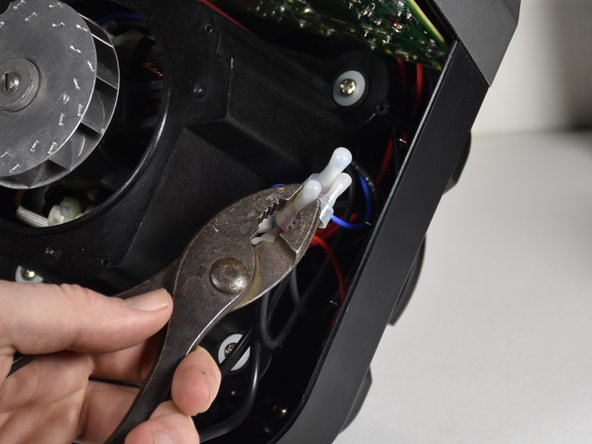
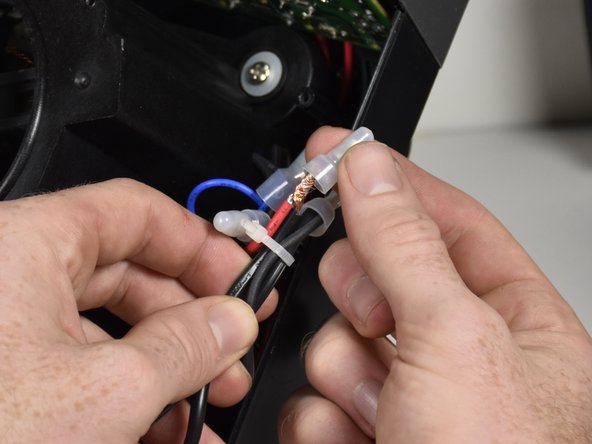
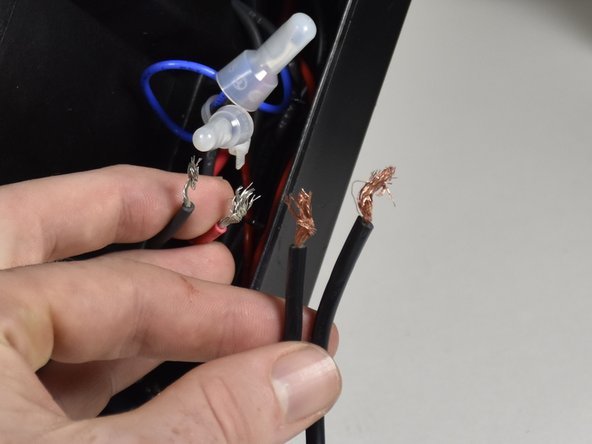
    • Follow the power plug cords to find the right plastic caps.

    • Squeeze the caps with pliers to loosen the grip.

    • Pull the plastic caps off the twisted wires.

  8. Ninja Ultima BL810 Vent Replacement: paso 8, imagen 1 de 3 Ninja Ultima BL810 Vent Replacement: paso 8, imagen 2 de 3 Ninja Ultima BL810 Vent Replacement: paso 8, imagen 3 de 3
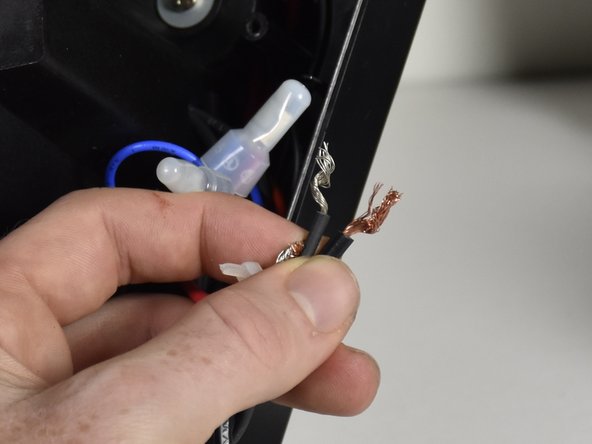
    • Untwist the two wires from each other and pull the zip tie off.

  9. Ninja Ultima BL810 Vent Replacement, Vent: paso 9, imagen 1 de 1
    • Unscrew the 2 Phillips #2 9mm screws.

  10. Ninja Ultima BL810 Vent Replacement: paso 10, imagen 1 de 1
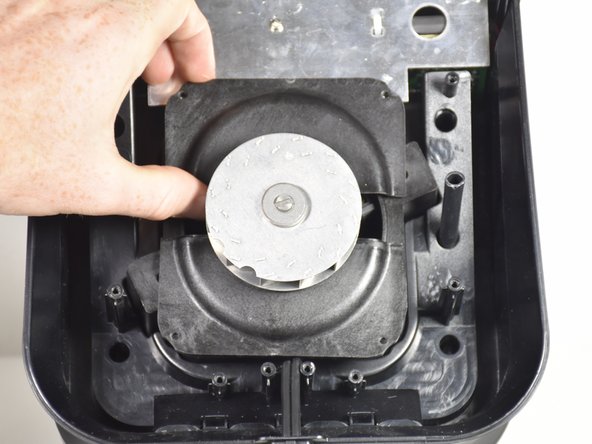
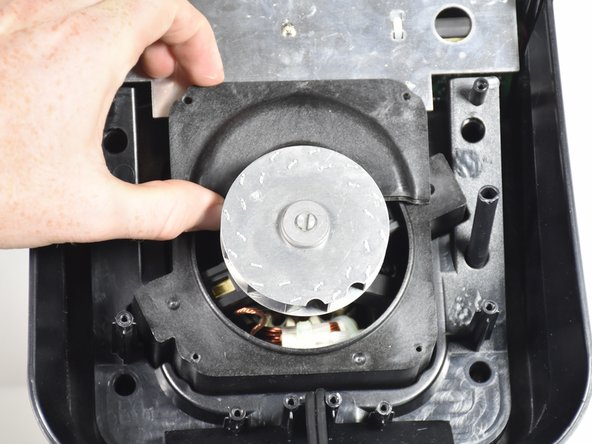
    • Grip the vent on either side and lift it straight in the upward direction.

Conclusión

To reassemble your device, follow these instructions in reverse order.

Equipo

Cal Poly, Team S9-G4, Banghart Fall 2017 Miembro de Cal Poly, Team S9-G4, Banghart Fall 2017

CPSU-BANGHART-F17S9G4

4 Miembros

5 Guías creadas

0 comentarios

Agregar Comentario

Ver Estadísticas:

Ultimas 24 horas: 0

Ultimos 7 días: 5

Ultimos 30 días: 16

Todo El Tiempo: 876