Esta versión puede contener ediciones incorrectas. Cambie a la última instantánea verificada.
Qué necesitas
-
Este paso está sin traducir. Ayuda a traducirlo
-
Remove the eight 6 mm screws using the Phillips #1 screwdriver.
-
Remove the bottom cover.
-
-
Este paso está sin traducir. Ayuda a traducirlo
-
Remove the three 6 mm screws with the Phillips #1 screwdriver.
-
Remove the plastic cover.
-
-
Este paso está sin traducir. Ayuda a traducirlo
-
Detach the valve tubes from the valve by squeezing the pins and pulling them away from the valve.
-
-
Este paso está sin traducir. Ayuda a traducirlo
-
Detach the valve tubes from the device by pinching the pins and sliding the valve tubes off.
-
-
-
Este paso está sin traducir. Ayuda a traducirlo
-
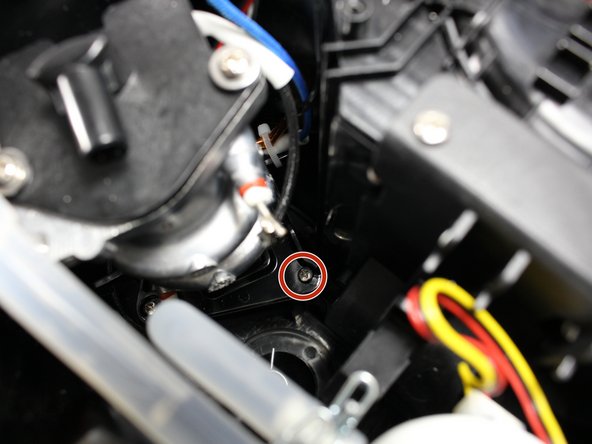
Unscrew the four 6mm #1 Phillips head screws from the underside of the basket area.
-
Remove the single 6mm #1 Phillips-head screw from the side of the unit.
-
-
Este paso está sin traducir. Ayuda a traducirlo
-
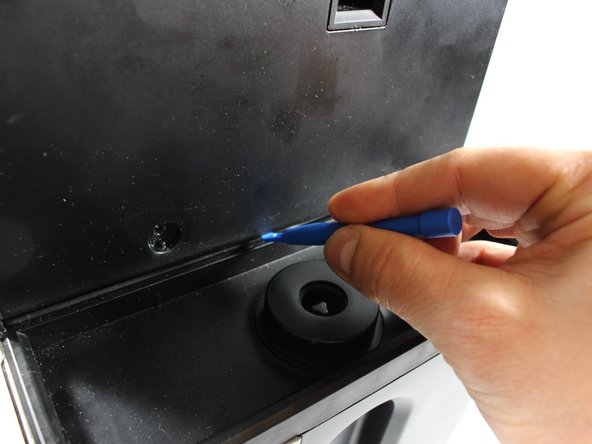
Slowly pry the upper cover away from the unit on top of the brew basket, and near the base of the water reservoir along the side of the upper cover.
-
-
Este paso está sin traducir. Ayuda a traducirlo
-
Separate hose from upper nozzle by squeezing the clamp and pulling the hose down slightly.
-
-
Este paso está sin traducir. Ayuda a traducirlo
-
Using a #1 Phillips head screwdriver with an extension, remove three 6mm screws holding the heater to the unit.
-
-
Este paso está sin traducir. Ayuda a traducirlo
-
Squeeze clip and separate signal wiring.
-
Using wire stripper/crimping tool, uncrimp wiring connectors
-


Equipo

UMass Dartmouth, Team S5-G4, Gulbrandsen Fall 2018 Miembro de UMass Dartmouth, Team S5-G4, Gulbrandsen Fall 2018
UMASSD-GULBRANDSEN-F18S5G4
3 Miembros
5 Guías creadas