Saltar al contenido principal

Esta guía ha sufrido modificaciones. Revisa la última versión sin revisar.

Nikon D90 Rear Display Buttons Replacement

Qué necesitas

  1. Nikon D90 Rear Display Buttons Replacement, Removing Casing Screws: paso 1, imagen 1 de 2 Nikon D90 Rear Display Buttons Replacement, Removing Casing Screws: paso 1, imagen 2 de 2
    • Locate the screws on both sides of the camera.

    • Remove the four 6.3 mm Phillips screws using a PH00 screwdriver.

    • Be careful not to strip the screws.

  2. Nikon D90 Rear Display Buttons Replacement, Removing the Rear Casing: paso 2, imagen 1 de 3 Nikon D90 Rear Display Buttons Replacement, Removing the Rear Casing: paso 2, imagen 2 de 3 Nikon D90 Rear Display Buttons Replacement, Removing the Rear Casing: paso 2, imagen 3 de 3
    • Use a plastic opening tool to separate the rear case from the camera.

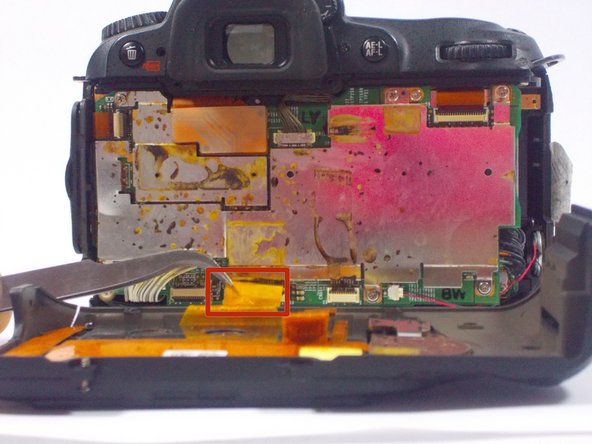
  3. Nikon D90 Rear Display Buttons Replacement, Disconnecting the Ribbon Cables: paso 3, imagen 1 de 2 Nikon D90 Rear Display Buttons Replacement, Disconnecting the Ribbon Cables: paso 3, imagen 2 de 2
    • After, remove the two orange ribbon connectors attached to the interior of the camera with tweezers.

    • Make sure to remove the ribbon cables carefully from the connectors to avoid damaging the camera.

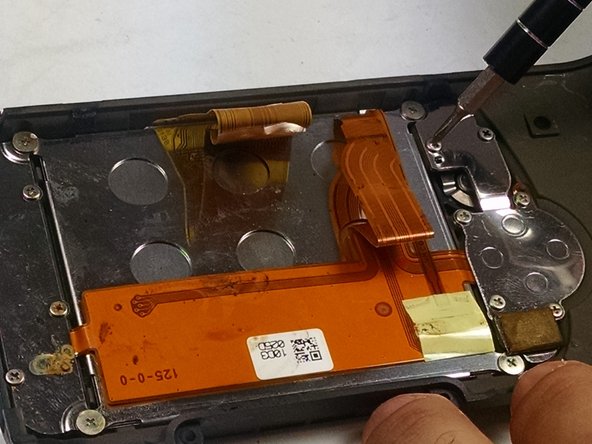
  4. Nikon D90 Rear Display Buttons Replacement, Removing the Screws from the Rear Casing: paso 4, imagen 1 de 2 Nikon D90 Rear Display Buttons Replacement, Removing the Screws from the Rear Casing: paso 4, imagen 2 de 2
    • Remove the screws from the back assembly with a Phillips (PH00) head screwdriver.

    • Remove the ten 5.3 mm Phillips screws.

    • Remove the three 4.3 mm Phillips screws.

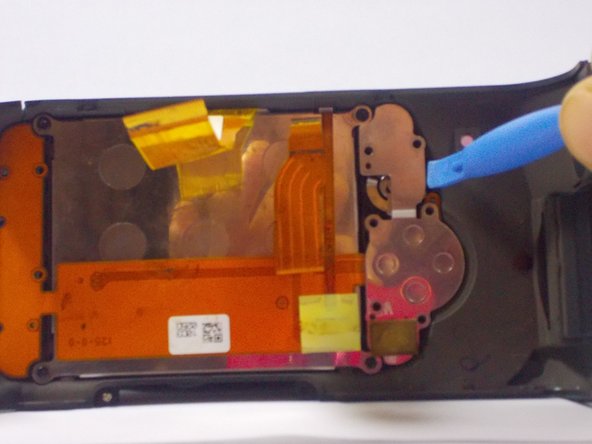
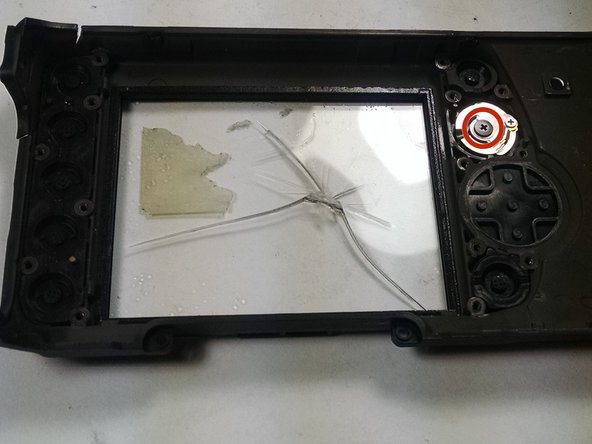
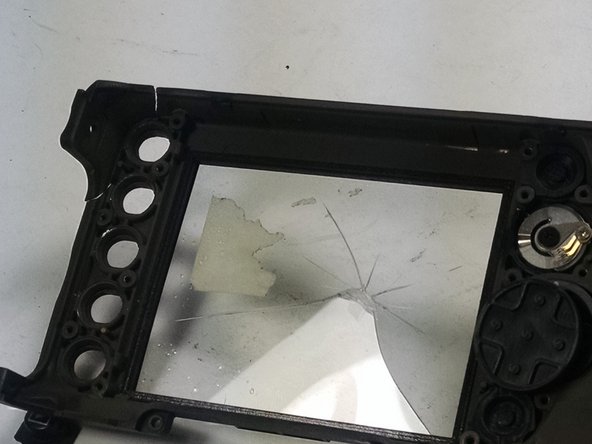
  5. Nikon D90 Rear Display Buttons Replacement, Removing the LCD and other components: paso 5, imagen 1 de 3 Nikon D90 Rear Display Buttons Replacement, Removing the LCD and other components: paso 5, imagen 2 de 3 Nikon D90 Rear Display Buttons Replacement, Removing the LCD and other components: paso 5, imagen 3 de 3
    • Use a plastic opening tool to separate the LCD and metal plates from the casing.

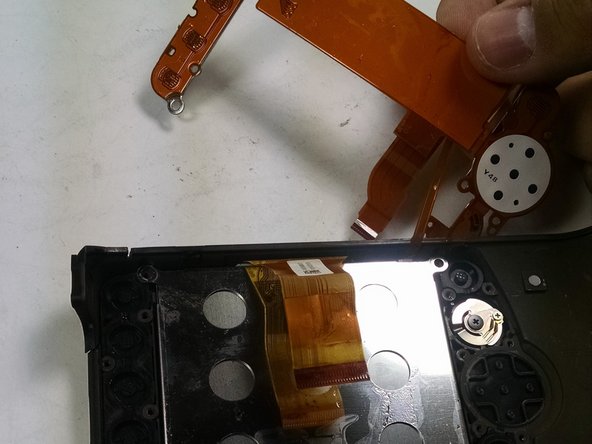
  6. Nikon D90 Rear Display Buttons Replacement, Removing the Display Buttons: paso 6, imagen 1 de 3 Nikon D90 Rear Display Buttons Replacement, Removing the Display Buttons: paso 6, imagen 2 de 3 Nikon D90 Rear Display Buttons Replacement, Removing the Display Buttons: paso 6, imagen 3 de 3
    • Use a plastic opening tool to separate the buttons from the casing.

    • Remove the 4.3 mm Phillips screw from the knob using a PH00 screwdriver.

Conclusión

To reassemble your device, follow these instructions in reverse order.

Una persona más ha completado esta guía.

jonothon cawley

Miembro Desde 10/20/14

354 Reputación

2 Guías creadas

Equipo

UMass Dartmouth, Team 1-7, Duarte Fall 2014 Miembro de UMass Dartmouth, Team 1-7, Duarte Fall 2014

UMASSD-DUARTE-F14S1G7

3 Miembros

6 Guías creadas

0 comentarios

Agregar Comentario

Ver Estadísticas:

Ultimas 24 horas: 0

Ultimos 7 días: 3

Ultimos 30 días: 8

Todo El Tiempo: 2,562