Esta versión puede contener ediciones incorrectas. Cambiar a la última instantánea verificada.
Qué necesitas
-
Este paso está sin traducir. Ayuda a traducirlo
-
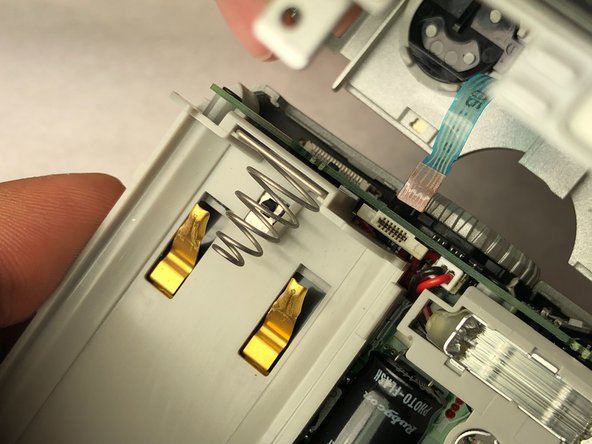
Flip up the cover and remove the battery inside the slot.
-
-
Este paso está sin traducir. Ayuda a traducirlo
-
Unscrew the eight 4mm long JIS #00 screws from the bottom, right side, and the left side.
-
-
-
Este paso está sin traducir. Ayuda a traducirlo
-
Grab the camera with both your hand from the front and the back.
-
Pull the two parts apart.
-
-
Este paso está sin traducir. Ayuda a traducirlo
-
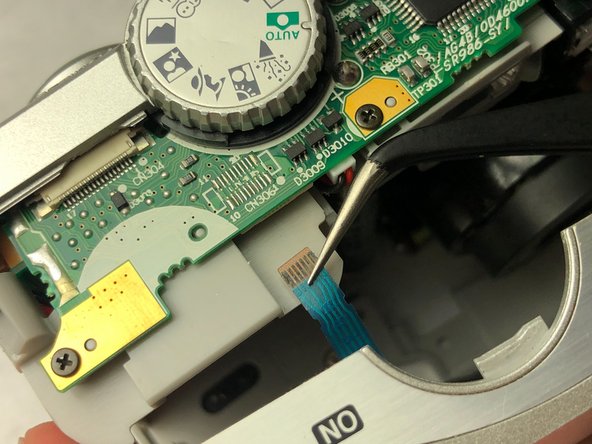
Flip the camera back so you can see the top.
-
Pull the ribbon cable out of the socket connecting to the motherboard by using your hands or tweezers.
-
-
Este paso está sin traducir. Ayuda a traducirlo
-
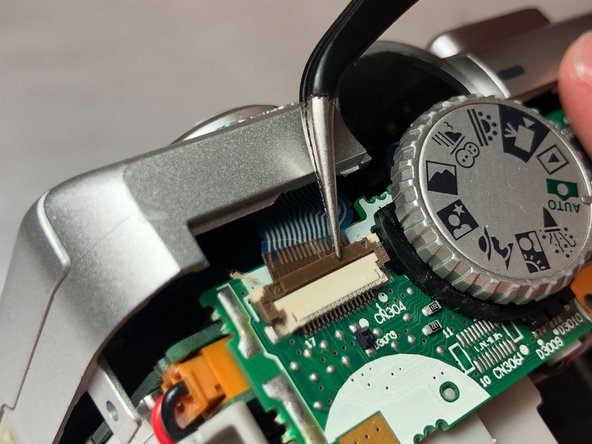
Look back to the top of the camera.
-
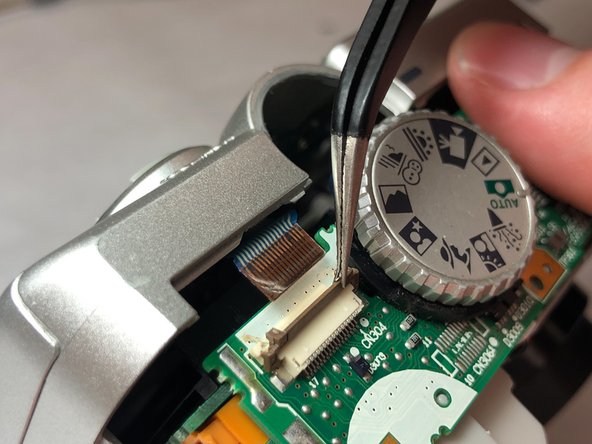
Flip up the tab that is exposed right by the dial using tweezers.
-
Release the ribbon to be able to separate the top part of the back of the camera.
-
-
Este paso está sin traducir. Ayuda a traducirlo
-
Look at the top side of the camera.
-
Unscrew the two 4mm Phillips #00 screws.
-
Unscrew the 2mm JIS #00 screw as well.
-
-
Este paso está sin traducir. Ayuda a traducirlo
-
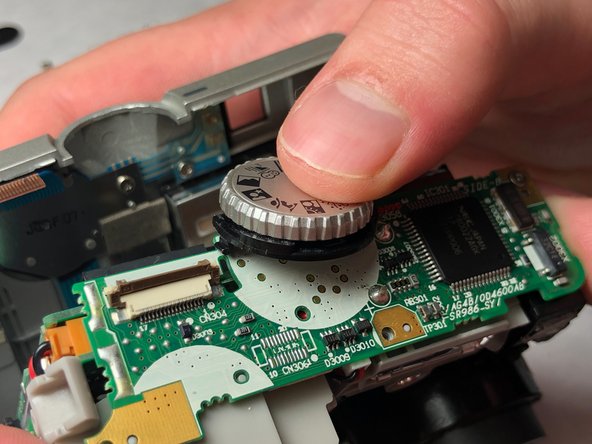
Push or slide the the top dial toward the backside of the camera to unclip from the motherboard.
-
-
Este paso está sin traducir. Ayuda a traducirlo
-
Pull the red and black wire out of the socket on the motherboard.
-
Pull motherboard up out of camera.
-
-
Este paso está sin traducir. Ayuda a traducirlo
-
Pull the ribbon connected to the dial off the motherboard.
-


Equipo

IUPUI, Team S2-G3, Baechle Fall 2018 Miembro de IUPUI, Team S2-G3, Baechle Fall 2018
IUPUI-BAECHLE-F18S2G3
3 Miembros
6 Guías creadas