Esta versión puede contener ediciones incorrectas. Cambie a la última instantánea verificada.
Qué necesitas
-
-
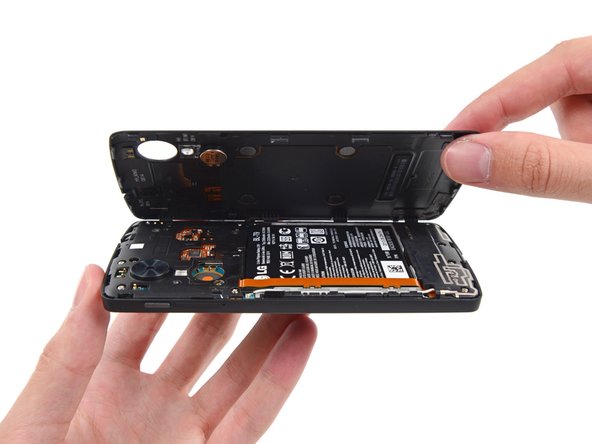
Usa una herramienta de apertura de plástico para liberar los clips en la parte superior de cada lado de la tapa trasera.
-
-
-
Remueve los seis tornillos Phillips #00 de 4.0 mm que sujetan el marco medio al teléfono.
-
Para reemplazar la pantalla LCD y digitalizador, remueve los cuatro tornillos adicionales de 4.00 mm de la tapa de la placa hija con el mismo destornillador.
-
-
-
-
Usa el extremo plano de un spudger para desconectar el conector de la batería.
-
-
Este paso está sin traducir. Ayuda a traducirlo
-
Use a plastic opening tool to disconnect the NFC board ribbon cable.
-
-
Este paso está sin traducir. Ayuda a traducirlo
-
Gently lift the NFC board up and away from the device.
-


Cancelar: No complete esta guía.
13 personas más completaron esta guía.
Equipo

USF Tampa, Team 13-4, Staggers Fall 2014 Miembro de USF Tampa, Team 13-4, Staggers Fall 2014
USFT-STAGGERS-F14S13G4
3 Miembros
13 Guías creadas
2 comentarios
There seems to be a few revisions of the NFC board
My original has the part number EAX65371601_1.1
The replacement parts I received were EAX65371601_E and EAX65371601_1.1. Neither of which work. The NFC slider will not stay in the ON position. Looking at the logcat show some cryptic errors.
Has anyone had any success in replacing the NFC board, if so what version was the original and the replacement?
My NFC slider under Settings, Wireless & networks, More… also won’t stay. The phone has taken some abuse, so not surprised if something’s awry. BUT wireless (Qi) charging does work … I wonder if the NFC Board connector carries both of these, so if NFC is bad, but Qi charging is good, it’s not the board…? Anyone troubleshot and fixed these same symptoms?