Saltar al contenido principal

Nerf N-Strike Elite Retaliator Trigger Spring Replacement

Qué necesitas

  1. Nerf N-Strike Elite Retaliator Trigger Spring Replacement, Case Disassembly: paso 1, imagen 1 de 1
    • While holding the blaster, rotate the barrel assembly in the counter-clockwise direction and pull away from the blaster.

  2. Nerf N-Strike Elite Retaliator Trigger Spring Replacement: paso 2, imagen 1 de 1
    • Remove the stock of the blaster by pushing the orange tabs downward while pulling the stock away from the blaster.

  3. Nerf N-Strike Elite Retaliator Trigger Spring Replacement: paso 3, imagen 1 de 1
    • Remove the magazine from the blaster by forcing the sliding mechanism backwards, pushing the orange tabs downward, and pulling the magazine away.

  4. Nerf N-Strike Elite Retaliator Trigger Spring Replacement: paso 4, imagen 1 de 2 Nerf N-Strike Elite Retaliator Trigger Spring Replacement: paso 4, imagen 2 de 2
    • Remove the stock attachment point by removing the two 8mm Phillips head screws.

  5. Nerf N-Strike Elite Retaliator Trigger Spring Replacement: paso 5, imagen 1 de 2 Nerf N-Strike Elite Retaliator Trigger Spring Replacement: paso 5, imagen 2 de 2
    • Remove the eleven 8mm and two 10mm Phillips head screws from the left side of the blaster, and carefully remove the outer casing.

    • Two of the screws must be removed with the sliding mechanism in the forward position. Another two must be removed with the sliding mechanism in the back position.

    • There are several springs that may become displaced during this procedure. Proceed with the utmost caution.

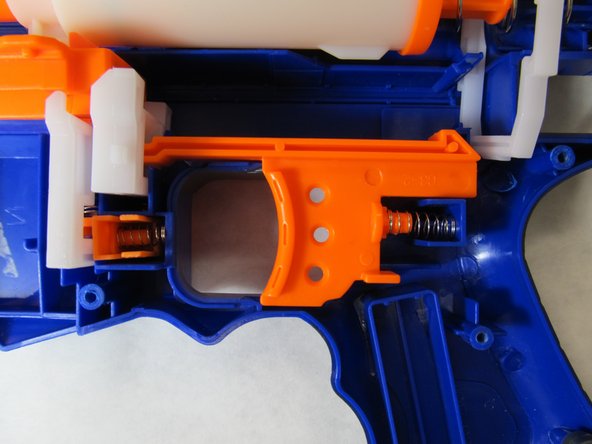
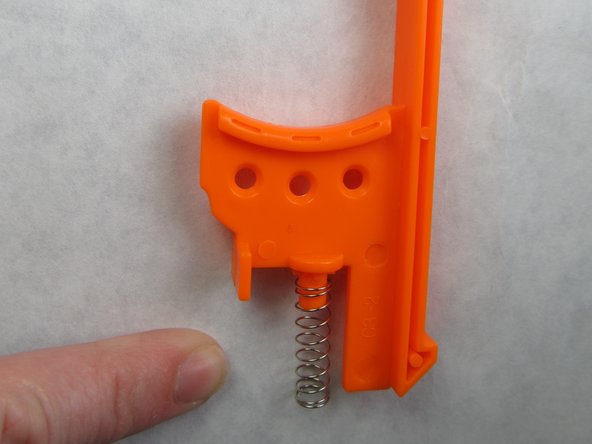
  6. Nerf N-Strike Elite Retaliator Trigger Spring Replacement, Trigger Spring: paso 6, imagen 1 de 3 Nerf N-Strike Elite Retaliator Trigger Spring Replacement, Trigger Spring: paso 6, imagen 2 de 3 Nerf N-Strike Elite Retaliator Trigger Spring Replacement, Trigger Spring: paso 6, imagen 3 de 3
    • Carefully pull the orange trigger upward and backward to remove it from the blaster.

    • This component is under spring pressure. Wear appropriate personal protective equipment to shield your eyes.

    • Remove the spring from the rear of the trigger.

Conclusión

To reassemble your device, follow these instructions in reverse order.

Una persona más ha completado esta guía.

ericharman

Miembro Desde 03/02/16

1,410 Reputación

5 Guías creadas

Un comentario

ok, taken the spring out. now what?

Kelvin Mead - Contestar

Agregar Comentario

Ver Estadísticas:

Ultimas 24 horas: 0

Ultimos 7 días: 4

Ultimos 30 días: 15

Todo El Tiempo: 9,316