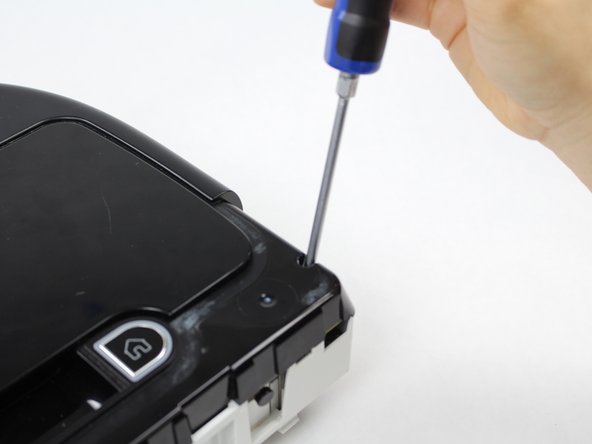
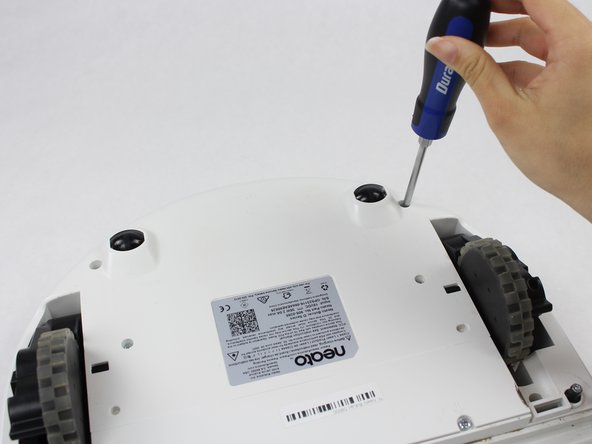
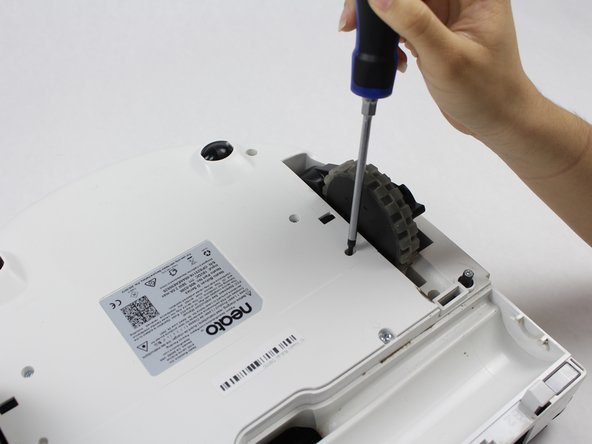
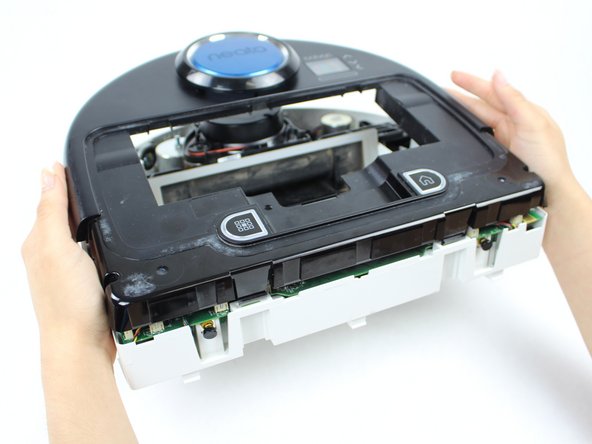
Saltar al contenido principal

Neato Botvac D8000 Top Face Panel Replacement

Qué necesitas

  1. Neato Botvac D8000 Top Face Panel Replacement, Top Face Panel: paso 1, imagen 1 de 1
    • Grab the rear bumper with both hands on either side.

  2. Neato Botvac D8000 Top Face Panel Replacement: paso 2, imagen 1 de 2 Neato Botvac D8000 Top Face Panel Replacement: paso 2, imagen 2 de 2
    • Firmly pull the bumper forward at a steady pace.

    • When pulling the bumper forward avoid being too rough because the bumper might break.

  3. Neato Botvac D8000 Top Face Panel Replacement: paso 3, imagen 1 de 2 Neato Botvac D8000 Top Face Panel Replacement: paso 3, imagen 2 de 2
    • Looking from above, remove the two 11mm screws with a Torx T10 screwdriver.

  4. Neato Botvac D8000 Top Face Panel Replacement: paso 4, imagen 1 de 3 Neato Botvac D8000 Top Face Panel Replacement: paso 4, imagen 2 de 3 Neato Botvac D8000 Top Face Panel Replacement: paso 4, imagen 3 de 3
    • Place the robot on its back and remove the six 11mm screws using a Torx T10 screwdriver.

  5. Neato Botvac D8000 Top Face Panel Replacement: paso 5, imagen 1 de 3 Neato Botvac D8000 Top Face Panel Replacement: paso 5, imagen 2 de 3 Neato Botvac D8000 Top Face Panel Replacement: paso 5, imagen 3 de 3
    • Push the clips, located in the back side, inward.

    • Gently lift up the top cover until you can see the wires. Then gently un-clip all the wires.

    • When you lift the top cover be careful because the wires are thin and fragile.

  6. Neato Botvac D8000 Top Face Panel Replacement: paso 6, imagen 1 de 1
    • Once you have carefully removed the wire clip; you can fully remove the top cover.

Conclusión

To reassemble your device, follow these instructions in reverse order.

2 personas más completaron esta guía.

Ruth Lopez

Miembro Desde 03/22/18

280 Reputación

2 Guías creadas

0 comentarios

Agregar Comentario

Ver Estadísticas:

Ultimas 24 horas: 0

Ultimos 7 días: 2

Ultimos 30 días: 7

Todo El Tiempo: 918