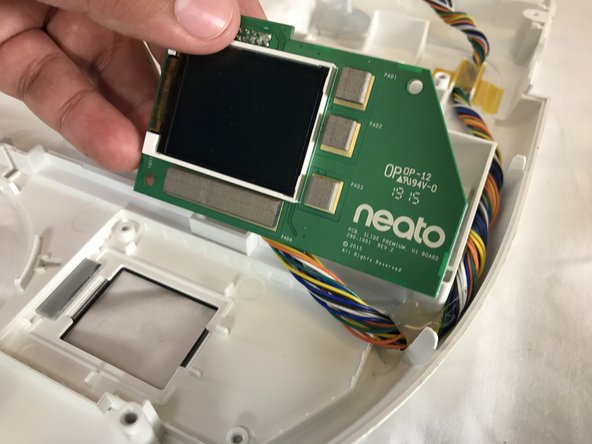
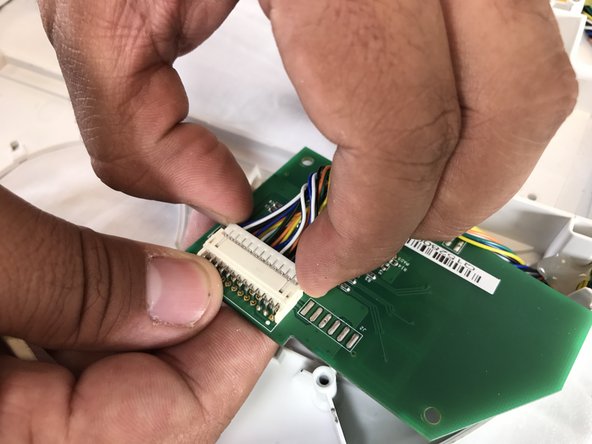
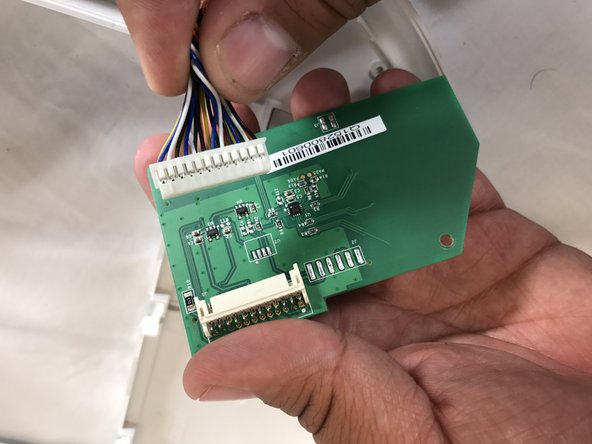
Saltar al contenido principal

Neato Botvac D75 LCD Screen Replacement

Qué necesitas

  1. Neato Botvac D75 LCD Screen Replacement, Battery: paso 1, imagen 1 de 3 Neato Botvac D75 LCD Screen Replacement, Battery: paso 1, imagen 2 de 3 Neato Botvac D75 LCD Screen Replacement, Battery: paso 1, imagen 3 de 3
    • Use Phillips #1 screwdriver to unscrew the two bottom cover screws

    • Be careful, the screws are self-retained on the cover itself and does not come off the battery cover.

  2. Neato Botvac D75 LCD Screen Replacement: paso 2, imagen 1 de 3 Neato Botvac D75 LCD Screen Replacement: paso 2, imagen 2 de 3 Neato Botvac D75 LCD Screen Replacement: paso 2, imagen 3 de 3
    • Lift battery cover out.

  3. Neato Botvac D75 LCD Screen Replacement: paso 3, imagen 1 de 3 Neato Botvac D75 LCD Screen Replacement: paso 3, imagen 2 de 3 Neato Botvac D75 LCD Screen Replacement: paso 3, imagen 3 de 3
    • Be careful when taking out the battery. Do not pull on the wires or battery trying to get the connector out.

    • The cord has prongs on it that are a little difficult to get out. Use a flathead screwdriver to press the release tab on the connector to remove it.

  4. Neato Botvac D75 LCD Screen Replacement, Brushes: paso 4, imagen 1 de 3 Neato Botvac D75 LCD Screen Replacement, Brushes: paso 4, imagen 2 de 3 Neato Botvac D75 LCD Screen Replacement, Brushes: paso 4, imagen 3 de 3
    • To remove the rotary brush simply grasp it firmly and pull it off.

  5. Neato Botvac D75 LCD Screen Replacement: paso 5, imagen 1 de 3 Neato Botvac D75 LCD Screen Replacement: paso 5, imagen 2 de 3 Neato Botvac D75 LCD Screen Replacement: paso 5, imagen 3 de 3
    • Once you have everything out get the plastic opening tool and pry open the large black plastic piece.

    • With a little force it should come out.

    • The boxes show you were the clips are that hold this piece

  6. Neato Botvac D75 LCD Screen Replacement: paso 6, imagen 1 de 1
    • Once the black piece has been taken out, the brush just comes out easily.

  7. Neato Botvac D75 LCD Screen Replacement, LCD Screen: paso 7, imagen 1 de 2 Neato Botvac D75 LCD Screen Replacement, LCD Screen: paso 7, imagen 2 de 2
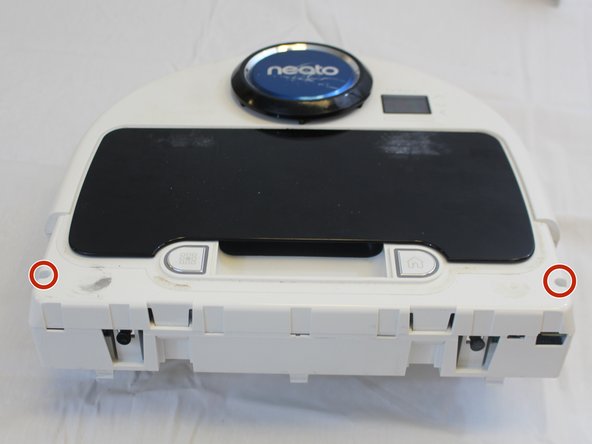
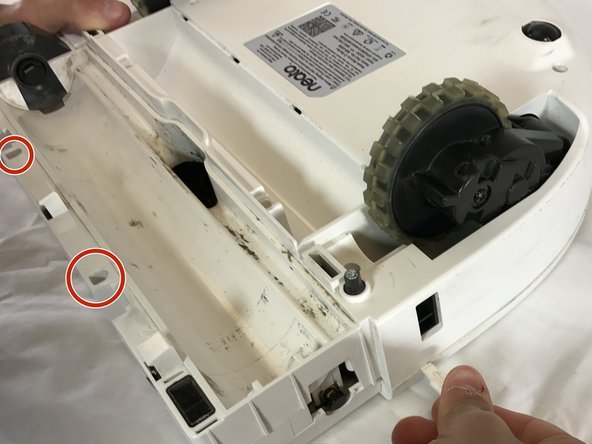
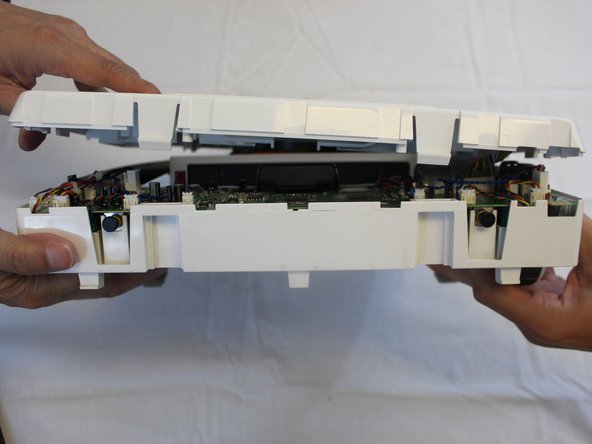
    • Firmly grasp the back cover and pull away from the Botvac one side at a time.

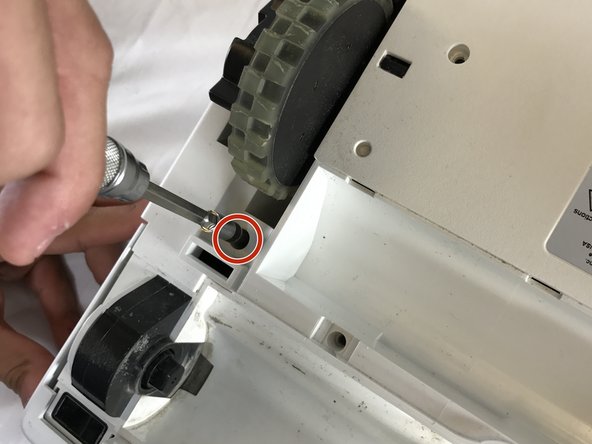
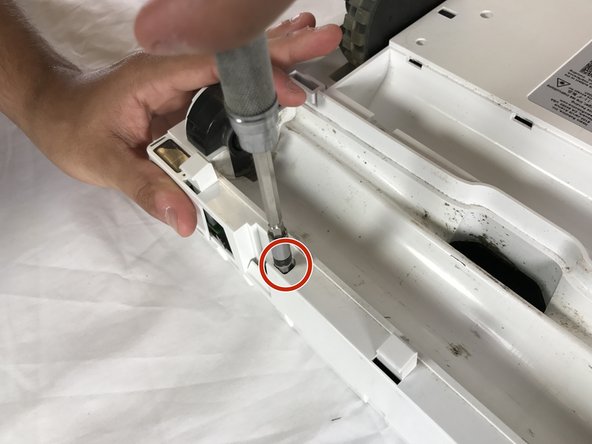
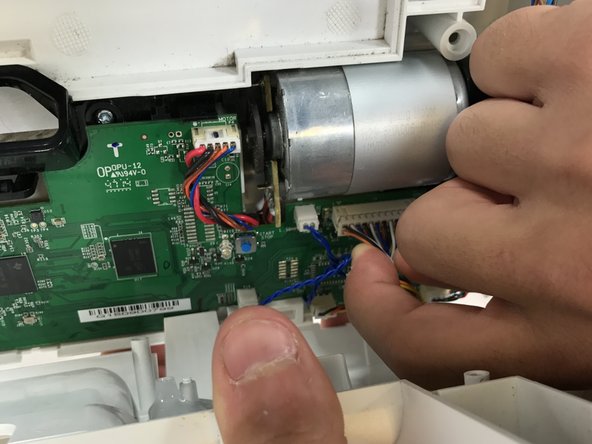
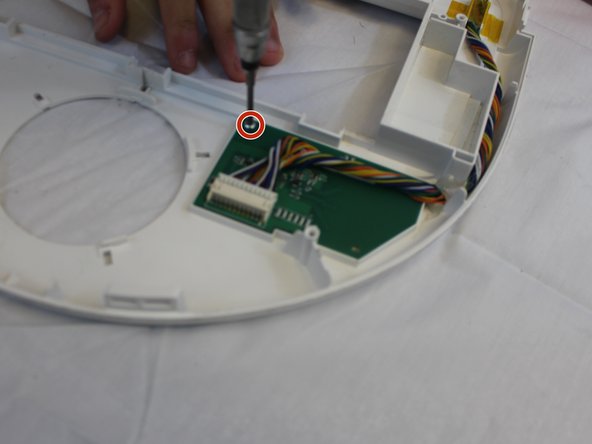
    • Removing the cover will expose two 1.3mm T10 screws that must be removed to separate the cover halves.

  8. Neato Botvac D75 LCD Screen Replacement: paso 8, imagen 1 de 2 Neato Botvac D75 LCD Screen Replacement: paso 8, imagen 2 de 2
    • Remove these two 13mm T10 screws. You will need to use the extension in your tool set since they are deep in the casting.

  9. Neato Botvac D75 LCD Screen Replacement: paso 9, imagen 1 de 2 Neato Botvac D75 LCD Screen Replacement: paso 9, imagen 2 de 2
    • Eight 13mm T10 screws on the underside of the Botvac hold the casing together. These screws are not self-retained so make sure that you don’t lose them in the disassembly process.

  10. Neato Botvac D75 LCD Screen Replacement: paso 10, imagen 1 de 3 Neato Botvac D75 LCD Screen Replacement: paso 10, imagen 2 de 3 Neato Botvac D75 LCD Screen Replacement: paso 10, imagen 3 de 3
    • The screws pictured here on either side of the Botvac require the extension in your tool set to be removed.

  11. Neato Botvac D75 LCD Screen Replacement: paso 11, imagen 1 de 2 Neato Botvac D75 LCD Screen Replacement: paso 11, imagen 2 de 2
    • On the back of the Botvac there are two retaining tabs that must be pressed to be released.

    • With the tabs released the top and bottom cover halves can be separated.

  12. Neato Botvac D75 LCD Screen Replacement: paso 12, imagen 1 de 3 Neato Botvac D75 LCD Screen Replacement: paso 12, imagen 2 de 3 Neato Botvac D75 LCD Screen Replacement: paso 12, imagen 3 de 3
    • Carefully lift the top cover of the Botvac. On the right side of the Botvac is where you'll find the LCD screen connector to the motherboard. Carefully pull on the connector to disconnect it from the motherboard.

  13. Neato Botvac D75 LCD Screen Replacement: paso 13, imagen 1 de 3 Neato Botvac D75 LCD Screen Replacement: paso 13, imagen 2 de 3 Neato Botvac D75 LCD Screen Replacement: paso 13, imagen 3 de 3
    • There are two 0.5cm #1 Phillips screws holding the LCD screen to the top cover. Remove these screws to lift screen off the cover.

  14. Neato Botvac D75 LCD Screen Replacement: paso 14, imagen 1 de 3 Neato Botvac D75 LCD Screen Replacement: paso 14, imagen 2 de 3 Neato Botvac D75 LCD Screen Replacement: paso 14, imagen 3 de 3
    • With the two screws removed you may lift the screen off the cover. Carefully remove the connector from the screen by pulling on the connector.

Conclusión

To reassemble your device, follow these instructions in reverse order.

2 personas más completaron esta guía.

Juan Cornejo

Miembro Desde 02/15/17

597 Reputación

5 Guías creadas

Equipo

USF Tampa, Team S6-G5, Lacy Spring 2017 Miembro de USF Tampa, Team S6-G5, Lacy Spring 2017

USFT-LACY-S17S6G5

4 Miembros

10 Guías creadas

0 comentarios

Agregar Comentario

Ver Estadísticas:

Ultimas 24 horas: 1

Ultimos 7 días: 4

Ultimos 30 días: 16

Todo El Tiempo: 2,965