Saltar al contenido principal

Motorola i90c speaker replacement

Qué necesitas

  1. Motorola i90c speaker replacement, Battery: paso 1, imagen 1 de 3 Motorola i90c speaker replacement, Battery: paso 1, imagen 2 de 3 Motorola i90c speaker replacement, Battery: paso 1, imagen 3 de 3
    • Slide the notch downward while pulling the back cover off to remove it.

  2. Motorola i90c speaker replacement: paso 2, imagen 1 de 3 Motorola i90c speaker replacement: paso 2, imagen 2 de 3 Motorola i90c speaker replacement: paso 2, imagen 3 de 3
    • Use your fingers to push the battery upward from the bottom.

    • Lift upwards to remove the battery.

  3. Motorola i90c speaker replacement, Antenna: paso 3, imagen 1 de 2 Motorola i90c speaker replacement, Antenna: paso 3, imagen 2 de 2
    • Unscrew the antenna in a counter-clockwise fashion.

    • Remove the aluminum cover.

  4. Motorola i90c speaker replacement, Disassembling Motorola i90c Internal Backplate: paso 4, imagen 1 de 3 Motorola i90c speaker replacement, Disassembling Motorola i90c Internal Backplate: paso 4, imagen 2 de 3 Motorola i90c speaker replacement, Disassembling Motorola i90c Internal Backplate: paso 4, imagen 3 de 3
    • Unscrew the 3 screws shown.

    • Lift up the right part of the Nextel logo and unscrew the screw underneath.

  5. Motorola i90c speaker replacement: paso 5, imagen 1 de 2 Motorola i90c speaker replacement: paso 5, imagen 2 de 2
    • DO NOT force the cover off as it could damage the ribbon cable!

    • Gently lift the back cover off.

  6. Motorola i90c speaker replacement: paso 6, imagen 1 de 3 Motorola i90c speaker replacement: paso 6, imagen 2 de 3 Motorola i90c speaker replacement: paso 6, imagen 3 de 3
    • Carefully pry off the connection between the headphone jack and logic board.

  7. Motorola i90c speaker replacement, Speaker System: paso 7, imagen 1 de 3 Motorola i90c speaker replacement, Speaker System: paso 7, imagen 2 de 3 Motorola i90c speaker replacement, Speaker System: paso 7, imagen 3 de 3
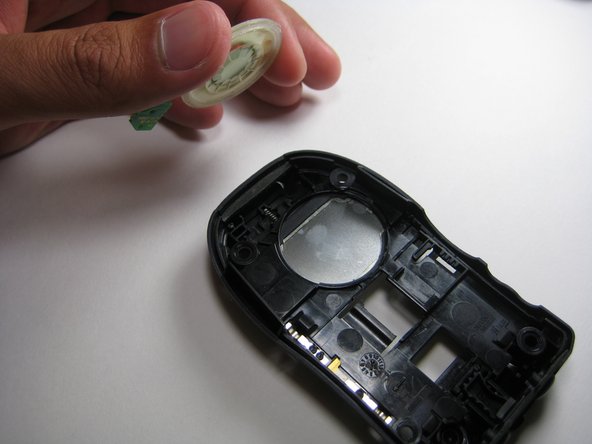
    • Use the prying tools to wedge out the circular part of the speaker system.

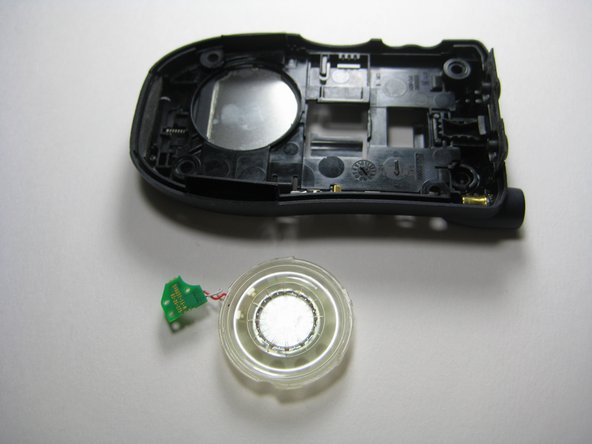
    • Carefully pull out the wiring and circuit board attached to the speaker system using a prying tool or tweezers.

Conclusión

To reassemble your device, follow these instructions in reverse order.

Jorge

Miembro Desde 04/14/10

4 Reputación

4 Guías creadas

Equipo

Cal Poly, Team 29-61, Johann Spring 2010 Miembro de Cal Poly, Team 29-61, Johann Spring 2010

CPSU-JOHANN-S10S29G61

4 Miembros

6 Guías creadas

0 comentarios

Agregar Comentario

Ver Estadísticas:

Ultimas 24 horas: 1

Ultimos 7 días: 1

Ultimos 30 días: 1

Todo El Tiempo: 1,179