Introducción
Common problems with the Xoom 2 is a gradually forming looseness in the charging port assembly or even a bent or broken charging port. Follow this guide to replace or fix your charging port assembly.
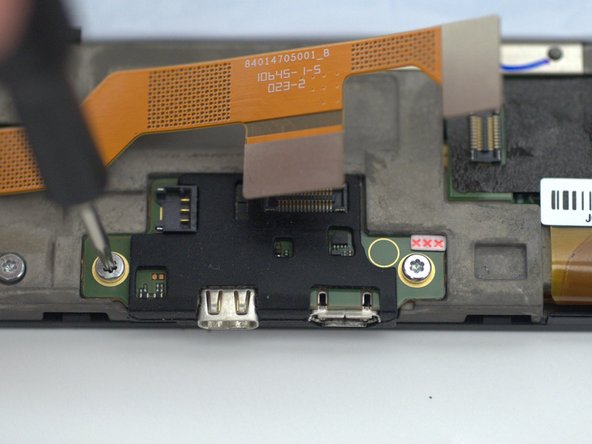
Note: We will be using a Torx T5 screwdriver for all of the steps in this guide.
Qué necesitas
-
-
Pry off the silver top back cover (the panel around the camera) with iFixit opening picks or a similar implement.
-
-
-
-
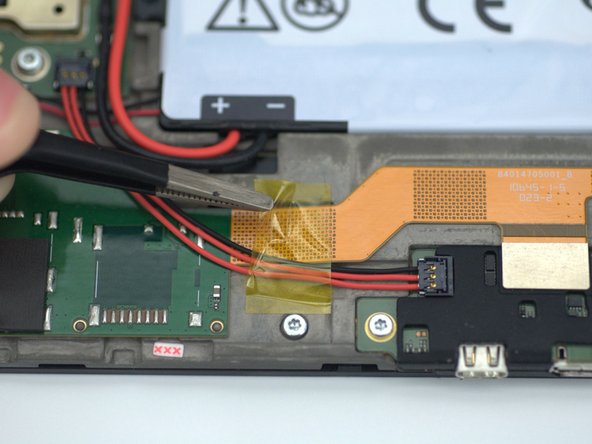
Using tweezers, gently pry up the piece of yellow Kapton tape that is holding several cables in place.
-


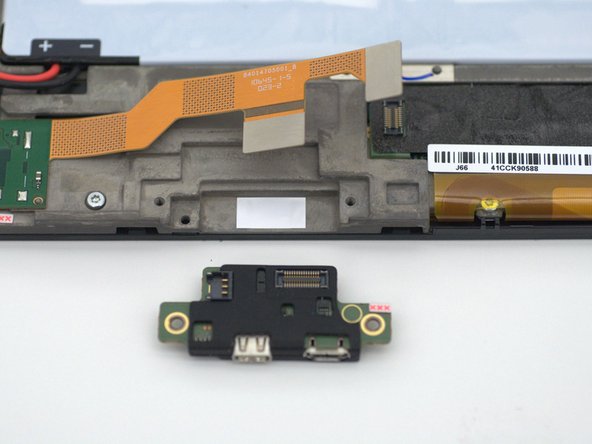
To reassemble your device, follow these instructions in reverse order.
To reassemble your device, follow these instructions in reverse order.

Equipo

Embry-Riddle Aeronautical University, Team S13-G6, Lamothe Fall 2019 Miembro de Embry-Riddle Aeronautical University, Team S13-G6, Lamothe Fall 2019
ERAU-LAMOTHE-F19S13G6
4 Miembros
7 Guías creadas