Esta versión puede contener ediciones incorrectas. Cambie a la última instantánea verificada.
Qué necesitas
-
Este paso está sin traducir. Ayuda a traducirlo
-
Gently tug on the upper edge of the faceplate, and it will easily detach.
-
-
Este paso está sin traducir. Ayuda a traducirlo
-
Insert a pair of tweezers between the silver and black sections of the cover.
-
-
Este paso está sin traducir. Ayuda a traducirlo
-
The black rubber component can now easily be taken off.
-
-
Este paso está sin traducir. Ayuda a traducirlo
-
Use a soldering iron to detach the connector ribbon from the phone.
-
-
Este paso está sin traducir. Ayuda a traducirlo
-
Power off the Motorola V180.
-
Flip the phone over to its back side.
-
Hold down the button and slide off the back cover.
-
Remove the battery.
-
-
Este paso está sin traducir. Ayuda a traducirlo
-
Use your T6 Torx Screwdriver to unscrew the four screws located on the back of the phone.
-
Remove the SIM card located on the back of the phone.
-
-
Este paso está sin traducir. Ayuda a traducirlo
-
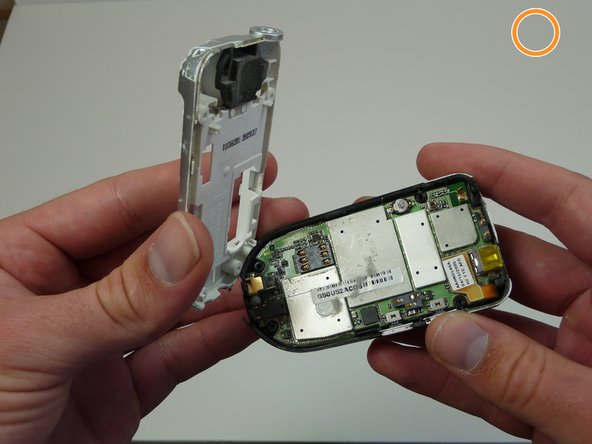
Unclip the pronged rectangle connector ribbon attached to the motherboard.
-
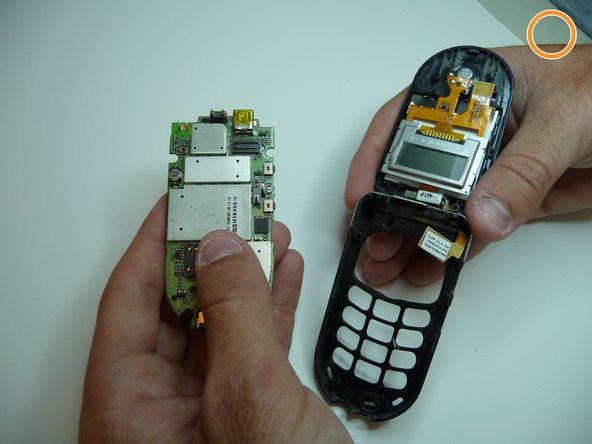
Remove the motherboard.
-
-
Este paso está sin traducir. Ayuda a traducirlo
-
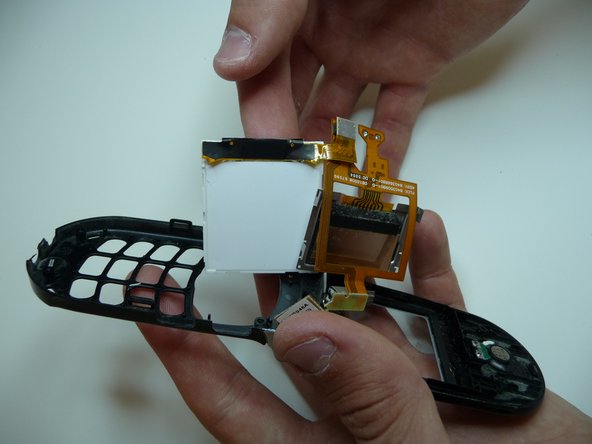
Now that the connector ribbon is loose, the screen (white part) can swing away.
-
Some of the black "tape" can be peeled back, but the screen is still attached. Further work may be necessary to fully separate this part.
-
-
Este paso está sin traducir. Ayuda a traducirlo
-
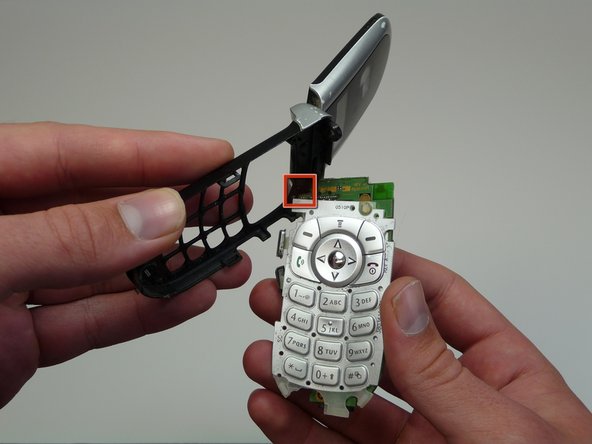
Slide out the part of the connector ribbon that was just attached to the motherboard through this narrow slot in the phone.
-
Once the connector ribbon is successfully removed from the slot, proceed to remove the entire unit from the phone.
-


Equipo

Cal Poly, Team 6-16, Maness Spring 2010 Miembro de Cal Poly, Team 6-16, Maness Spring 2010
CPSU-MANESS-S10S6G16
4 Miembros
13 Guías creadas