Esta versión puede contener ediciones incorrectas. Cambie a la última instantánea verificada.
Qué necesitas
-
Este paso está sin traducir. Ayuda a traducirlo
-
Press down on the the rear panel release button while simultaneously prying the rear panel straight away from the V3c.
-
Lift and remove the rear panel away from the V3c.
-
-
Este paso está sin traducir. Ayuda a traducirlo
-
Remove the battery by pushing in the top of the battery and lifting it away from the phone.
-
-
Este paso está sin traducir. Ayuda a traducirlo
-
Use the plastic opening tool to pop the bottom part of the back case out.
-
-
-
Este paso está sin traducir. Ayuda a traducirlo
-
Gently pull back case out and lay it over to the side.
-
Now pull up on the cable attaching the back case to the phone body to separate the two parts. Lay the back case aside for now.
-
-
Este paso está sin traducir. Ayuda a traducirlo
-
Remove the two T6 screws securing the plastic speaker cover to the phone.
-
-
Este paso está sin traducir. Ayuda a traducirlo
-
Pull the silver plastic cover down away from the rest of the phone.
-
-
Este paso está sin traducir. Ayuda a traducirlo
-
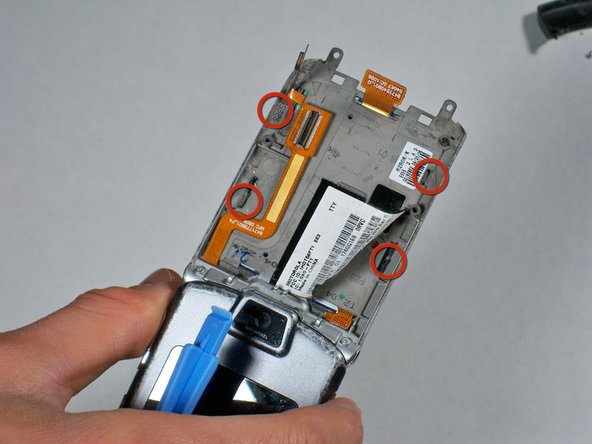
Push the metal tabs along the perimeter of the device through towards the keyboard with your fingers.
-
-
Este paso está sin traducir. Ayuda a traducirlo
-
Gently lift up on the keypad with the plastic opening tool while being careful not to bend the thin metal portion lining the keypad.
-


Cancelar: No complete esta guía.
2 personas más completaron esta guía.
Equipo

Cal Poly, Team 11-4, Forte Winter 2010 Miembro de Cal Poly, Team 11-4, Forte Winter 2010
CPSU-FORTE-W10S11G4
3 Miembros
8 Guías creadas