Esta traducción podría no reflejar los cambios más recientes añadidos a la guía de referencia. Ayúdanos a actualizar la traducción o revisa la guía original.
Introducción
Usa esta guía para reemplazar la pantalla de tu Motorola Moto Z Play intercambiando la unidad de pantalla . El ensamblaje de la pantalla de reemplazo normalmente no incluye el sensor de huellas digitales o el flash de la cámara frontal. Si estas partes no se reemplazan con la pantalla, deberán transferirse de la pantalla anterior.
Advertencia : Debido a que el adhesivo fuerte asegura la pantalla, el espacio mínimo para insertar tus herramientas y el alto calor requerido, existe una gran posibilidad de dañar la pantalla al retirarla. Si estás reemplazando la pantalla de todas formas, entonces no tienes que preocuparse, pero si deseas reutilizar la pantalla, presta atención a todas las advertencias y trabaja con mucho cuidado.
Qué necesitas
-
-
Si es posible, drena la batería antes del desmontaje. Cuando la batería está cargada, hay más riesgo de un evento término peligroso si la batería se sobrecalienta o se daña durante la reparación.
-
Si tu pantalla está rota, cúbrela completamente con cinta de embalaje para contener los fragmentos de vidrios y prevenir lesiones.
-
-
-
Prepara un iOpener y calienta la parte posterior del teléfono a lo largo del borde izquierdo durante dos minutos. Esto ayudará a ablandar el adhesivo que sujeta la pantalla.
-
-
-
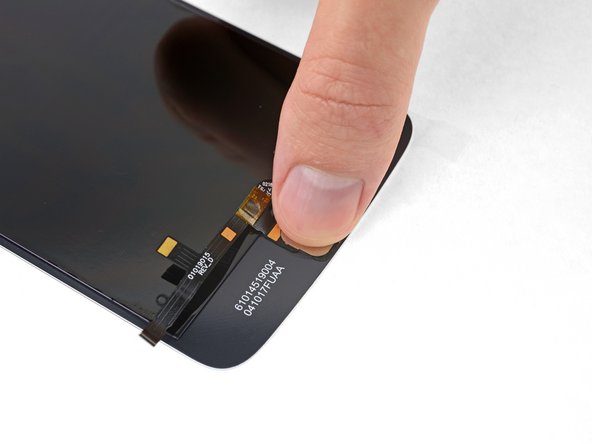
Para referencia, consulta la primera imagen que muestra la parte trasera del ensamblaje de pantalla (derecha) luego de haber sido removida del teléfono (izquierda).
-
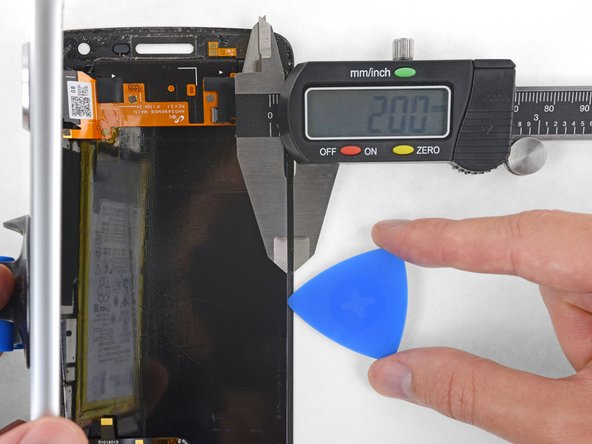
Si planeas volver a usar el ensamblaje de pantalla, presta atención especialmente a los bordes laterales. Al cortar el pegamento en esta área, debes tener cuidado de insertar la herramienta no más de 2 mm o tu herramienta tocará el panel de pantalla y lo dañará.
-
Los naipes o cartas para jugar son más seguras, pero mucho más lentas como herramientas. Es menos probable que las cartas de papel suave dañen el panel de pantalla Esto es una buena noticia si planeas volver a usar la pantalla.
-
-
-
Aplica una ventosa en la pantalla cerca del medio del borde izquierdo.
-
Levanta la ventosa con presión constante y firme para crear un pequeño espacio entre el panel frontal y la caja trasera.
-
Esto podría requerir hacer mucha fuerza, pero solo necesitas abrir un espacio muy pequeño con la ventosa para insertar la herramienta.
-
Si tienes problemas, aplica más calor para ablandar aún más el adhesivo e intenta nuevamente. El adhesivo se enfría muy rápido así que podrías tener que calentarlo varias veces.
-
-
-
Inserta tu herramienta en la esquina derecha superior del teléfono y comienza a deslizarla por debajo del bisel superior para separar el pegamento.
-
Deténte cuando tu herramienta pase el borde izquierdo del altavoz auricular.
-
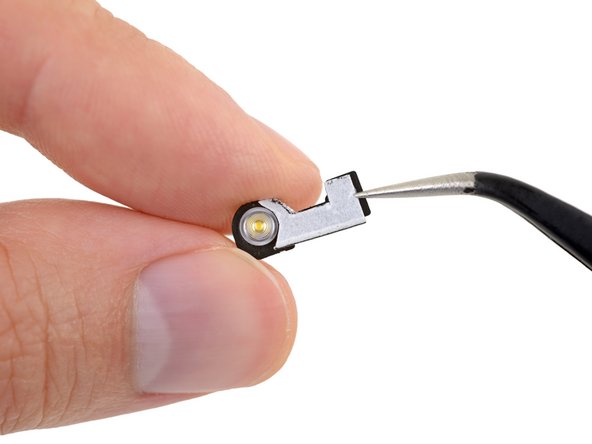
Desliza o rueda tu herramienta sobre la parte superior del módulo flash para la cámara selfie para evitar dañarla.
-
-
-
-
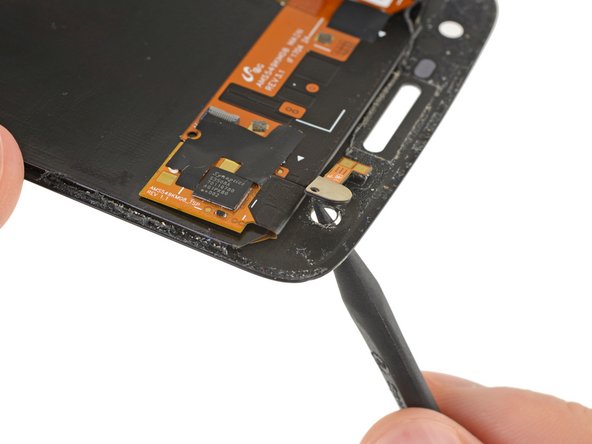
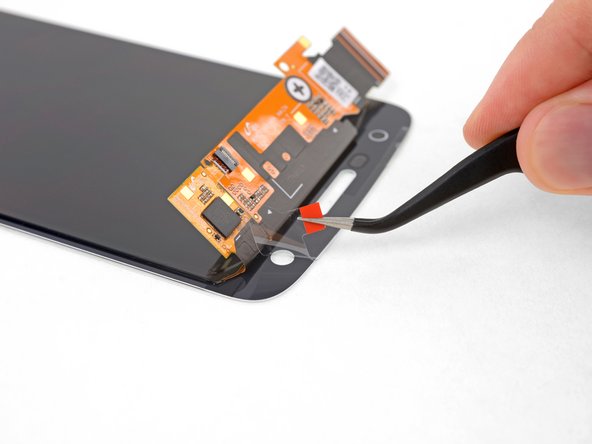
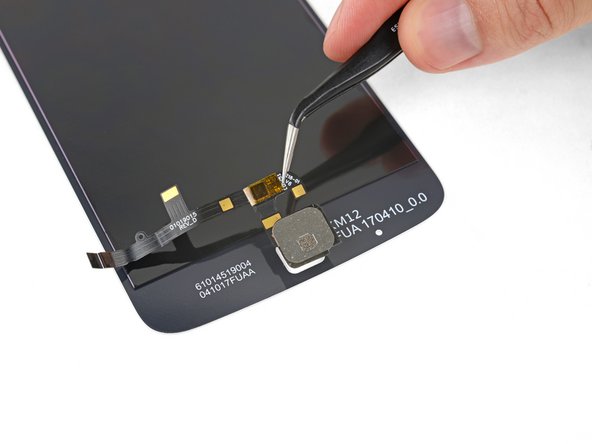
Mientras mantienes la pantalla abierta, usa la punta de un spudger para hacer palanca en la lengüeta de cierre en el conector ZIF del cable del sensor de huella digital.
-
-
-
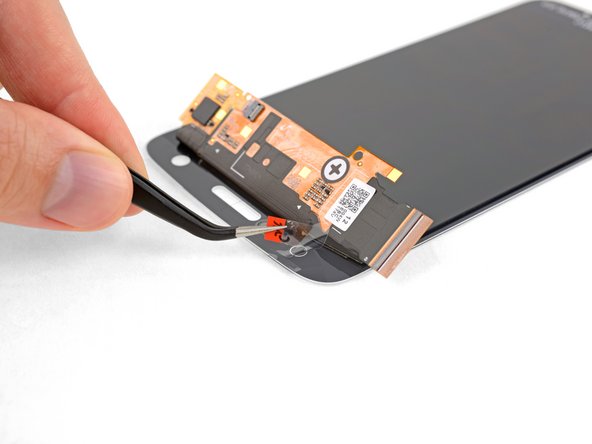
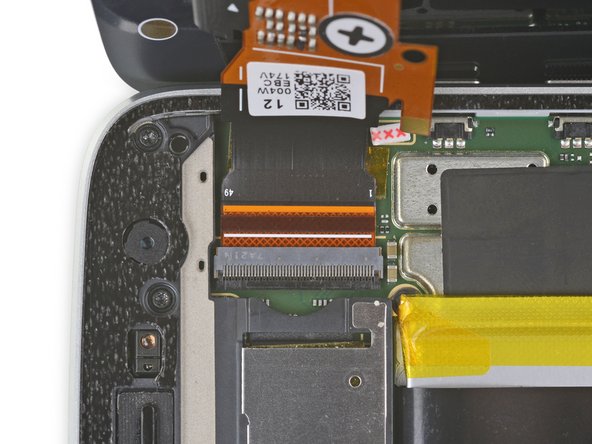
En el extremo opuesto del teléfono, usa tu spudger para abrir la lengüeta del cierre en el conector del cable de la pantalla.
The locking tab on the is dark colored and runs almost the entire width of the ZIF connector. It is located on the opposite side from where the cable connects into. Pry upward from the bottom- it works like a hinge.
-
-
-
Aplica calor durante 2-3 minutos en el área de bisel debajo de la pantalla en tu ensamblaje de pantalla vieja para ablandar el adhesivo que sujeta el sensor de huella digital.
-
-
-
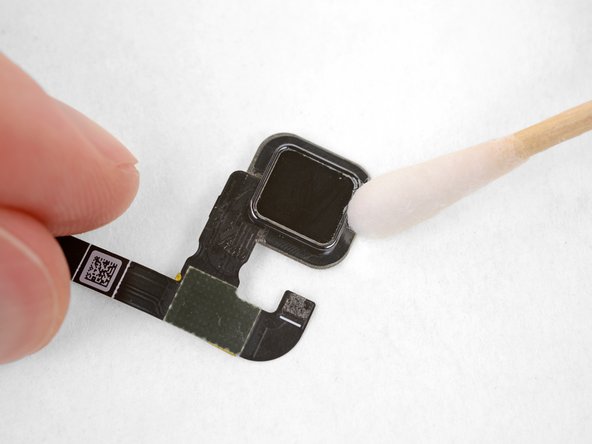
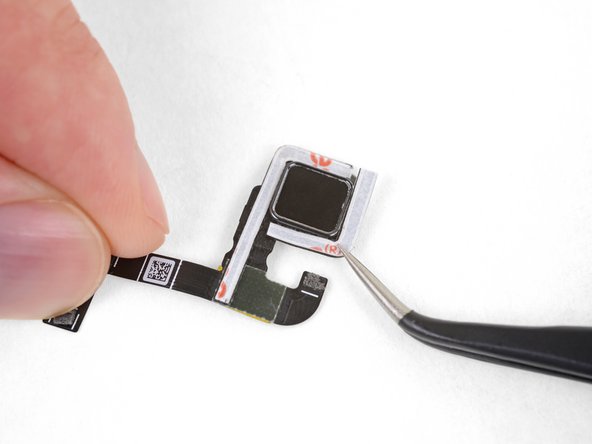
Despega y remueve el revestimiento de la cinta adhesiva en el sensor de huella digital.
-
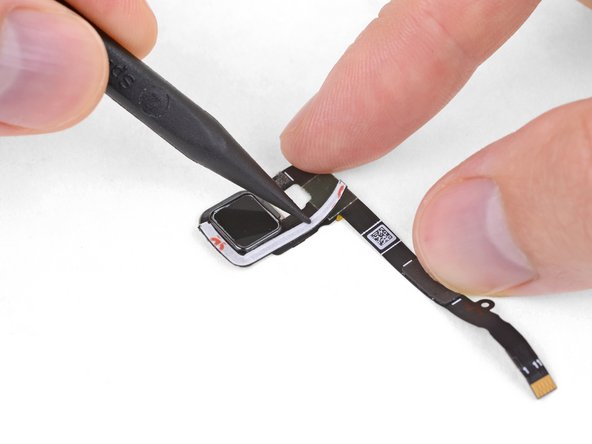
Coloca tu pantalla boca abajo y con cuidado baja el sensor de huella digital en su posición en la parte trasera.
-
Presiona firmemente en la parte trasera del sensor de huella digital durante segundos para permitir que el adhesivo se pegue y se sujete a su lugar.
-
-
-
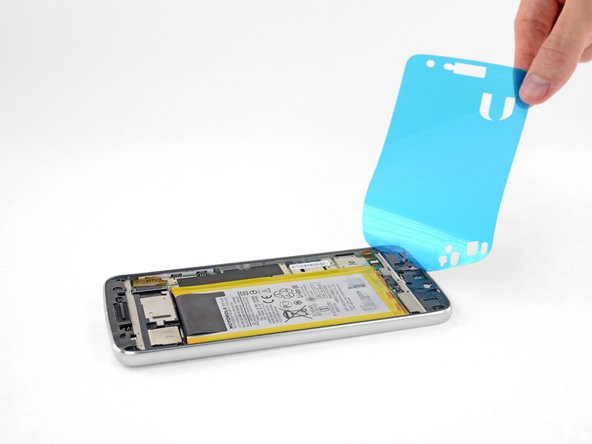
Despega y remueve todo el adhesivo de pantalla viejo del cuerpo de tu teléfono.
-
Usa la punta de tu spudger para remover pequeños trozos de adhesivo que quedaron pegados.
-
Para mejores resultados, limpia el área por debajo del adhesivo removido con alcohol isopropílico para ayudar a prepara la superficie para que el adhesivo nuevo se pegue más fuerte.
-
-
-
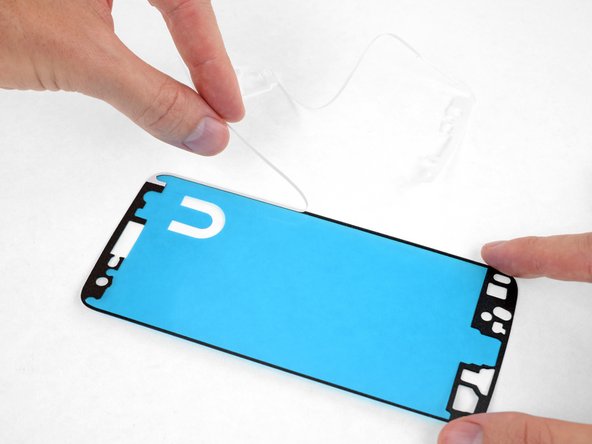
Si las tuyas vinieron con el forro de papel, despégalo y remuévelo.
-
-
-
Despega y descarta el revestimiento de plástico que expone el adhesivo de la pantalla.
Should the removal of the blue plastic backing wait until after verifying the screen works in the next step?
Well, you can’t connect the screen with the plastic in the way. But in principle, you’re right—it wouldn’t be a bad idea to pause before installing the display adhesive, plug everything in, and verify that it works. Unfortunately, you then have to unplug it again to install the adhesive, so you’ll want to test it again once it’s plugged back in, but before sealing up your phone—just to make sure the cables are seated properly. So, the verification step is probably best left where it’s at.
Well, I connected the screen to the motherboard without peeling off the plastic.
It is possible!
And after testing the phone I took off the plastic foil from the adhesive without unpluging the two connectors. The plasic foil herefor has two cuts in the area of the connectors .
So I think it’s a good idea to swap step 35 to step 36.
-
-
-
Antes de sellar la pantalla en su lugar, conecta los cables flexibles para la pantalla y el sensor de huellas digitales y luego enciende el teléfono.
-
Prueba todas las funciones para asegurarte de que la reparación fue exitosa, antes de sellar la pantalla.
-


Lleva tus desechos electrónicos a un centro de reciclaje certificado.
¿La reparación no salió según lo planeado? Consulta nuestra comunidad de respuestas para obtener ayuda para la solución de problemas.
Lleva tus desechos electrónicos a un centro de reciclaje certificado.
¿La reparación no salió según lo planeado? Consulta nuestra comunidad de respuestas para obtener ayuda para la solución de problemas.
Cancelar: No complete esta guía.
54 personas más completaron esta guía.
Un agradecimiento especial a estos traductores:
75%

Estos traductores nos están ayudando a reparar el mundo! ¿Quieres contribuir?
Empezar a traducir ›


13 comentarios
I am also confused about the Double Sided Tape. My kit seems to have come with everything I need except for this double sided tape!
i with that i had seen this before i let some third party company ruin my otherwise perfectly good phone
Followed exactly as written and successfully replaced screen on my water damaged Moto Z Play. Be sure to test everything before sealing the screen to adhesive. I didn’t test the camera prior to sealing the screen and don’t feel like opening it back up! Purchased the $99 kit with screen and tools. Unfortunately, the iOpener didn’t last second time in the microwave and leaked even after waiting 10 minutes per directions.
Screen successfully replaced. I managed to crack the plastic backing plate of the front-facing LED, but that doesn’t matter. The last bit about the heavy stack of books was rather silly in my opinion. I heated the screen with a hairdryer and pressed the phone screen down on a soft mouse mat. I don’t a have microwave, so I couldn’t use the provided iOpener at all.
Install went well. I was sweating bullets since this was my first time doing a smartphone repair, but this guide was very thorough. Take your time and be careful since this is very precise work. I also took probably about an extra 30-60 minutes carefully cleaning the dust and hair that had collected just barely under the edges of the screen after several years of use. I really recommend it since how often do you plan on opening up your phone like this?
The entire surface of my screen was completely shattered (100%) and removing all the little peices of it was difficult. I bought the complete kit and followed these instructions. I managed to pry the screen peice by peice, without heat or the suction cup tool. Very tedious work (unless you’re use to working with such small, delicate instrumentation), so take a break if you’re feeling frustrated. I would highly recommend using some type of hands free magnification throughout the process. My phone works perfectly now- complete success! Thank you IFIXIT.
This worked perfectly for me. Thank You!!!!
Excellent step by step. I was nervous at first, but I managed it! This is my first cell phone screen repair. I can hardly wait until something else breaks!
~Kristi
Excellent explanation. My son and I bought the spare screen (pre-assembled with touch screen) of his old and crashed Moto Z2Play from another website, but my IFixit Pro-Tech Toolkit made the difference!!
Thank you!
And keep on Fixing It!!
Warum ist es so wichtig das Handy beim Displaytausch auszuschalten?
I also cracked the plastic backing plate of the front-facing LED. My advice is to use a knife to separate the flash flex cable, and carefully cut through the adhesive securing it in place BEFORE you try to push the LED out of its mounting hole from the front. If you push the LED out first, it will crack the plastic backing plate underneath the flex cable. It still works OK when you glue it back to the new screen. Other than that, repair was a complete success.