Saltar al contenido principal

Motorola Moto X 2nd Generation Logo Replacement

Qué necesitas

  1. Motorola Moto X 2nd Generation Logo Replacement, Logo: paso 1, imagen 1 de 3 Motorola Moto X 2nd Generation Logo Replacement, Logo: paso 1, imagen 2 de 3 Motorola Moto X 2nd Generation Logo Replacement, Logo: paso 1, imagen 3 de 3
    • Remove SIM card tray.

  2. Motorola Moto X 2nd Generation Logo Replacement: paso 2, imagen 1 de 2 Motorola Moto X 2nd Generation Logo Replacement: paso 2, imagen 2 de 2
    • Use the eject pin to open a gap and place a guitar pick into the gap.

  3. Motorola Moto X 2nd Generation Logo Replacement: paso 3, imagen 1 de 2 Motorola Moto X 2nd Generation Logo Replacement: paso 3, imagen 2 de 2
    • Slide the guitar pick to cut the adhesive sticker and peel off the soft back cover.

  4. Motorola Moto X 2nd Generation Logo Replacement: paso 4, imagen 1 de 3 Motorola Moto X 2nd Generation Logo Replacement: paso 4, imagen 2 de 3 Motorola Moto X 2nd Generation Logo Replacement: paso 4, imagen 3 de 3
    • Twist off three screws, pry up the securing bracket and remove the logo finally.

Conclusión

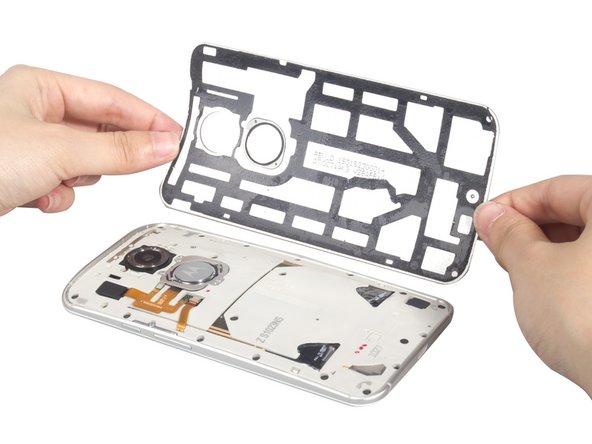
To reassemble your device, follow these instructions in reverse order.

4 personas más completaron esta guía.

Sophia

Miembro Desde 03/25/14

43,810 Reputación

62 Guías creadas

2 comentarios

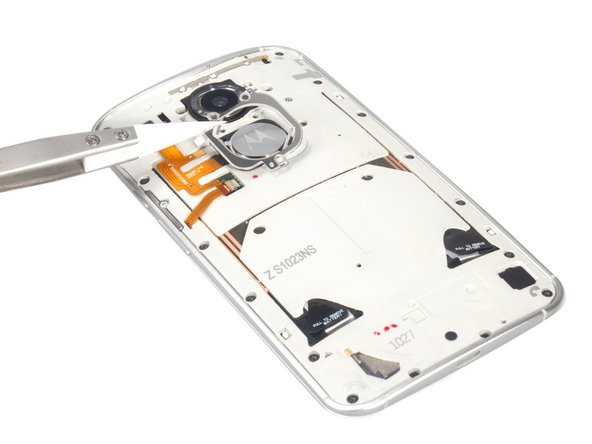
So apparently, this phone was supposed to have a fingerprint scanner. To anyone who has done this repair, I'm sure you're as confused as me as to why there is a flex cable leading to the "M" logo with nothing attached. My though is that's where the scanner was going to go, and it just never happened, which also explains why the iconic Motorola M dimple is a separate part, compared to the old Moto X and the Gs and Es, which was part of the back plastic cover.

Jeff Caauwe - Contestar

Where can you get the replacement part? I'm finding it difficult.

Niall Murray - Contestar

Agregar Comentario

Ver Estadísticas:

Ultimas 24 horas: 0

Ultimos 7 días: 0

Ultimos 30 días: 4

Todo El Tiempo: 2,479