Esta versión puede contener ediciones incorrectas. Cambie a la última instantánea verificada.
Qué necesitas
-
Este paso está sin traducir. Ayuda a traducirlo
-
Use the Push Pin to remove the rubber screw covers by pushing the needle into the rubber and pulling up.
-
-
Este paso está sin traducir. Ayuda a traducirlo
-
Use the T6 screwdriver to remove the four screws holding the casing together.
-
-
Este paso está sin traducir. Ayuda a traducirlo
-
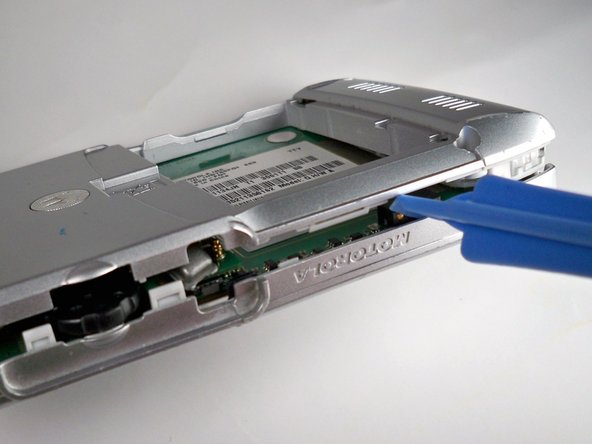
Once you get the plastic opening tool in, slide it across the side of the phone, making sure to keep the plastic opening tool wedged in between the two casings.
-
Repeat the 3 steps above for the top, bottom, and opposite side.
-
-
-
Este paso está sin traducir. Ayuda a traducirlo
-
Remove the plastic inner cover by placing the spudger under the left-most side and pry to the left and upwards.
-
Gently rotate/wiggle the cover until you can pull it off the phone.
-
-
Este paso está sin traducir. Ayuda a traducirlo
-
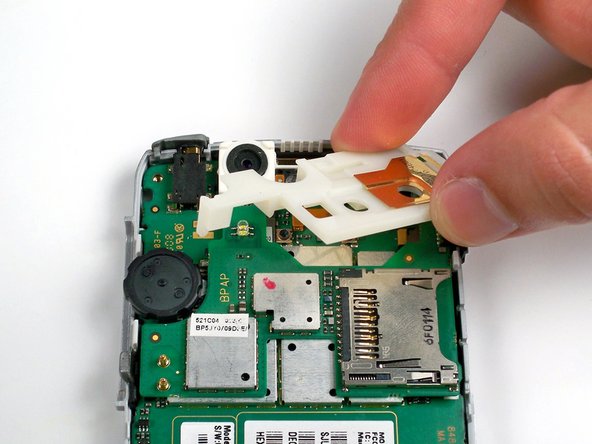
Using your fingers, remove the plastic piece that holds the camera in place.
-
-
Este paso está sin traducir. Ayuda a traducirlo
-
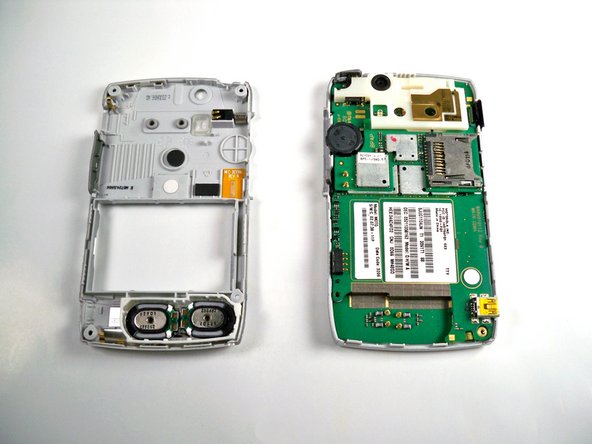
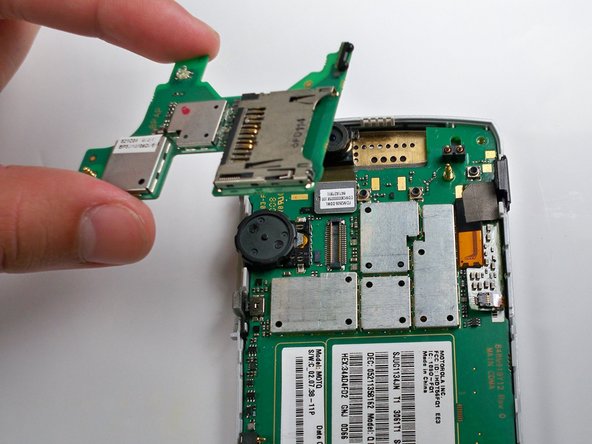
Carefully pry up the upper circuit board with the spudger.
-
The second picture shows what your phone should look like when the upper circuit board is removed.
-
-
Este paso está sin traducir. Ayuda a traducirlo
-
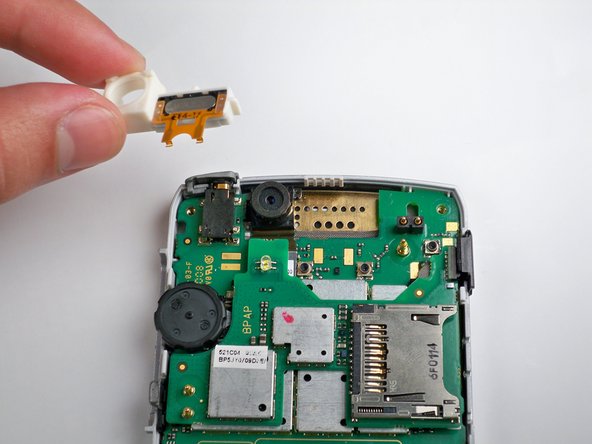
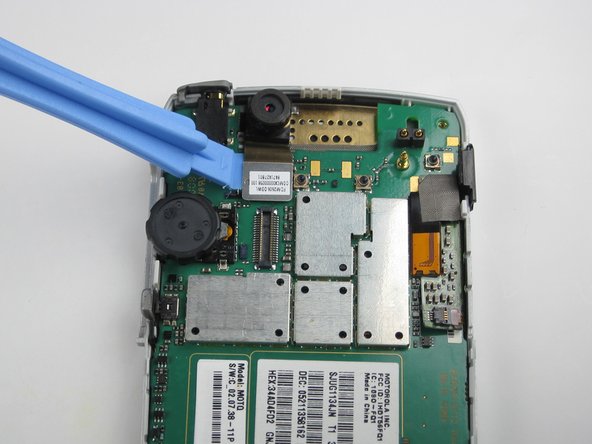
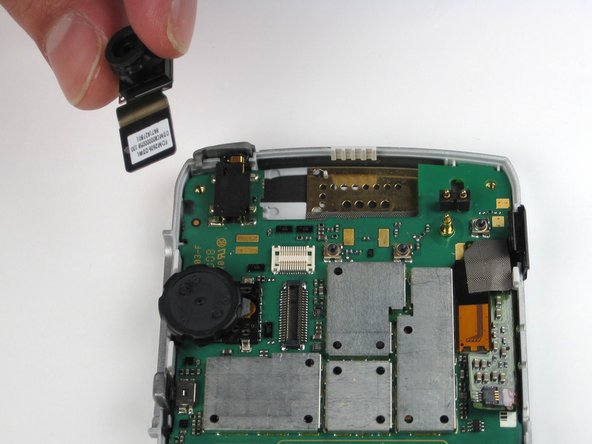
Take out the camera and attached chip with the iPod removal tool. Carefully pry the chip off its connection and the camera will come out too.
-
-
Este paso está sin traducir. Ayuda a traducirlo
-
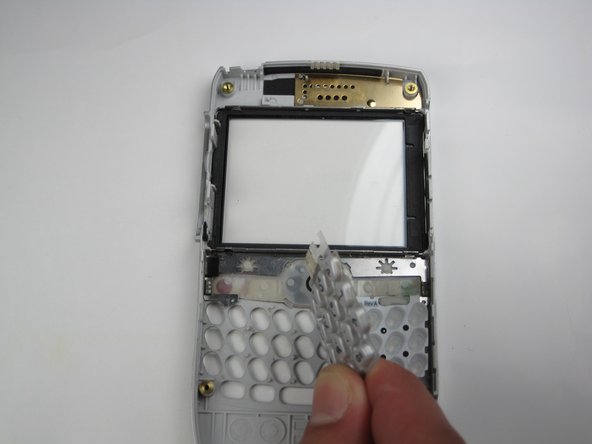
Simply lift the keyboard buttons with your hands pulling from one side to the other.
-


Equipo

Cal Poly, Team 16-33, Maness Winter 2010 Miembro de Cal Poly, Team 16-33, Maness Winter 2010
CPSU-MANESS-W10S16G33
4 Miembros
10 Guías creadas