Saltar al contenido principal

Motorola Moto G Stylus 4G (2023) Charging Port Replacement

Qué necesitas

  1. Motorola Moto G Stylus 4G (2023) Charging Port Replacement, Battery: paso 1, imagen 1 de 2 Motorola Moto G Stylus 4G (2023) Charging Port Replacement, Battery: paso 1, imagen 2 de 2
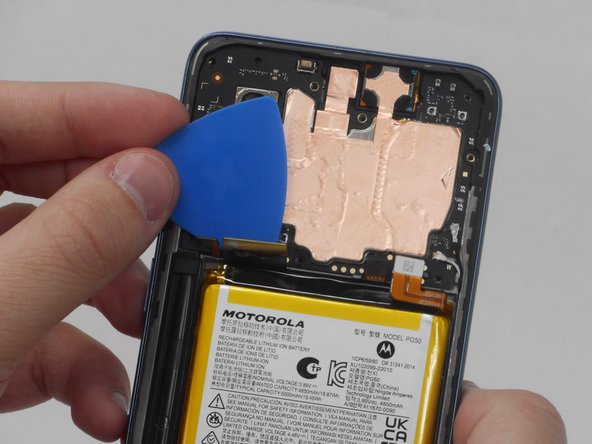
    • Insert an opening pick under the edge of the case and slide it around the edges.

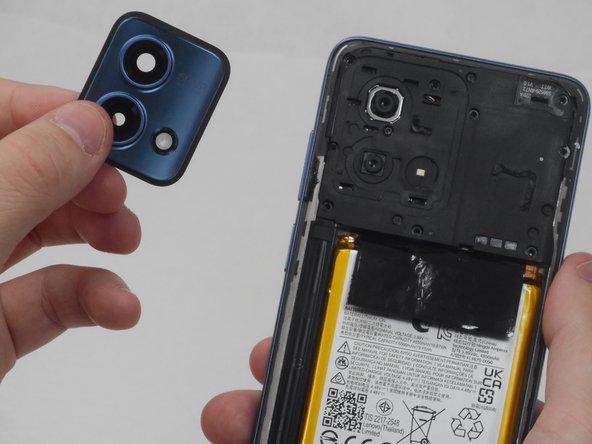
    • Separate the back panel from the rest of the phone.

  2. Motorola Moto G Stylus 4G (2023) Charging Port Replacement: paso 2, imagen 1 de 1
    • Remove the seven 4 mm screws from the phone’s top with a Torx T5 screwdriver.

  3. Motorola Moto G Stylus 4G (2023) Charging Port Replacement: paso 3, imagen 1 de 2 Motorola Moto G Stylus 4G (2023) Charging Port Replacement: paso 3, imagen 2 de 2
    • Use the opening pick along the edges to separate the camera lens glass from the board.

  4. Motorola Moto G Stylus 4G (2023) Charging Port Replacement: paso 4, imagen 1 de 1
    • Remove three 4 mm screws with a Torx T5 screwdriver.

  5. Motorola Moto G Stylus 4G (2023) Charging Port Replacement: paso 5, imagen 1 de 1
    • Pry off the top perimeter with an ESD-safe spudger and set it aside.

  6. Motorola Moto G Stylus 4G (2023) Charging Port Replacement: paso 6, imagen 1 de 2 Motorola Moto G Stylus 4G (2023) Charging Port Replacement: paso 6, imagen 2 de 2
    • Pull the black tab off of the battery gently with your hand.

  7. Motorola Moto G Stylus 4G (2023) Charging Port Replacement: paso 7, imagen 1 de 2 Motorola Moto G Stylus 4G (2023) Charging Port Replacement: paso 7, imagen 2 de 2
    • Disconnect the four cables by inserting the opening pick beneath the edge of each.

  8. Motorola Moto G Stylus 4G (2023) Charging Port Replacement: paso 8, imagen 1 de 2 Motorola Moto G Stylus 4G (2023) Charging Port Replacement: paso 8, imagen 2 de 2
    • Together with the opening pick and an ESD-safe spudger, remove the old battery.

  9. Motorola Moto G Stylus 4G (2023) Charging Port Replacement, Ringer Speaker: paso 9, imagen 1 de 1
    • Remove seven 4 mm screws with the T5 Torx screwdriver.

  10. Motorola Moto G Stylus 4G (2023) Charging Port Replacement: paso 10, imagen 1 de 2 Motorola Moto G Stylus 4G (2023) Charging Port Replacement: paso 10, imagen 2 de 2
    • Remove the speaker using an ESD-safe spudger.

  11. Motorola Moto G Stylus 4G (2023) Charging Port Replacement, Charging Port: paso 11, imagen 1 de 1
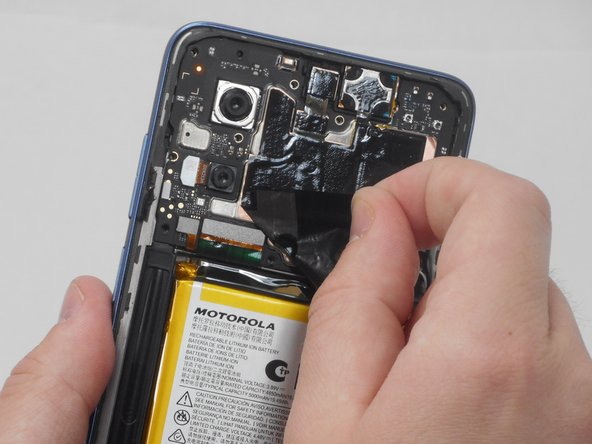
    • Unplug the two antenna heads and main ribbon connector cable from the charging port board.

  12. Motorola Moto G Stylus 4G (2023) Charging Port Replacement: paso 12, imagen 1 de 1
    • Pull the faulty charging port from the device body.

Conclusión

To reassemble your device, follow these instructions in reverse order.

0 comentarios

Agregar Comentario

Ver Estadísticas:

Ultimas 24 horas: 0

Ultimos 7 días: 5

Ultimos 30 días: 17

Todo El Tiempo: 56