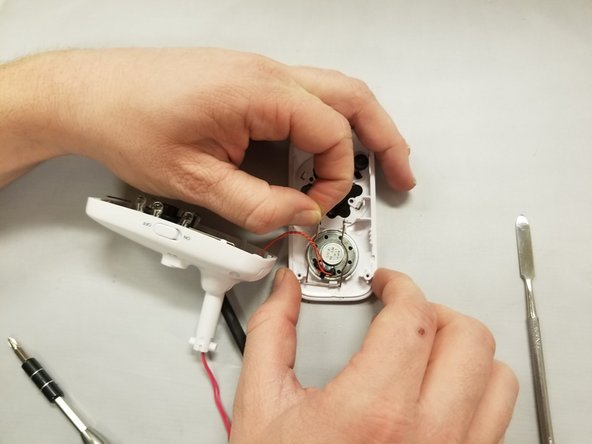
Saltar al contenido principal

Motorola MBP667CONNECT Speaker Replacement

Qué necesitas

  1. Motorola MBP667CONNECT Speaker Replacement, Camera Stand: paso 1, imagen 1 de 2 Motorola MBP667CONNECT Speaker Replacement, Camera Stand: paso 1, imagen 2 de 2
    • Remove two 5 mm Phillips #1 screws from the bottom of the camera stand.

  2. Motorola MBP667CONNECT Speaker Replacement: paso 2, imagen 1 de 1
    • Use a nylon spudger to remove the casing.

  3. Motorola MBP667CONNECT Speaker Replacement: paso 3, imagen 1 de 1
    • Remove the two 5 mm Phillips #1 screws attached to the black plastic under the casing.

  4. Motorola MBP667CONNECT Speaker Replacement: paso 4, imagen 1 de 2 Motorola MBP667CONNECT Speaker Replacement: paso 4, imagen 2 de 2
    • Remove the black circular plastic part.

  5. Motorola MBP667CONNECT Speaker Replacement: paso 5, imagen 1 de 1
    • Remove the white plastic wire housing beneath the black plastic.

  6. Motorola MBP667CONNECT Speaker Replacement: paso 6, imagen 1 de 2 Motorola MBP667CONNECT Speaker Replacement: paso 6, imagen 2 de 2
    • Now, remove the bottom of the stand by pulling it from the camera.

  7. Motorola MBP667CONNECT Speaker Replacement, Speaker: paso 7, imagen 1 de 3 Motorola MBP667CONNECT Speaker Replacement, Speaker: paso 7, imagen 2 de 3 Motorola MBP667CONNECT Speaker Replacement, Speaker: paso 7, imagen 3 de 3
    • Remove the Phillips #1 screws on the back of the device.

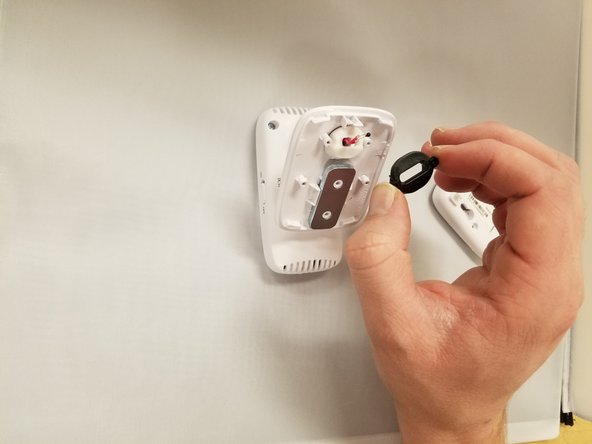
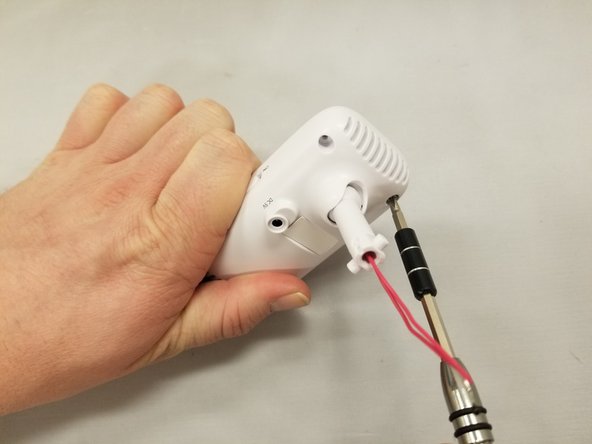
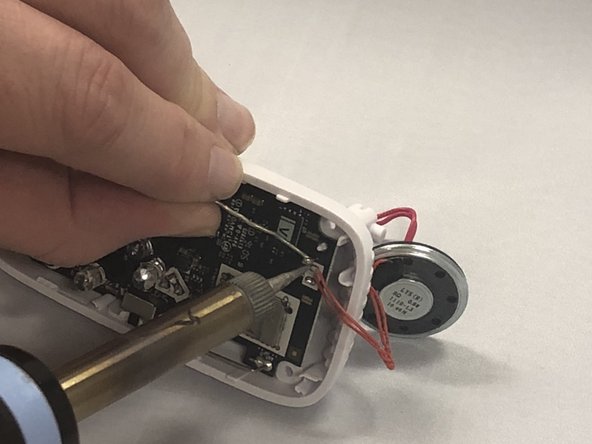
    • Use a nylon spudger to remove the casing. This will separate the frontside of the camera from the backside.

  8. Motorola MBP667CONNECT Speaker Replacement: paso 8, imagen 1 de 2 Motorola MBP667CONNECT Speaker Replacement: paso 8, imagen 2 de 2
    • Now locate the brackets by the speaker on the frontside of the camera and use the metal spudger to carefully disconnect from casing.

    • Continue to use the metal spudger to carefully disconnect the remaining brackets from the casing.

  9. Motorola MBP667CONNECT Speaker Replacement: paso 9, imagen 1 de 2 Motorola MBP667CONNECT Speaker Replacement: paso 9, imagen 2 de 2
    • Using the soldering iron, desolder the speaker wires that are attached to the circuit board.

    • Use caution while handling the soldering iron. This tool gets very hot!

    • After desoldering the speaker wires, remove the wires from the circuit board.

    • Thread the wires from the new speaker wires through the holes in the circuit board. Using the soldering iron, re-solder the wires to the circuit board.

Conclusión

To reassemble your device, follow these instructions in reverse order.

0 comentarios

Agregar Comentario

Ver Estadísticas:

Ultimas 24 horas: 0

Ultimos 7 días: 1

Ultimos 30 días: 1

Todo El Tiempo: 162