Introducción
If the buttons on your Motorola E815 are unresponsive or do not seem as crisp as they used to be, you may need to replace your keypad. To accomplish this, you will
- Dissemble the phone
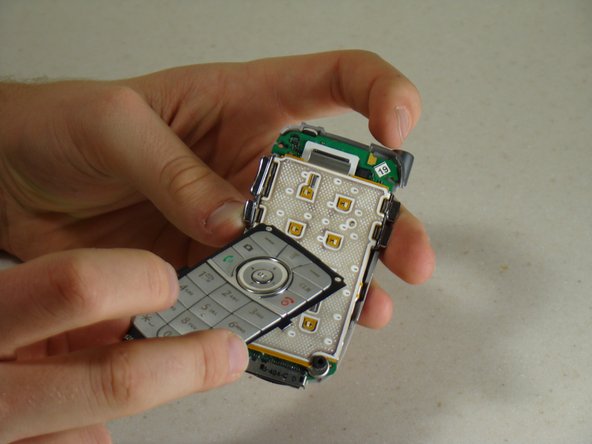
- Access the keypad for repair or replacement
Qué necesitas
-
-
Locate the antenna port on the top of the phone.
-
-
-
-
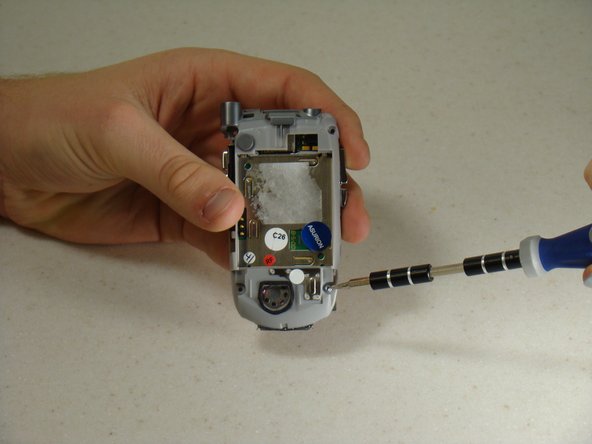
Locate the two screws on the backside of the phone.
-
Unscrew the two screws using a T6 Screwdriver.
-
-
-
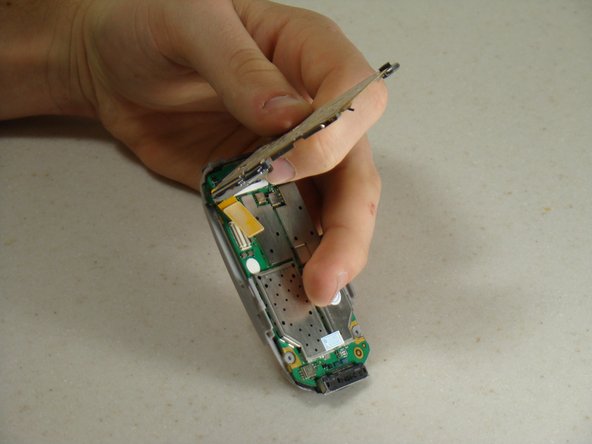
Gently pull the top section of the phone upwards until you feel some resistance.
-
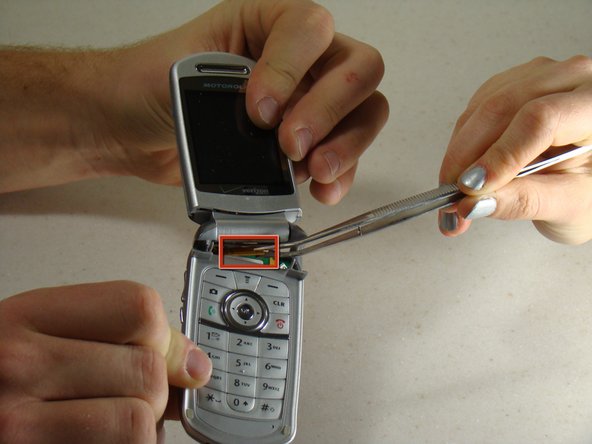
Locate the brown connector that runs from the top section of the phone to the circuit board under the keypad.
-
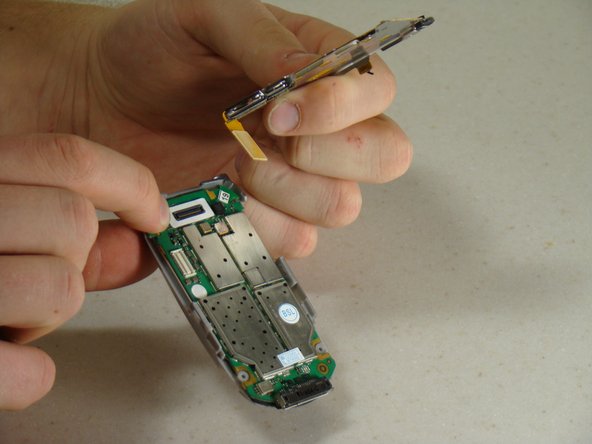
Using tweezers, gently pry the connector from the circuit board.
-
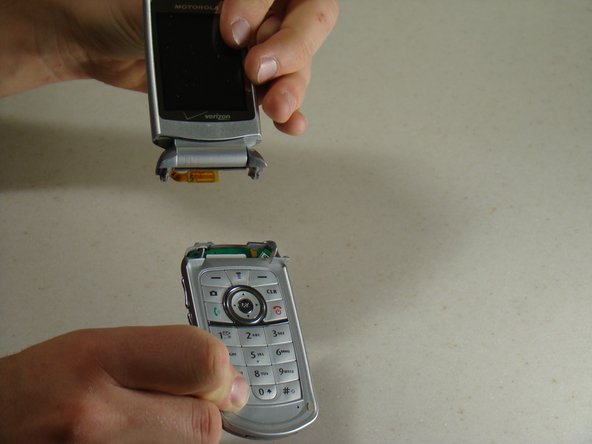
Carefully detach the two sections of the phone.
-


To reassemble your device, follow these instructions in reverse order.
To reassemble your device, follow these instructions in reverse order.
Cancelar: No complete esta guía.
Una persona más ha completado esta guía.
Equipo

Cal Poly, Team 14-8, Forte Winter 2011 Miembro de Cal Poly, Team 14-8, Forte Winter 2011
CPSU-FORTE-W11S14G8
5 Miembros
5 Guías creadas
2 comentarios
We should have a motherboard replacement.
We need to fullify more this content.