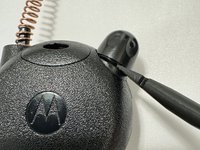
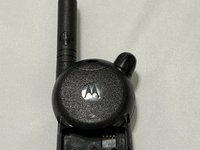
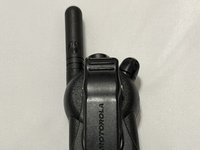
The Motorola CLS1410 is a fairly rugged, easy to use GMRS walkie talkie that is great for use in a warehouse or industrial environment. However, the rubber ducky antenna is not screw-on and has a tendency to get bent or break off. Fortunately, the process to replace the antenna is straightforward.
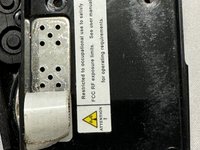
This model of walkie talkie requires an FCC license to use in the United States. The type of antenna and connector may be regulated in your country. Follow all applicable regulations and laws concerning replacing parts for this device.
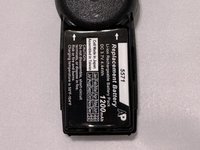
In my experience, the original lithium ion batteries are prone to swelling with age. Swollen or damaged batteries can become a fire risk. Remove, replace, and dispose of damaged or dead batteries in accordance to local laws.
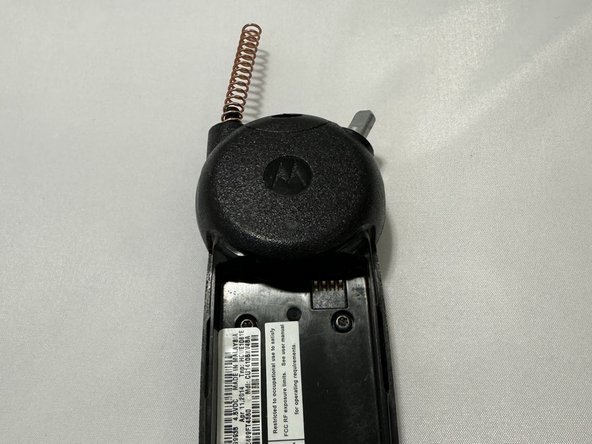
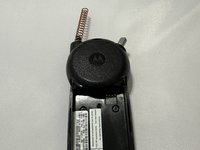
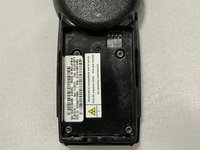
Remove the battery cover by pressing on the indentation and pushing down.
Remove the battery by pressing on the battery at the bottom of the radio and gently lift it away at an angle.
Place the battery in a safe location where the contacts cannot be shorted.
As with all lithium ion batteries, you must take care to not damage the battery when removing it. Do not use tools to pry the battery out.
If the battery is swollen, hot, or otherwise damaged, stop and place the device in a fireproof container for safe disposal in accordance to local laws.
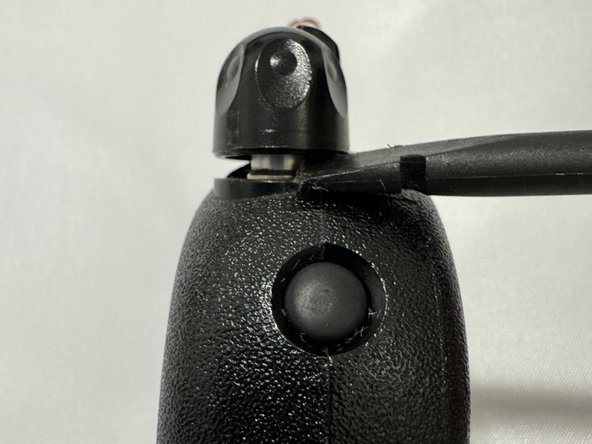
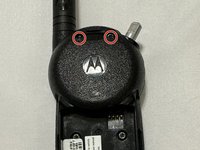
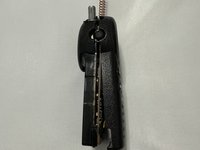
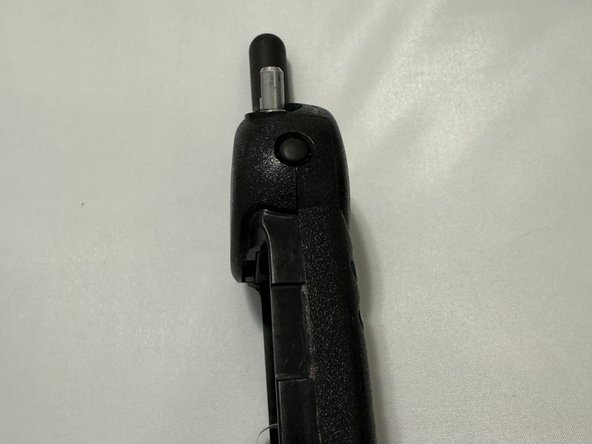
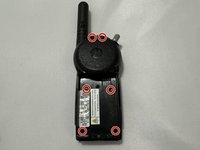
There are two T8 screws hidden under this strap hole at the top of the radio.
Use a thin tool, like a spudger or pick to gently pry this cover off and set it aside.
There may be some adhesive to hold this cover on and it may be tricky to get a spudger in. You may find it easier to use an inexpensive or disposable size 1 flathead to pop this part off.
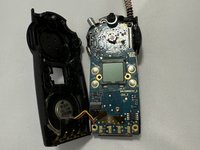
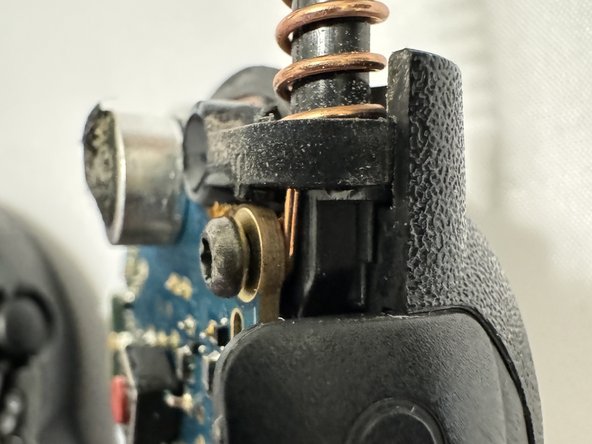
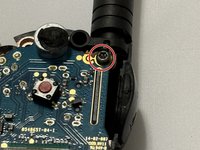
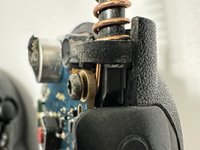
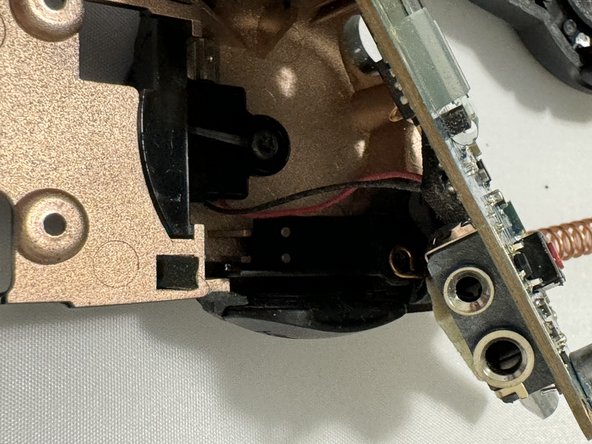
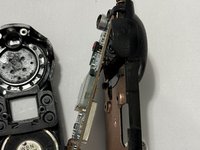
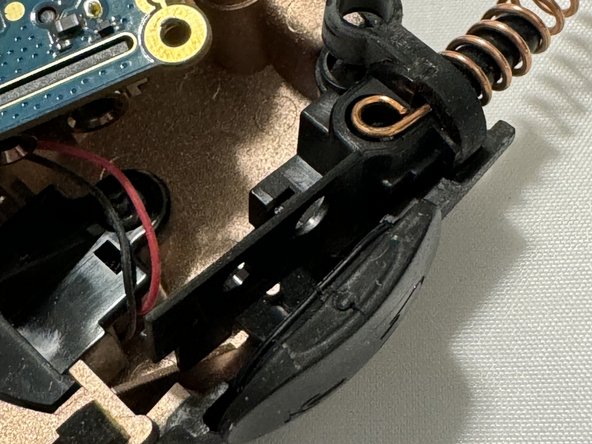
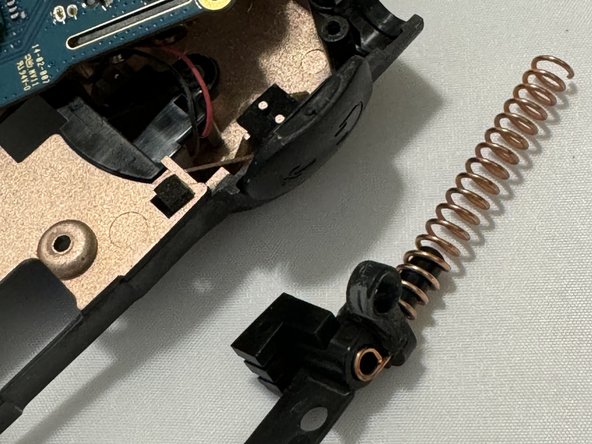
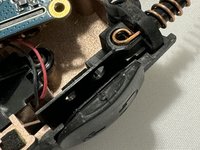
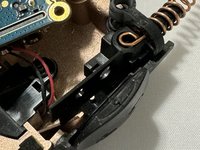
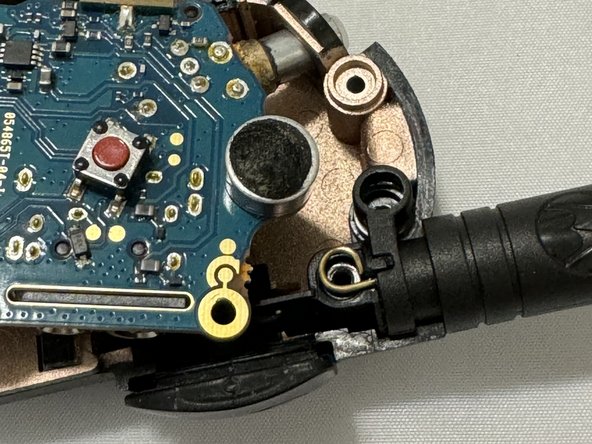
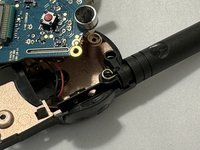
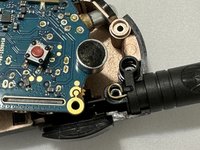
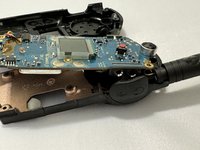
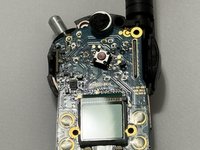
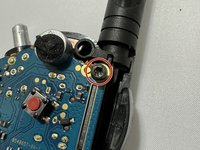
Gently lift the circuit board by the bottom and pivot it upwards slightly.
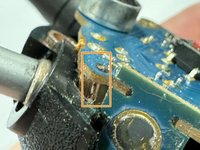
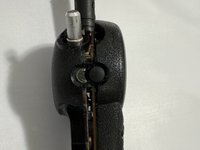
There is a small metal pin holding the board at the top left. Once you have lifted it enough to clear this, you can pull down so to remove the volume knob from its hole.
There are two wires from the back of the case to the circuit board. Take care to not break them when lifting the board up.
Only replace the antenna with one of the same size and type.
You are responsible to follow all laws and regulations governing your use of this radio. Modifying this radio to accept a different type of antenna or connector may not be legal in your jurisdiction.
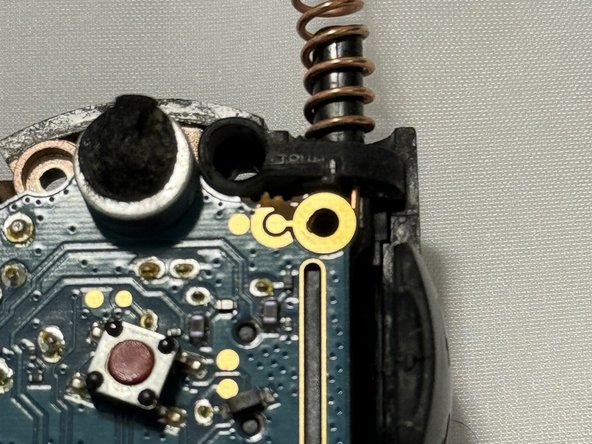
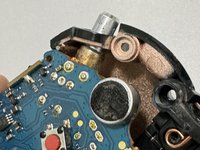
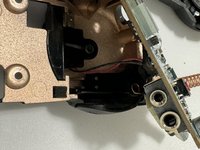
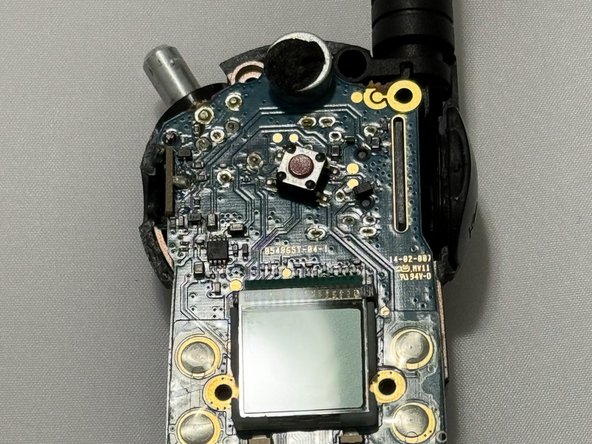
Slide the circuit board back into the back of the case.
There's a small pin on the top left of the back of the case that slots into a hole in the board. This may be a little tricky to get it to fit back in while sliding the volume knob back in.
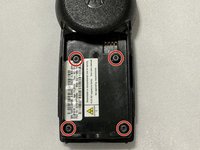
Push the serial number sticker back down to the metal plate on the exposed section of the battery case.
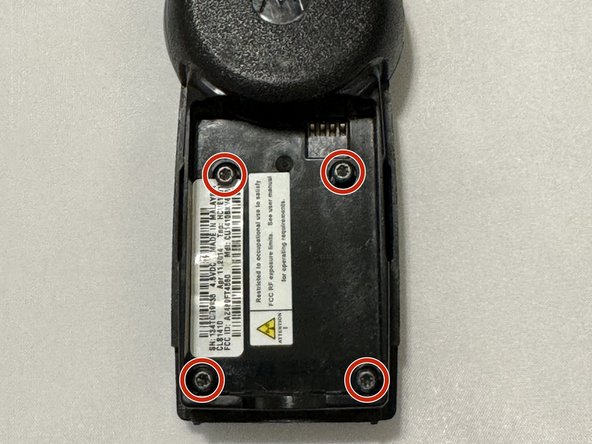
Reinstall all 6x T8 screws, 2x in the top portion and 4x in the battery compartment.
Replace the strap cover at the top back of the radio.
The strap cover does not appear to be necessary to protect the radio. You may either choose to replace the adhesive, place it back without the adhesive, or not replace it at all.
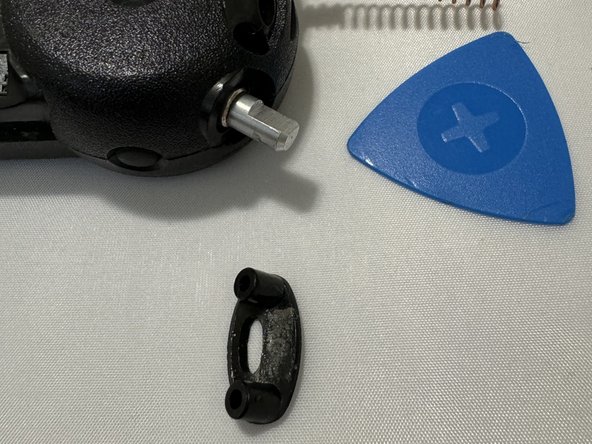
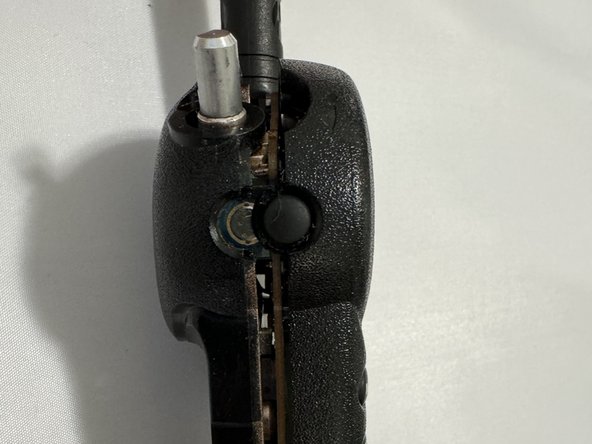
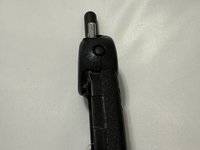
Replace the volume knob.
The plastic volume knob has a flat section that aligns with the flat section of the metal.