Introducción
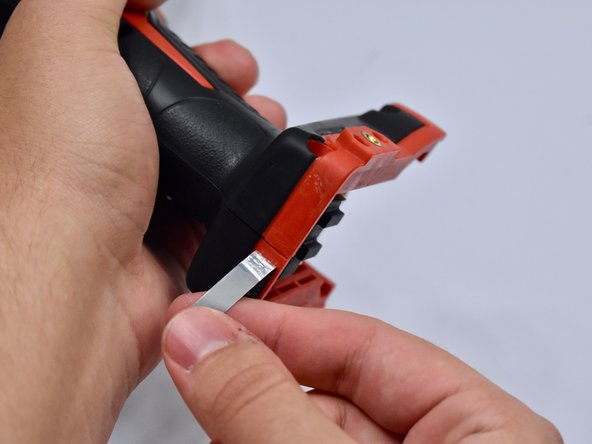
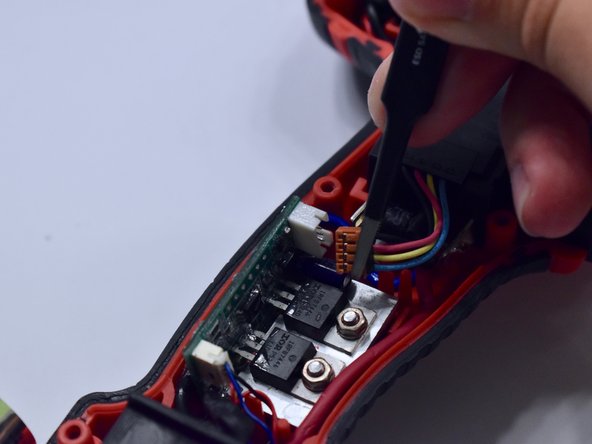
If you need to replace the trigger on your Milwaukee M18 cordless power drill (Model # 2606-20) see this guide on how to remove it. The trigger is what tells the drill to start moving when pulled. Some reasons to replace the trigger are if it is obstructed or it is not engaging. The final steps require some soldering, so see our How to Solder and Desolder Connections Guide for more information on soldering best practice.
Qué necesitas
-
-
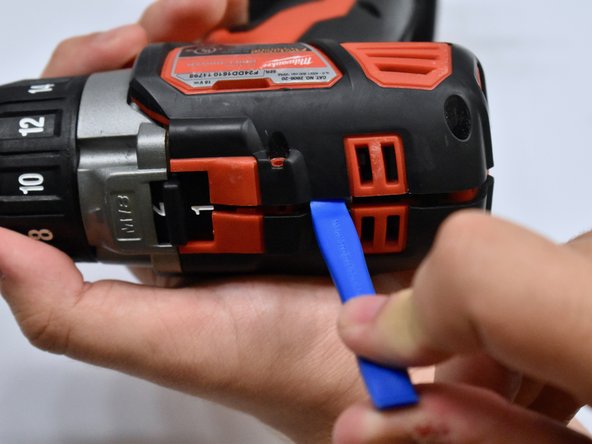
Remove the seven 18 mm screws, using the T3 Torx Screwdriver, from the handle area of the case.
-
Remove the two 21 mm screws, using the T3 Torx Screwdriver, from the top of the case.
-
-


To reassemble your device, follow these instructions in reverse order.
To reassemble your device, follow these instructions in reverse order.
Equipo

Embry-Riddle Aeronautical University, Team S1-G10, Watkins Fall 2019 Miembro de Embry-Riddle Aeronautical University, Team S1-G10, Watkins Fall 2019
ERAU-WATKINS-F19S1G10
4 Miembros
5 Guías creadas