Esta versión puede contener ediciones incorrectas. Cambiar a la última instantánea verificada.
Qué necesitas
-
Este paso está sin traducir. Ayuda a traducirlo
-
Switch off the phone.
-
Remove the battery and any inserted SIM and memory cards.
-
Use a screwdriver Torx T6 and remove the 4x black screws.
-
-
Este paso está sin traducir. Ayuda a traducirlo
-
There are several plastic locking clips hold the back cover to the frame.
-
Use a tool with a sharp edge to unlock them and a plastic tool to separate the back cover.
-
-
Este paso está sin traducir. Ayuda a traducirlo
-
Unhook:
-
the touch screen flex cable
-
the LCD Display flex cable
-
Use a plastic tool lift up and remove the Logic board.
-
-
Este paso está sin traducir. Ayuda a traducirlo
-
This is the logic board / main board - a front and rear view.
-
-
-
Este paso está sin traducir. Ayuda a traducirlo
-
The Display metal shield is locked to the frame by 4x locking clips.
-
Use a tool with a sharp tip and careful unlock them and remove the shield.
-
-
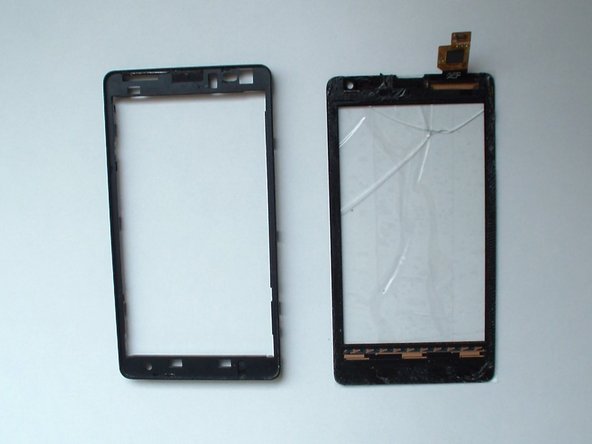
Este paso está sin traducir. Ayuda a traducirlo
-
The display is stuck tovthe touch screen glass with a double-sided adhesive tape.
-
Use a hair dryer or hot air gun and worm the glass to make adhesive soften.
-
-
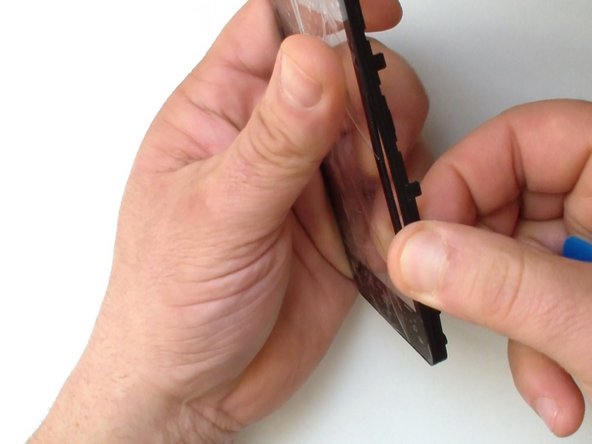
Este paso está sin traducir. Ayuda a traducirlo
-
The display is very fragile, do the separation very carefully.
-
-
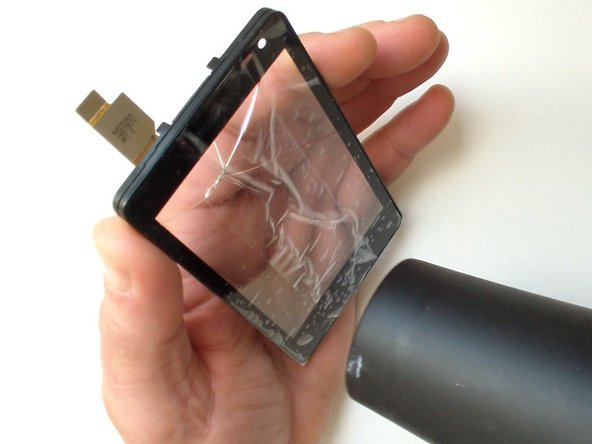
Este paso está sin traducir. Ayuda a traducirlo
-
Put some transparent scotch tape to prevent the glass from shattering.
-
Warm the glass for a minute to make adhesive soften.
-
Start the separation from the middle of the frame, where the contact area is smaller.
-
-
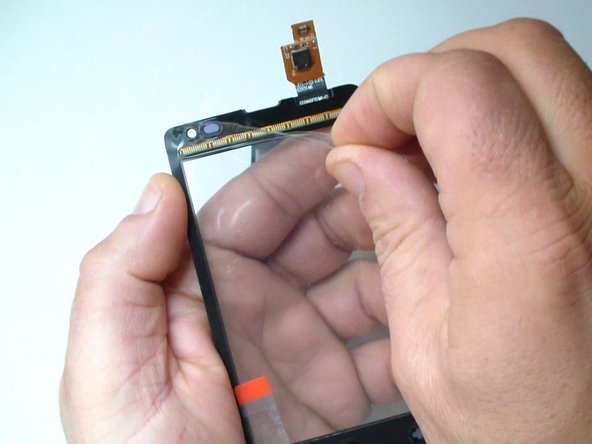
Este paso está sin traducir. Ayuda a traducirlo
-
When you finished with the separation the glass, clean the frame from the old adhesive.
-
Install the new touch screen and start to reassemble the device.
-


Cancelar: No complete esta guía.
5 personas más completaron esta guía.

Equipo

Un comentario
Is the lcd adhesive just on the edges of the lcd or covering the entire thing?