Esta versión puede contener ediciones incorrectas. Cambiar a la última instantánea verificada.
Qué necesitas
-
Este paso está sin traducir. Ayuda a traducirlo
-
Carefully lift the back plate off the watch. You will notice a lithium battery and rubber gasket attached to the back plate.
-
-
Este paso está sin traducir. Ayuda a traducirlo
-
Using the plastic removal tool, pry the battery from the backing plate. The battery is simply attached with glue.
-
-
Este paso está sin traducir. Ayuda a traducirlo
-
Desolder the battery connections from the motherboard. Learn how to solder components here!
-
-
Este paso está sin traducir. Ayuda a traducirlo
-
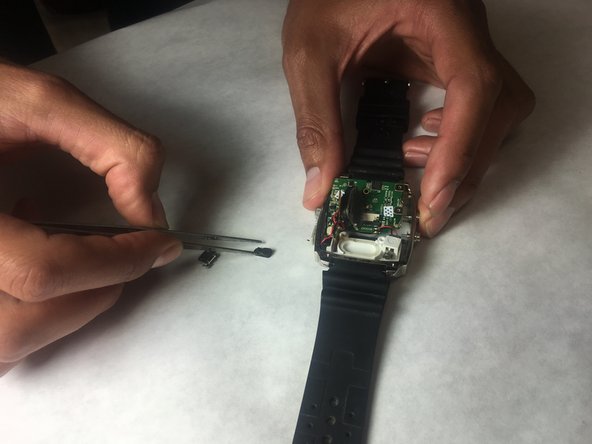
Use PH00 screw driver to remove two 2.4mm Phillips head screws.
-
-
Este paso está sin traducir. Ayuda a traducirlo
-
Use a spudger or tweezers to remove a white sticker that covers a Phillips head screw.
-
-
Este paso está sin traducir. Ayuda a traducirlo
-
Use PH00 screwdriver to remove 5.2mm Phillips head screw
-
-
Este paso está sin traducir. Ayuda a traducirlo
-
Use ESD safe tweezers to remove the gold ribbon cable.
-
This will expose a second 5.2mm Phillips head screw that can be removed with a PH00 screwdriver.
-
-
Este paso está sin traducir. Ayuda a traducirlo
-
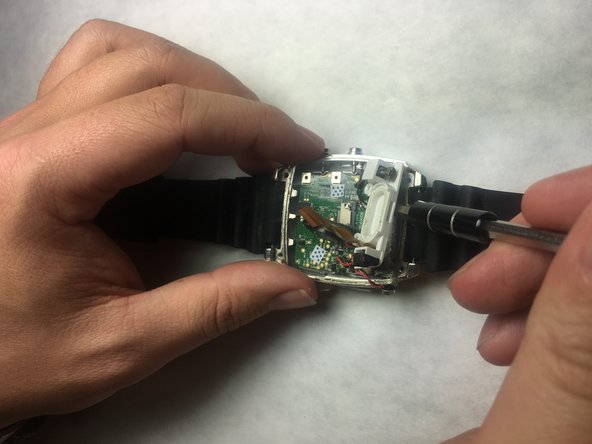
Use a spudger to gently pry on the motherboard towards the top of the watch, being towards the 12 o'clock position to loosen the motherboard.
-
You can now access the parts and pieces on the bottom of, and below the motherboard.
-
-
Este paso está sin traducir. Ayuda a traducirlo
-
Locate the ribbon connection, and use remove the clips holding the strip on each side using needle tool.
-
-
Este paso está sin traducir. Ayuda a traducirlo
-
With a pair of tweezers, carefully remove the ribbon strip connection.
-
-
Este paso está sin traducir. Ayuda a traducirlo
-
Remove the screw driver holding the LED screen and Speaker in place.
-
-
Este paso está sin traducir. Ayuda a traducirlo
-
Insert a small flat screw driver under the speaker in order to remove it.
-
-
Este paso está sin traducir. Ayuda a traducirlo
-
Using tweezers, remove the speaker and move off to the side.
-
-
Este paso está sin traducir. Ayuda a traducirlo
-
Place a small flat head screwdriver under the LED screen, and carefully push it out of it's socket.
-
-
Este paso está sin traducir. Ayuda a traducirlo
-
Remove final connection to accelerometer. The LED screen is now separated from the device.
-
-
Este paso está sin traducir. Ayuda a traducirlo
-
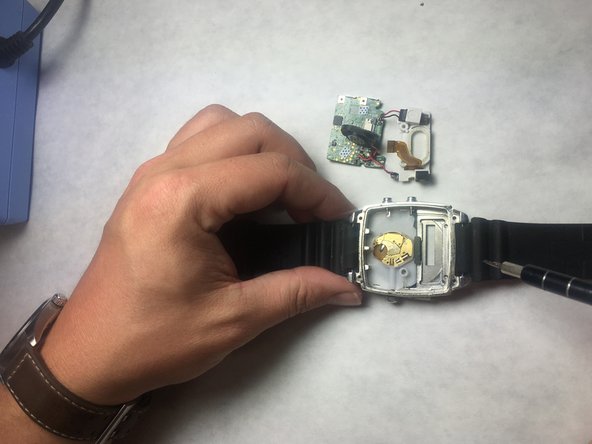
Grab the motherboard with tweezers and remove from watch cavity.
-
-
Este paso está sin traducir. Ayuda a traducirlo
-
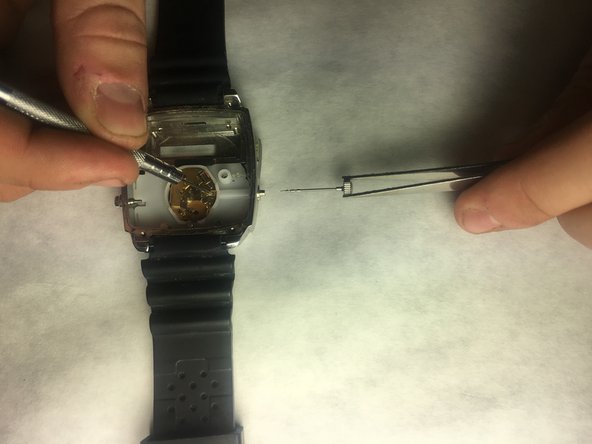
Stabilize watch with the metal prove. Place tweezers around crown and pull outward, so that the crown can be removed.
-
-
Este paso está sin traducir. Ayuda a traducirlo
-
Insert the spudger under plastic panel cover in order to access watch face.
-
-
Este paso está sin traducir. Ayuda a traducirlo
-
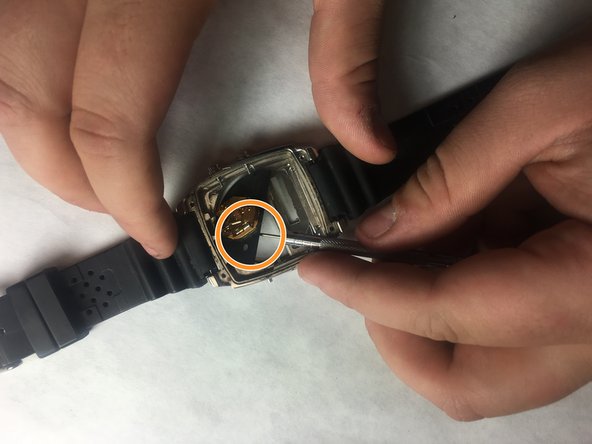
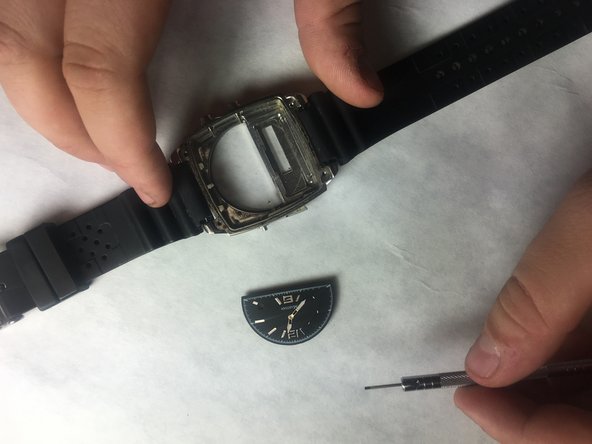
Insert a spudger under the black watch face. Gently push up, so that it can be raised out of the watch.
-
Use tweezers or pin tool in order to remove from watch.
-


Equipo

IUPUI, Team 3-3, Baechle Fall 2016 Miembro de IUPUI, Team 3-3, Baechle Fall 2016
IUPUI-BAECHLE-F16S3G3
4 Miembros
8 Guías creadas