Introducción
This guide shows the disassembly of the Mama 645 150mm f/4 lens to service oily aperture blades, but could also be used a guide for disassembly and cleaning of the lens groups and some individual elements. This guide is specific to the lens listed, but the techniques used are useful for other manual focus lenses. Working with aperture blades can seem daunting, but is actually relatively straightforward. It requires patients, and you may need multiple attempts line everything up, but rest assured that it will go back together and work again.
Qué necesitas
-
-
Start by removing the front fascia ring of the lens using a rubber fraction tool.
-
If you do not have a tool like this, find a rigid object of about the right diameter. Sandwich a piece of silicone or rubber between that and the lens for a makeshift solution.
-
The fascia ring is made of plastic, and so can skip in the fine pitch threading if too much pressure is applied.
-
If this is an issue for you, unscrew the fascia ring as far as possible, then carefully place a pry tool in the gap, placing a piece of paper or similar over the lens element to protect it. Then you can pry on the ring to get it to bend slightly and come out of the threading.
-
-
-
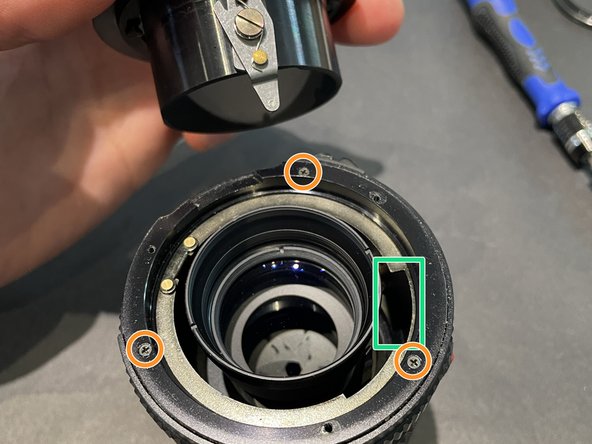
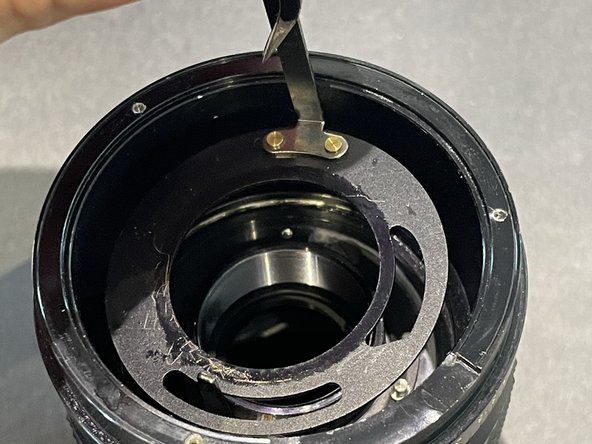
Flipping the lens around, remove the three marked screws to remove the lens bayonet mount.
-
The housing of the aperture lever can now be removed as well. The lever has to come up through gap shown the metal ring, marked in green.
-
The three screws marked in orange can now be removed. USE CAUTION WHEN HANDLING THE APERTURE RING FROM HERE ON!
-
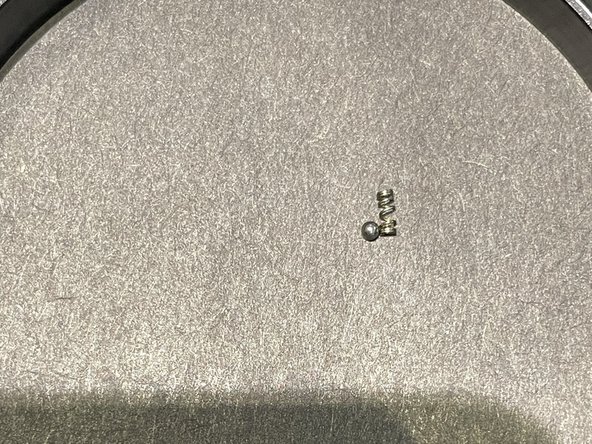
The aperture ring is now loose, and the small ball bearing the provides the detent is spring loaded and WILL fly off on you if precautions are not taken.
-
-
-
-
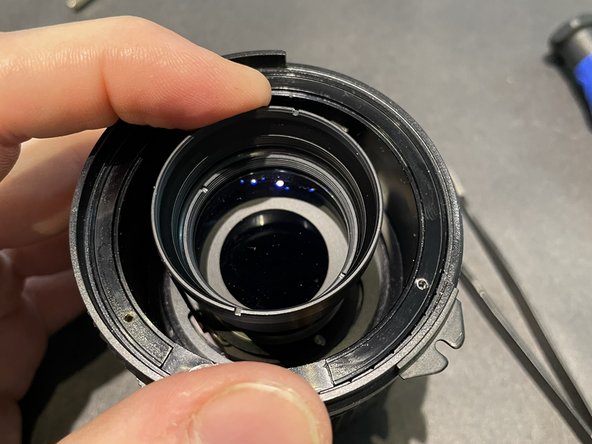
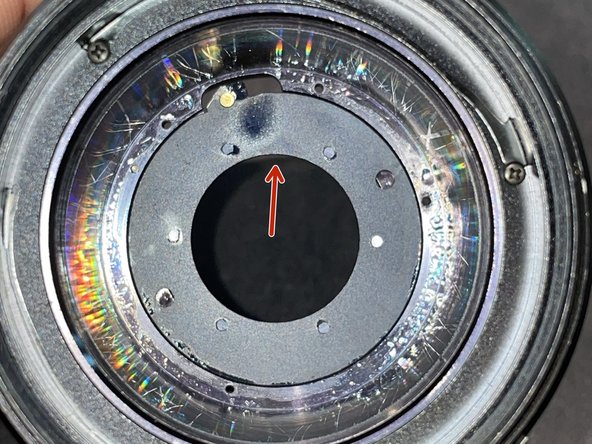
Now the aperture ring can be removed. The small, spring loaded ball detent is located near the center marking on the lens, show with a red arrow.
-
To avoid the ball flying to infinity and beyond, cup your hand around the lens near this spot as you remove the aperture ring.
-
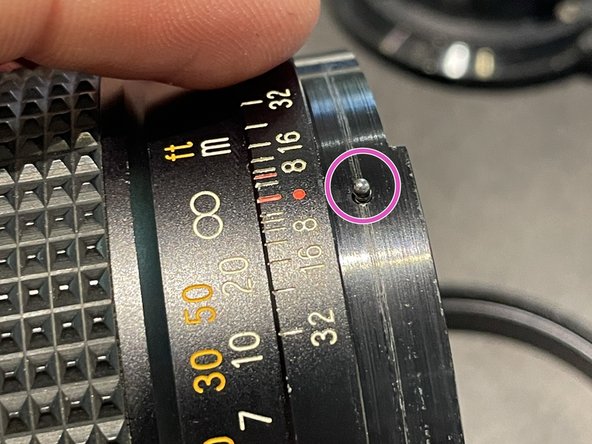
Once the ball flies out, be sure to keep an eye out for the spring as well. The spring may still be stuck in the hole circled in purple.
-
-
-
Remove the silver retaining ring marked in red. This is a spring clip.
-
Place a screw driver under one end of the clip, lifting that end. Using a pair of ben tweezers to get under the lifted end can be helpful.
-
After this, the aperture setting assembly can be lifted out. Easiest way to do so is to lift the silver prong of attached to the disk.
-
-
-
Flipping the lens again, make a solid mark on the front aperture retaining plate and the barrel of the lens. This mark is imperative to get the aperture lined up correctly in the future.
-
If this mark is not made, you may end up with inaccurate f-stops.
-
Remove the screw marked in orange. Not pictured: two other screws offset 120 degrees that should be removed as well. Then remove the black retaining plate.
-
-
-
Removing the final screw in yellow, the brass ring can be lifted out of the barrel.
-
Then all of the aperture blades can be removed from the barrel as well.
-
Some care should be taken when handling the blades to avoid bending them. Blades may be stuck together from oil.
-
All pieces of the aperture assembly should be oil free. Clean all parts with 99% isopropyl alcohol.
-
A film canister makes a good vessel to place aperture blades into for cleaning.
-
-
-
Remove the spring from the two orange posts.
-
Spring is simply wrapped around the posts.
-
Removed large flathead screw marked in red. This may require a smaller flathead than the screw size suggests, as the gap is quite narrow.
-
The aperture lever assembly (Green arrow) can no be lifted out of the barrel.
-
With the spring and lever removed, you can push on the brass spring post circled in blue to remove the final piece of the aperture assembly for cleaning.
-


To reassemble your device, follow these instructions in reverse order.
To reassemble your device, follow these instructions in reverse order.