Saltar al contenido principal

Makita GA4030K Electrical Cord Replacement

Qué necesitas

  1. Makita GA4030K Electrical Cord Replacement, Back Cover: paso 1, imagen 1 de 2 Makita GA4030K Electrical Cord Replacement, Back Cover: paso 1, imagen 2 de 2
    • Unscrew the 20 mm tapping screw using a Philips #02 screwdriver.

  2. Makita GA4030K Electrical Cord Replacement: paso 2, imagen 1 de 1
    • Slide the back cover down the power cable.

  3. Makita GA4030K Electrical Cord Replacement, Electrical Cord: paso 3, imagen 1 de 3 Makita GA4030K Electrical Cord Replacement, Electrical Cord: paso 3, imagen 2 de 3 Makita GA4030K Electrical Cord Replacement, Electrical Cord: paso 3, imagen 3 de 3
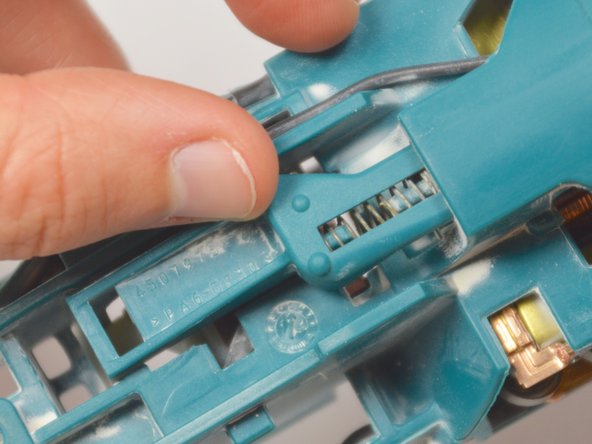
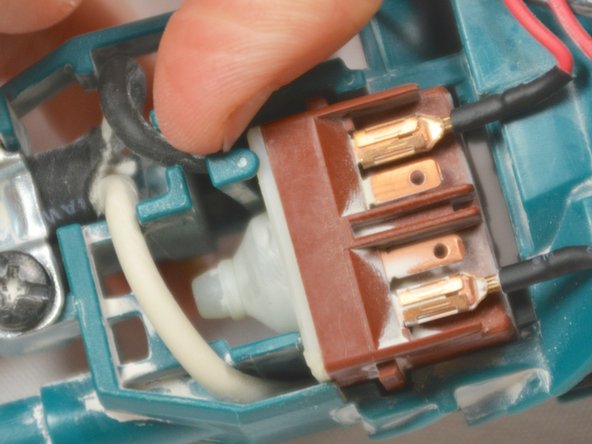
    • Place your finger in the gap in front of the switch.

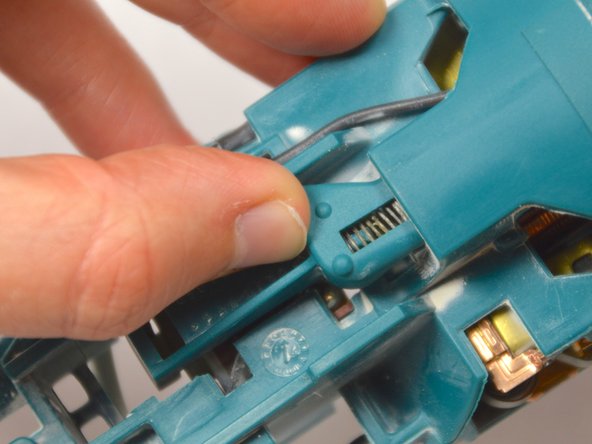
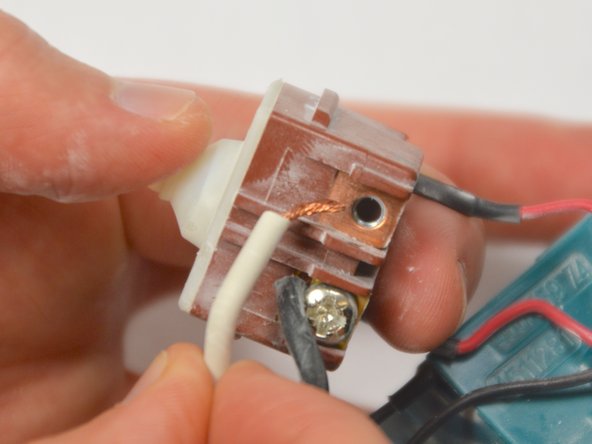
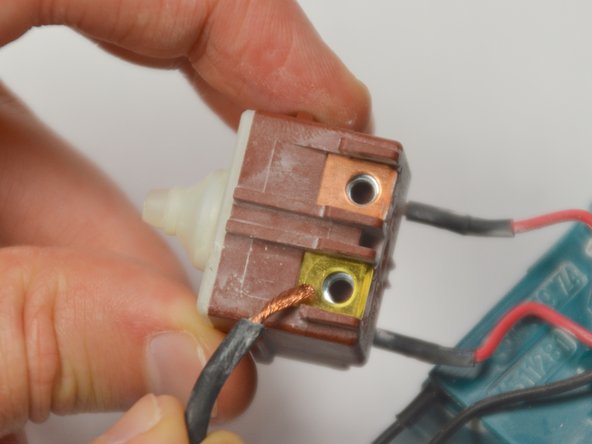
    • At the base of the device, push the switch lever into the 'on' position.

  4. Makita GA4030K Electrical Cord Replacement: paso 4, imagen 1 de 1
    • Keeping the switch lever in the 'on' position, remove the switch.

    • When reinserting the switch, place the switch in the hole without pressing the switch lever in. Holding the switch against the back edge of the hole, push the switch lever fully into the 'on' position and then let go. The switch should catch onto the switch lever and remain attached.

  5. Makita GA4030K Electrical Cord Replacement: paso 5, imagen 1 de 3 Makita GA4030K Electrical Cord Replacement: paso 5, imagen 2 de 3 Makita GA4030K Electrical Cord Replacement: paso 5, imagen 3 de 3
    • Pull the switch lever up and out of the body of the angle grinder.

  6. Makita GA4030K Electrical Cord Replacement: paso 6, imagen 1 de 3 Makita GA4030K Electrical Cord Replacement: paso 6, imagen 2 de 3 Makita GA4030K Electrical Cord Replacement: paso 6, imagen 3 de 3
    • Pull back the plastic clip and pull the internal switch up and out of the cavity.

  7. Makita GA4030K Electrical Cord Replacement: paso 7, imagen 1 de 3 Makita GA4030K Electrical Cord Replacement: paso 7, imagen 2 de 3 Makita GA4030K Electrical Cord Replacement: paso 7, imagen 3 de 3
    • Remove the two 10 mm screws holding the power cord leads in place using a Phillips #02 screwdriver.

    • When reassembling, be sure to attach the electrical cabling in the same positions.

  8. Makita GA4030K Electrical Cord Replacement: paso 8, imagen 1 de 3 Makita GA4030K Electrical Cord Replacement: paso 8, imagen 2 de 3 Makita GA4030K Electrical Cord Replacement: paso 8, imagen 3 de 3
    • Unscrew the 2 mm tapping screw using a Phillips #02 screwdriver.

    • Lift the clasp up and out to remove it.

  9. Makita GA4030K Electrical Cord Replacement: paso 9, imagen 1 de 1
    • Remove the electrical cable.

Conclusión

To reassemble your device, follow these instructions in reverse order.

Una persona más ha completado esta guía.

Equipo

Cal Poly, Team 12-5, Lancaster Spring 2015 Miembro de Cal Poly, Team 12-5, Lancaster Spring 2015

CPSU-LANCASTER-S15S12G5

4 Miembros

13 Guías creadas

0 comentarios

Agregar Comentario

Ver Estadísticas:

Ultimas 24 horas: 1

Ultimos 7 días: 8

Ultimos 30 días: 27

Todo El Tiempo: 3,002