Esta versión puede contener ediciones incorrectas. Cambie a la última instantánea verificada.
Qué necesitas
-
Este paso está sin traducir. Ayuda a traducirlo
-
Remove the four rubber caps from the back by using the Phillips #00 screwdriver.
-
-
Este paso está sin traducir. Ayuda a traducirlo
-
Remove the four screws holding the cover in place by using the Phillips #00 screwdriver.
-
-
-
Este paso está sin traducir. Ayuda a traducirlo
-
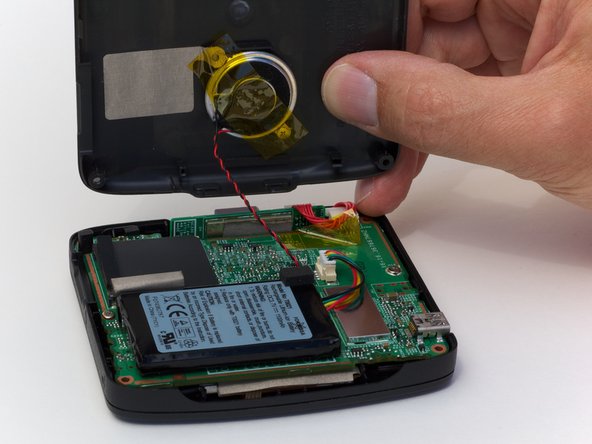
Remove the back cover from the device by separating the back cover along its seam.
-
-
Este paso está sin traducir. Ayuda a traducirlo
-
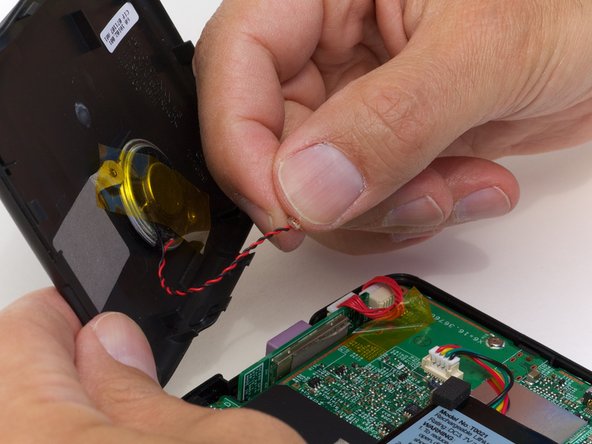
Pull the speaker cord, horizontally, by its base, away from the motherboard.
-
-
Este paso está sin traducir. Ayuda a traducirlo
-
Remove the two screws on that are located on opposite sides of the board.
-
-
Este paso está sin traducir. Ayuda a traducirlo
-
Lift up the circuit board and disconnect the GPS wire, pulling horizontally from its connector port.
-


Cancelar: No complete esta guía.
Una persona más ha completado esta guía.
