Introducción
This troubleshooting guide will give step-by-step instructions on how to replace the M.2 SSD on your MSI GT62VR 6RD Dominator laptop. This troubleshooting guide has no special requirements or potential hazards. It is recommended to replace your SSD if you experience a few of the following: data corruption, slow read/write speeds, bad sector errors. Little to no risk of injury is involved to complete these guide steps and is not time consuming to complete.
Qué necesitas
-
-
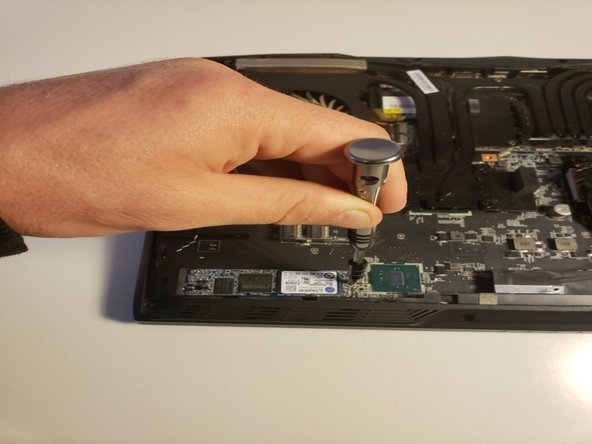
Remove the six 1.2mm screws on the bottom plate of the laptop using a JIS #0 screwdriver.
-
-


To reassemble your device, follow these instructions in reverse order.
To reassemble your device, follow these instructions in reverse order.
Cancelar: No complete esta guía.
Una persona más ha completado esta guía.
Equipo

University of North Texas, Team S4-G1, Raign Fall 2018 Miembro de University of North Texas, Team S4-G1, Raign Fall 2018
UNT-RAIGN-F18S4G1
4 Miembros
5 Guías creadas
Un comentario
Isn’t that an M.2 Drive not a GPU? the GPU is in the top right. under the heat pipes.